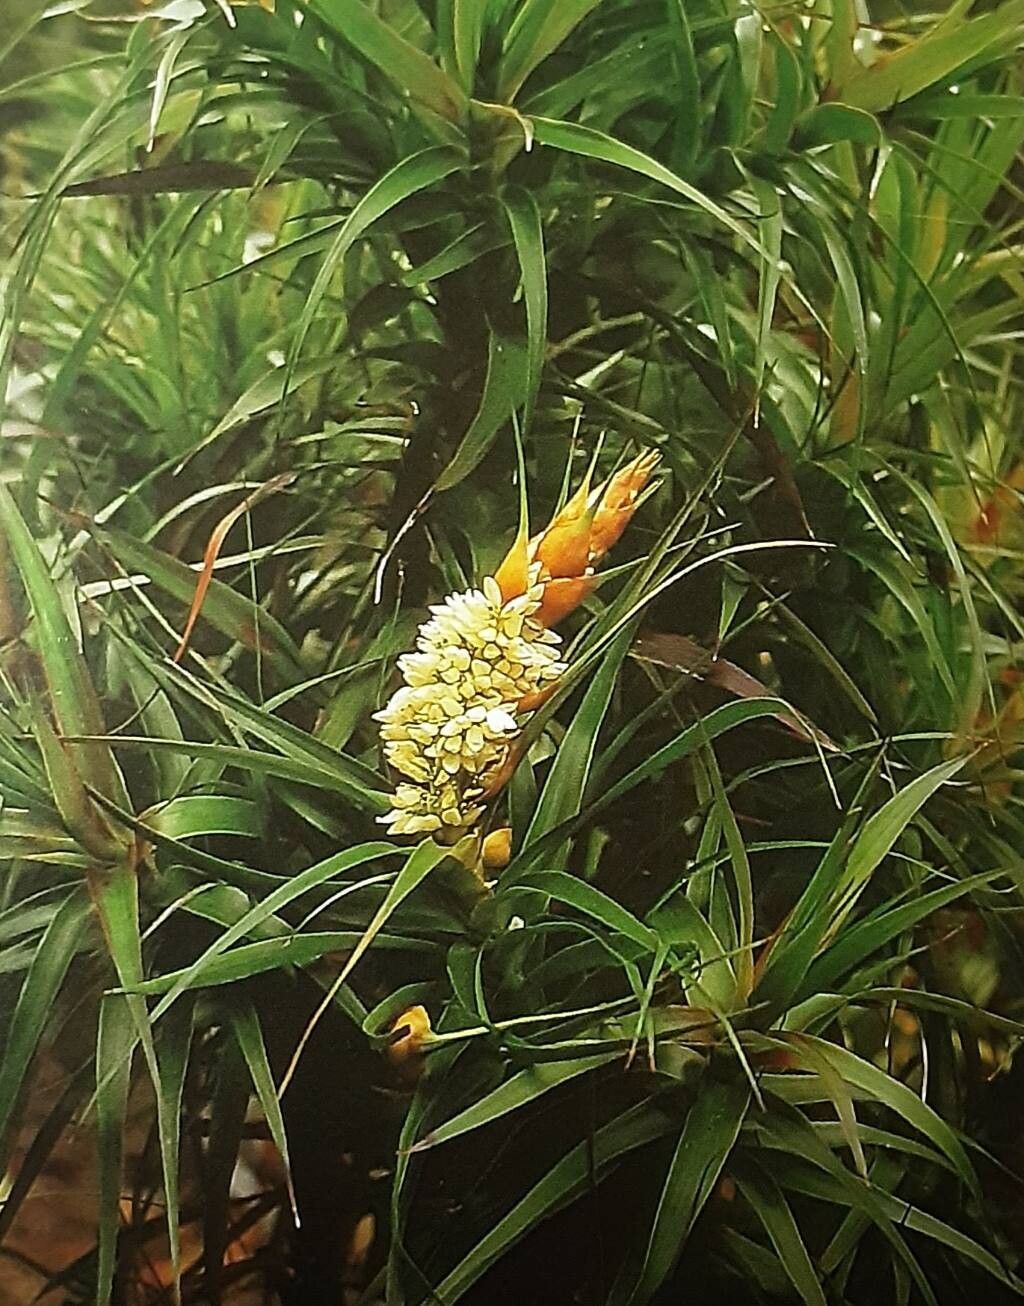
Oh, hello there! I’m so glad you’re interested in Richea dracophylla. This Tasmanian native is an absolute stunner, with its striking, sword-like leaves that bring such a tropical flair to any garden. Seeing your own little dracophylla sprout from a tiny cutting is one of those gardening joys that just fills your heart, you know? It’s not the absolute easiest plant for a total newcomer, but with a little patience and these tips, you’ll do wonderfully.
The Best Time to Start
Honestly, spring is your best friend here. As the days start to lengthen and the plant is chugging along in its active growth phase, you’ll have the most luck. Think April or May here in the Northern Hemisphere. You want to take cuttings when the plant is healthy and robust, not stressed from winter or extreme heat.
Supplies You’ll Need
Gathering your bits and bobs beforehand makes the whole process so much smoother. Here’s what I always have on hand:
- Sharp Pruning Shears or a Knife: A clean cut is crucial for good root development.
- Potting Mix: A well-draining mix is key. I like to use a blend of perlite, peat moss, and a bit of sand. You can also buy pre-made succulent or cactus mixes.
- Small Pots or Seed Trays: Clean ones, please! Bacteria are not your friends.
- Rooting Hormone (Optional, but helpful): A dedicated rooting hormone really gives your cuttings a boost.
- Plastic Bags or Domes: To create a humid environment for your cuttings.
- Water: Filtered or rainwater is ideal if your tap water is very hard.
- Labeling Stakes: Don’t forget to mark what you’ve planted!
Propagation Methods
For Richea dracophylla, stem cuttings are generally the most reliable path to success.
Stem Cuttings:
- Select Your Cutting: Look for a healthy, non-flowering stem that’s about 4-6 inches long. It should be firm but not woody.
- Make the Cut: Using your clean shears or knife, make a clean cut just below a leaf node (where a leaf attaches to the stem).
- Prepare the Cutting: Gently remove the lower leaves. You want to expose a few nodes where roots will form. If there are any tiny flower buds, pinch them off.
- Apply Rooting Hormone (If using): Dip the cut end into your rooting hormone, tapping off any excess.
- Plant Your Cutting: Fill your clean pot with your well-draining mix. Make a small hole in the center with your finger or a pencil.
- Insert the Cutting: Place the cut end of the stem into the hole and gently firm the soil around it.
- Water Lightly: Give it a gentle watering to settle the soil.
- Create Humidity: This is where the plastic bag comes in. Place the pot inside a clear plastic bag, or cover it with a plastic dome. Make sure the leaves aren’t touching the plastic if possible. You can use stakes to keep the bag from collapsing on the leaves.
- Find a Spot: Place the pot in a bright spot with indirect light. No direct sun, it will scorch your precious baby!
The “Secret Sauce” (Pro Tips)
Now, for a little insider wisdom! These small things can make a world of difference:
- Bottom Heat is Your Friend: If you can, place your potted cuttings on a gentle heat mat. This encourages root growth from the bottom up, mimicking warmer soil temperatures. It’s a game-changer for many woody cuttings!
- The “Don’t Drown It” Mantra: Overwatering is the number one killer of cuttings. The soil should be consistently moist, but never soggy. Stick your finger in an inch or so; if it feels dry, it’s time for a light drink.
- Air Circulation is Key: While you want humidity, you don’t want stagnant, moldy air. Briefly open the plastic bag for a few minutes each day to allow for some air exchange. This helps prevent fungal issues.
Aftercare & Troubleshooting
Once you start to see signs of new growth – tiny leaves unfurling or a slight resistance when you gently tug on the cutting – your plant is rooting! Hooray!
- Acclimatize: Gradually remove the plastic bag or dome over a week or two to let your new plant get used to normal humidity levels.
- Watering: Continue to water as needed, letting the top inch of soil dry out between waterings.
- Repotting: Once your new plant is established and has a good root system (you might see roots peeking from the drainage holes), you can transplant it into a slightly larger pot with fresh potting mix.
Troubleshooting:
- Wilting/Yellowing Leaves: This could be too much direct sun, or the cutting is just too stressed to survive. Keep it out of direct light and ensure consistent moisture.
- Rotting at the Base: This is almost always a sign of overwatering and poor drainage. If you catch it early, you might be able to salvage a healthy part of the stem, but often, it’s best to start over with a new cutting and a drier approach.
- No Growth: Be patient! Some cuttings can take weeks, or even months, to show signs of life. If the stem is still firm and green, all hope is not lost.
A Little Patience Goes a Long Way
Propagating plants is a journey, not a race. It’s about observing, learning, and celebrating those small victories. Don’t get discouraged if every attempt isn’t a roaring success. Just dust yourself off, try again, and enjoy the process of nurturing new life. Happy propagating!
Resource:
https://identify.plantnet.org/k-world-flora/species/Richea%20dracophylla%20R.Br./data