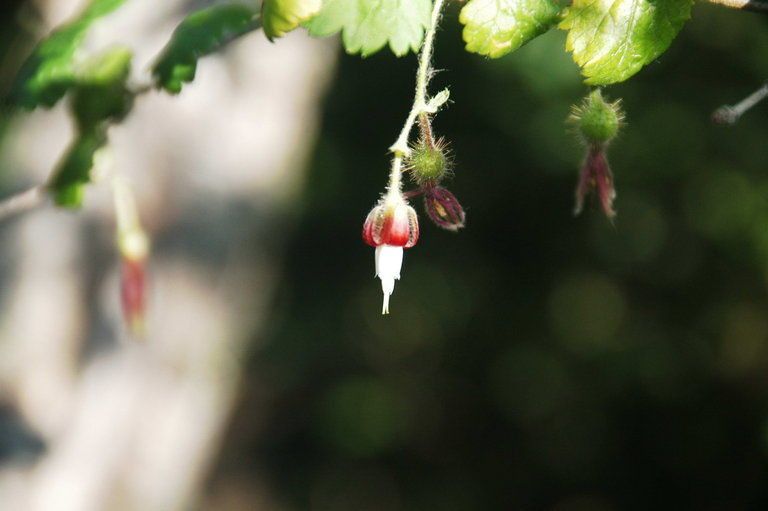
Oh, the joy of bringing more beauty into your garden! Today, I want to chat about Ribes thacherianum, also known as the rare and lovely Sierra currant. If you’ve had the pleasure of seeing this shrub bloom, with its delicate pink flowers and promise of edible berries, you understand its charm. And the best part? You can multiply it yourself! Propagating Ribes thacherianum can be a wonderfully rewarding experience, and while it’s not quite a “stick it in the ground and hope for the best” situation, it’s absolutely achievable for most home gardeners. Don’t let the “rare” tag intimidate you; we’ll tackle this together.
The Best Time to Start
For the highest success rate with Ribes thacherianum, I find late spring to early summer is your sweet spot. This is when the plant is actively growing, and you can take cuttings from the current season’s growth that has started to get a little firm – what we call semi-hardwood cuttings. Waiting until then ensures the cuttings have plenty of energy to draw upon for root development.
Supplies You’ll Need
Here’s what you’ll want to have on hand before you begin:
- Sharp pruning shears or a sharp knife: Clean cuts are crucial for preventing disease.
- Rooting hormone (optional but recommended): This gives your cuttings a helpful boost. Look for one formulated for hardwood or semi-hardwood cuttings.
- Small pots or seed trays: Clean pots are a must!
- A light, well-draining potting mix: A good blend might be 50% peat moss or coco coir and 50% perlite or coarse sand. Avoid heavy garden soil.
- Plastic bags or a propagation dome: To maintain humidity.
- Watering can with a fine rose or spray bottle: For gentle watering.
- Labels: To keep track of what you’ve planted and when.
Propagation Methods
The most reliable way I’ve found to propagate Ribes thacherianum is through stem cuttings. It’s straightforward and yields excellent results if you’re patient.
- Take Your Cuttings: When you see those new shoots have elongated a bit but are still flexible (they’ll bend rather than snap cleanly), it’s time to act. Select healthy, disease-free stems from your parent plant. Using your clean shears, take cuttings that are about 4-6 inches long. Look for stems that have at least two sets of leaves.
- Prepare the Cuttings: Gently remove the lower leaves from the cutting, leaving just the top two or three sets. If the cutting has any flower buds, carefully pinch them off. This energy is better spent on root formation.
- Apply Rooting Hormone (Optional): Dip the cut end of each stem into your rooting hormone powder. Tap off any excess. This step really helps speed things up and improve your success rate, especially with woody plants.
- Plant Your Cuttings: Fill your clean pots with your prepared potting mix. Make a small hole in the center of each pot with a pencil or your finger. Insert the treated end of the cutting into the hole, ensuring it’s deep enough to be stable. Gently firm the soil around the base of the cutting. You can place several cuttings in one pot, spaced a few inches apart, or use individual pots.
- Water Gently: Water the soil thoroughly but gently, ensuring it’s moist but not waterlogged. You don’t want to dislodge your cuttings.
The “Secret Sauce” (Pro Tips)
Here are a few things I’ve learned over the years that can make a real difference:
- Humidity is Key: Don’t underestimate the power of a humid environment for cuttings. Once planted, cover the pots with a clear plastic bag or place them under a propagation dome. This creates a mini-greenhouse effect, preventing the cuttings from drying out too quickly while they’re trying to establish roots. Check it regularly so condensation doesn’t become a problem.
- Bottom Heat is a Game Changer: If you have access to a seedling heat mat, use it! Just place your pots on the heat mat. This warmth encourages root development from below, mimicking the natural conditions these plants love and giving your cuttings a significant advantage.
- Don’t Over-Water: I know I sound like a broken record, but this is where many gardeners stumble. Cuttings that sit in soggy soil are prone to rot before they can even think about rooting. The soil should feel like a wrung-out sponge – moist, but not dripping.
Aftercare & Troubleshooting
Once your cuttings have been planted, the wait begins. Keep them in bright, indirect light. Avoid direct sun, which can scorch the delicate leaves.
When roots have formed (you’ll know when you see new leafy growth appearing, or if you very gently tug and feel resistance), it’s time for them to harden off. Gradually introduce them to more regular garden conditions by opening the plastic bag or dome for longer periods each day over a week or two. You can then transplant them into their own slightly larger pots of regular potting mix.
Keep an eye out for signs of rot: a blackening or mushy stem, or leaves that yellow and then wilt and die off rapidly without drying out. If you see this, it’s usually a sign of too much moisture or poor air circulation. Sometimes, there’s not much you can do for a rotted cutting, but often, giving the others a bit more air and slightly less water can save the day. Patience is your best friend here.
A Encouraging Closing
Propagating plants is really about trusting the process and providing the right conditions. Be patient with your Ribes thacherianum cuttings. Not every single one will make it, and that’s perfectly okay. Celebrate the successes, learn from any setbacks, and most importantly, enjoy the journey of bringing more of these beautiful Sierra currants into your world. Happy gardening!
Resource:
https://identify.plantnet.org/k-world-flora/species/Ribes%20thacherianum%20(Jeps.)%20Munz/data