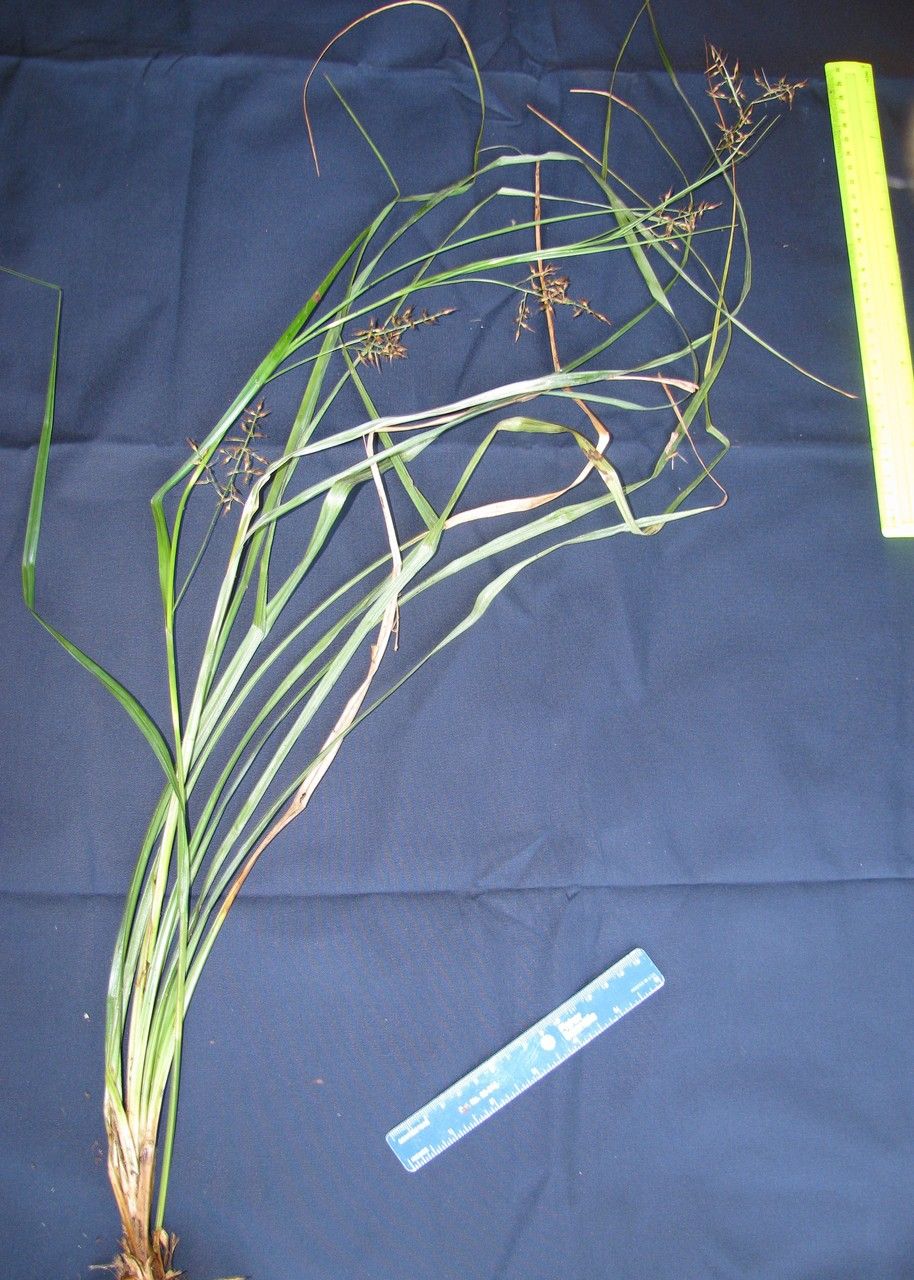
Oh, hello there! Pull up a chair. Let’s chat about Rhynchospora schiedeana. I’ve been growing this beauty for years, and honestly, it never fails to bring a smile to my face. Its unique texture and graceful presence add such a lovely touch to any garden, or even a windowsill. And the best part? Sharing that beauty by propagating it is incredibly satisfying. If you’re new to the plant world, don’t worry. While it’s not quite as simple as a readily available pothos, with a little care, you’ll find Rhynchospora schiedeana is quite manageable, especially once you understand its preferences.
The Best Time to Start
For the highest success rate with Rhynchospora schiedeana, I always aim to start in the spring. This is when the plant is really waking up from its winter slumber and has the most energy to put into growing new roots. You’ll often see new growth appearing on your existing plants, which is a fantastic sign that it’s ready to be propagated. Aim for when the days are getting longer and the temperatures are consistently mild.
Supplies You’ll Need
- Sharp pruning shears or a clean knife: For making clean cuts.
- Rooting hormone (optional but helpful): Especially for stem cuttings. A powder or gel works well.
- Well-draining potting mix: I like a blend of equal parts peat moss or coco coir and perlite or coarse sand. It needs to keep moisture but not get soggy.
- Small pots or trays: Clean, with good drainage holes.
- Plastic bags or propagation domes: To create a humid environment.
- Watering can with a fine rose or a spray bottle: For gentle watering.
- Labeling stakes: To remember what you’ve planted and when!
Propagation Methods
We’ll focus on the two methods that have worked best for me: stem cuttings and division.
Stem Cuttings
This is my go-to for increasing my stock.
- Take Cuttings: In spring, select healthy, vigorous stems. Using your sharp shears or knife, take cuttings that are about 4-6 inches long. Make your cut just below a leaf node (where a leaf attaches to the stem). Remove the lower leaves, leaving just a few at the top.
- Apply Rooting Hormone: If you’re using it, lightly dip the cut end of the stem into the rooting hormone. Tap off any excess.
- Pot Them Up: Fill your small pots with your well-draining potting mix. Make a small indentation in the center with your finger or a pencil.
- Plant the Cuttings: Gently insert the cut end of each cutting into the soil, about an inch deep. Firm the soil around the base.
- Create Humidity: Water the soil lightly. Then, carefully place a plastic bag over the pot, or cover it with a propagation dome. This traps moisture around the leaves.
- Provide Light and Warmth: Place the pots in a brightly lit spot but out of direct sunlight. If you have a heated propagator, even better – bottom heat really encourages root development.
Division
This method works well if your Rhynchospora schiedeana is looking a bit crowded or needs refreshing.
- Remove from Pot: Gently slide the entire plant out of its pot.
- Examine the Roots: You’ll see the root ball. Look for natural divisions where clumps have formed.
- Separate the Divisions: Using your hands or a clean knife, carefully pull or cut the root ball apart. Aim for sections that have a good amount of roots and some healthy foliage. Don’t worry if everything isn’t perfectly neat; the plant is resilient.
- Pot the Divisions: Pot each division into its own pot filled with your well-draining potting mix. Ensure the crown of the plant (where new growth emerges) is at soil level.
- Water Gently: Water thoroughly after planting, then proceed with aftercare.
The “Secret Sauce” (Pro Tips)
Here are a few little tricks I’ve learned over the years:
- Don’t let the leaves touch the water when you’re doing stem cuttings in water (though I generally prefer soil propagation for Rhynchospora). If leaves sit in stagnant water, they’ll rot and take the whole cutting down with them.
- Bottom heat is your best friend for stem cuttings. A propagation mat or even placing pots on top of a gently warmed appliance (like a router, being mindful of electronics!) can significantly speed up root formation. It mimics that cozy, spring soil temperature so well.
- Be patient with division. Sometimes, a division might look a little sad for a week or two. That’s okay! As long as the roots are healthy and you’re providing good conditions, they’ll usually perk up and start growing again.
Aftercare & Troubleshooting
Once your cuttings have developed a good root system (you can gently tug on them – they’ll resist if they’re rooted!) or your divisions are showing new growth, slowly acclimate them to normal conditions. Gradually remove the plastic bag or open the vents on your propagation dome over a few days. Continue to keep the soil consistently moist but not waterlogged.
The most common sign of trouble is rot. This usually happens if the soil is too wet and doesn’t have enough drainage. You might see brown, mushy stems or leaves that yellow and wither quickly, even with adequate light. If you spot this, act fast! You may need to unpot the cutting, trim away any rotted parts, and repot into fresh, dry soil. For divisions, ensure the plant isn’t sitting in a pool of water.
A Encouraging Closing
Propagating Rhynchospora schiedeana is a wonderful way to connect with your plants and share their charm. Don’t be discouraged if your first attempt isn’t perfect. Every gardener has had failures; it’s all part of the learning journey. Just keep observing your plants, adjust your methods as needed, and most importantly, enjoy the process. Happy growing!
Resource:
https://identify.plantnet.org/k-world-flora/species/Rhynchospora%20schiedeana%20Kunth/data