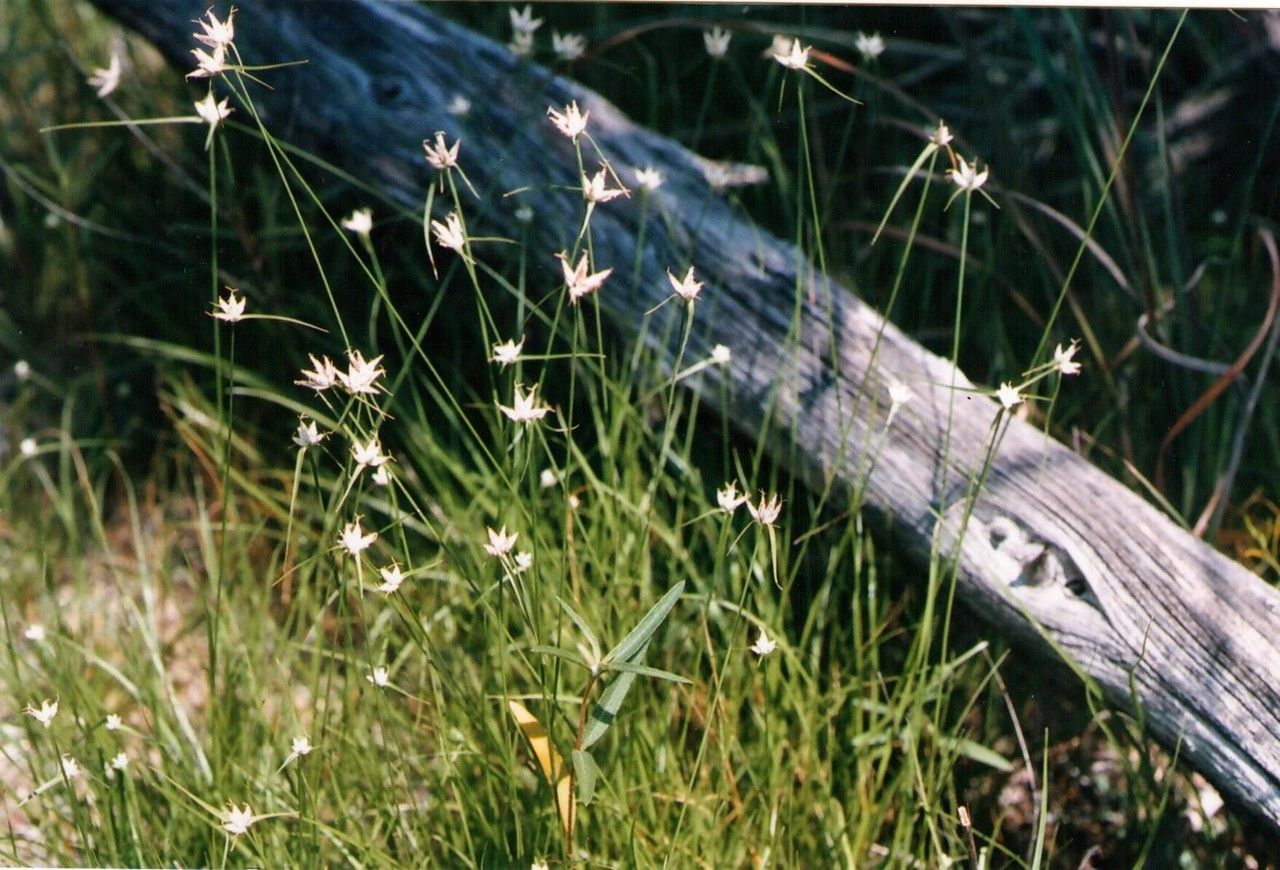
Oh, hello there! So, you’ve fallen in love with Rhynchospora nivea, haven’t you? I don’t blame you one bit. Its delicate, snowy-white flower-like inflorescences are just dreamy, like little puffs of cotton drifting on a breeze. And the way it adds a touch of ethereal magic to a garden… it’s truly special. Propagating it yourself is such a rewarding journey. You get to create more of that magic, and honestly, it’s a fantastic way to connect even deeper with this beautiful plant.
Now, about ease. For beginners? It’s moderately easy, leaning towards easy if you’re paying attention. It’s not a “set it and forget it” kind of plant when it comes to propagation, but with a little care and understanding, you’ll be successful.
The Best Time to Start
Timing is everything, as they say! The absolute sweet spot for propagating Rhynchospora nivea is in early to mid-spring. This is when the plant is bursting with new growth and has ample energy to put into developing roots. You can also have some success in early summer, but spring’s gentle warmth and increasing daylight hours really give your cuttings the best head start. Look for actively growing stems, not old, woody ones.
Supplies You’ll Need
Before we get our hands dirty, let’s gather our tools. A little preparation goes a long way:
- Sharp, clean pruning shears or a sharp knife: For making clean cuts.
- Rooting hormone powder or gel: While not always strictly necessary for Rhynchospora nivea, it can definitely give your cuttings a boost.
- A well-draining potting mix: I like a blend of potting soil, perlite, and a bit of coarse sand (about a 2:1:1 ratio). It keeps things airy and prevents waterlogging.
- Small pots or propagation trays: Make sure they have drainage holes!
- A clear plastic bag or propagation dome: To create a humid environment.
- Labels and a permanent marker: To keep track of your cuttings.
- A watering can with a fine rose or a mister: For gentle watering.
Propagation Methods
Rhynchospora nivea is most commonly and successfully propagated through stem cuttings. It’s quite straightforward, really.
Step-by-Step with Stem Cuttings:
- Take Your Cuttings: In spring, select healthy, actively growing stems. Look for stems that are about 4-6 inches long and have at least a couple of nodes (where leaves attach to the stem). Using your clean shears or knife, make a clean cut just below a node. This is where roots are most likely to form.
- Prepare the Cuttings: Gently remove the lower leaves from the cutting, leaving just a few at the top. This prevents them from rotting in the soil or water. If the leaves are very large, you can even snip them in half to reduce water loss.
- Apply Rooting Hormone (Optional but Recommended): Dip the cut end of the stem into your rooting hormone, tapping off any excess. This helps encourage root development.
- Pot Them Up: Fill your small pots or trays with your prepared potting mix. Make a small hole in the center of the soil with your finger or a pencil. Insert the cutting into the hole, ensuring the nodes where you removed the leaves are below the soil surface. Firm the soil gently around the stem to ensure good contact.
- Water Gently: Water the soil thoroughly but gently. You want it moist, not soggy.
- Create Humidity: This is crucial! Place the potted cuttings in a bright location, but out of direct, harsh sunlight. Cover the pots with a clear plastic bag or a propagation dome. This traps moisture and creates a mini-greenhouse effect, which is vital for cuttings to root. You can use stakes to keep the bag from touching the leaves.
The “Secret Sauce” (Pro Tips)
Now, for a couple of little tricks I’ve learned over the years that can really make a difference:
- Bottom Heat is Your Friend: Rhynchospora nivea just adores a little warmth from below. Placing your pots on a gentle heating mat can significantly speed up root formation. It mimics the warmth of spring soil and gives those roots a real encouragement to emerge. Just be sure the heat isn’t too high; you don’t want to cook your cuttings!
- Don’t Drown Your Dreams: While humidity is key, stagnant water is the enemy of roots. When you mist or water your cuttings, ensure there’s good air circulation. If you’re using a plastic bag, occasionally lift it to allow fresh air in. If you see condensation pooling excessively, it’s a sign things are too wet and could lead to rot.
Aftercare & Troubleshooting
Once your cuttings have been potted and are happily residing under their plastic tents, the waiting game begins. You’ll want to check your cuttings regularly. Look for signs of rooting, which can take anywhere from 3-6 weeks, sometimes longer.
Signs of Success: New, tiny leaves emerging from the top or sides of the cutting are a fantastic indicator that roots are forming. You can also gently tug on the cutting; if it offers resistance, roots are likely present.
Troubleshooting: The most common issue you might encounter is rot. This usually happens if the soil is too wet and there’s not enough air circulation. If you see any mushy, blackening stems or leaves, sadly, that cutting is likely lost. Pull it out immediately to prevent it from affecting others. Ensure your soil is draining well, and don’t be afraid to vent the humidity dome if things look too damp. If your cuttings look wilted, it might mean they need more humidity or a bit more light.
A Gentle Closing
So there you have it! Creating more Rhynchospora nivea is a beautiful and satisfying endeavor. Be patient with your little charges; nature has its own timetable. Enjoy the process of nurturing something new, and soon you’ll have a whole garden full of these enchanting beauties. Happy propagating!
Resource:
https://identify.plantnet.org/k-world-flora/species/Rhynchospora%20nivea%20Boeckeler/data