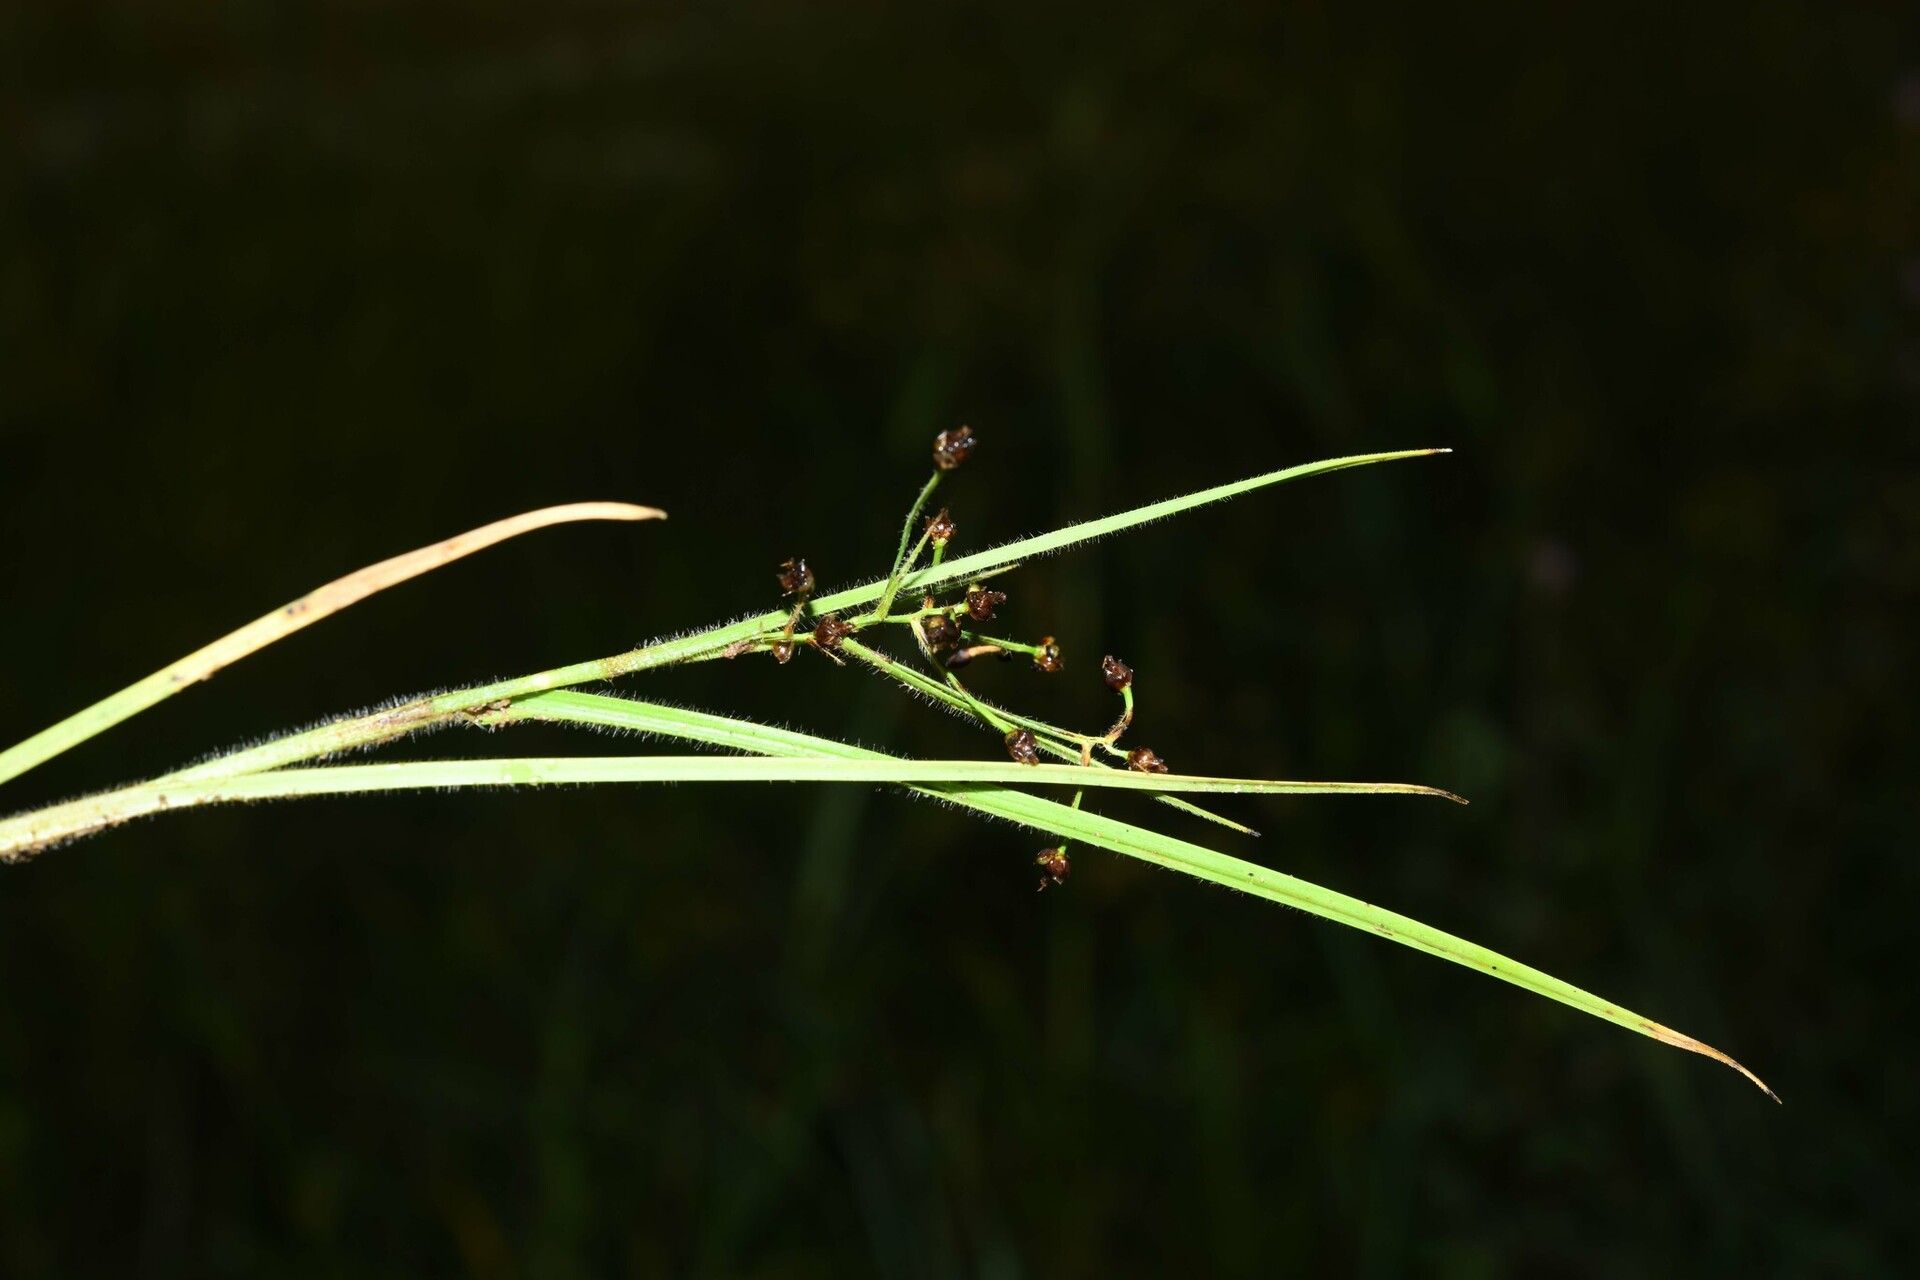
Hello fellow plant lovers! If you’ve ever admired the delicate beauty of Rhynchospora divaricata – that wonderful grass-like wonder with its airy inflorescences – and thought, “I wish I had more of those!”, then you’re in the right place! Propagating this gem can be incredibly rewarding. It’s not the most common plant to find at your local nursery, so having the ability to create your own is a real treat. And for those of you just starting out with propagation, I’d say Rhynchospora divaricata falls into the “moderately easy” category. A little patience and attention go a long way!
The Best Time to Start
For the highest success, I like to start Rhynchospora divaricata propagation in late spring or early summer. This is when the plant is actively growing after its dormancy and has plenty of energy to put into new growth and rooting. You’re essentially tapping into its natural vigor at its peak.
Supplies You’ll Need
Here’s what you’ll want to have on hand before you begin:
- Sharp pruning shears or a clean, sharp knife: For making precise cuts.
- A good quality, well-draining potting mix: I often use a blend of peat moss, perlite, and a little bit of compost. A mix designed for succulents often works well too.
- Small pots or seedling trays: Clean ones, please!
- Rooting hormone (optional but helpful): A powder or gel formulation.
- A clear plastic bag or propagator lid: To create a humid environment.
- Watering can with a fine rose: For gentle watering.
- Labels and a permanent marker: To keep track of your efforts!
Propagation Methods
There are a couple of ways to go about this, but my favorite and often most successful method for Rhynchospora divaricata is through division. This plant tends to form clumps over time, making it perfect for this technique.
Division:
- Gently unpot your mature plant. Be careful not to damage the root system too much.
- Inspect the root ball. You’ll see where the plant naturally wants to separate into smaller sections.
- Carefully tease the roots apart. If they are really stuck, you can use your clean knife or pruning shears to make a cut through the root ball. Aim for divisions that have at least a few shoots and a good amount of roots.
- Pot up the new divisions. Use your well-draining potting mix in your small pots or trays. Make sure the crown of the plant (where the leaves emerge from the roots) is at the soil surface.
- Water gently. Water thoroughly to settle the soil around the roots.
- Place in a bright, indirect light location. Avoid direct sun, which can scorch the young plants.
While division is my go-to, you might also find success with stem cuttings, though it requires a bit more finesse with Rhynchospora divaricata. If you choose this route:
- Take cuttings from healthy, non-flowering stems in the late spring or early summer. Make a clean cut just below a leaf node.
- Remove the lower leaves.
- Dip the cut end in rooting hormone (if using).
- Plant the cuttings in your well-draining mix. Gently water and cover with a plastic bag or propagator lid.
- Maintain consistent moisture and a warm environment. This method can be slower for Rhynchospora divaricata and has a slightly lower success rate for me compared to division.
The “Secret Sauce” (Pro Tips)
Here are a couple of things I’ve learned over the years that can make a big difference:
- Don’t rush the division. Sometimes, a clump might look like it should divide easily, but it’s still very tightly bound. Forcing it can damage the root system of both the parent plant and the potential new ones. Be patient and let the plant tell you when it’s ready to split. Gently wiggling a section can often reveal natural separation points.
- Think about humidity, not just moisture. While keeping the soil moist is important, Rhynchospora divaricata babies absolutely thrive in high humidity. Covering your divisions with a clear plastic bag or using a propagator lid is crucial for preventing them from drying out before they establish roots. Make sure to ventilate it daily for a few minutes to prevent fungal issues, but keep it covered most of the time.
- Consider a “warm bottom.” If you’re struggling with root development, especially with cuttings, a gently heated seed mat can provide the consistent warmth that encourages root growth without overheating the plant. It’s like a little spa day for your cuttings!
Aftercare & Troubleshooting
Once your new Rhynchospora divaricata plants show signs of new growth – tiny new leaves or increased vigor – you know they’re starting to establish themselves. Continue to keep them in a bright, indirect light spot and water them when the top inch of soil feels dry.
The most common issue you might encounter is rot. This usually happens if the soil stays too wet for too long, especially if the plant doesn’t have good drainage or is in an environment that’s too cold and damp. If you see mushy stems or leaves that turn yellow and die quickly, it’s often a sign of overwatering or poor air circulation. Discard any plants that show clear signs of rot to prevent it from spreading. Sometimes, if it’s just a bit of damping off at the soil line, you can carefully trim away the affected part and try to let the rest of the plant recover if it’s still healthy.
A Little Patience Goes a Long Way
Propagating plants is a journey, and Rhynchospora divaricata is no exception. Don’t be discouraged if your first attempt isn’t a roaring success. Each time you try, you learn a little more about what your plants need. Enjoy the process of nurturing these new beginnings, and soon you’ll have a lovely collection of your own grass-like beauties! Happy gardening!
Resource: