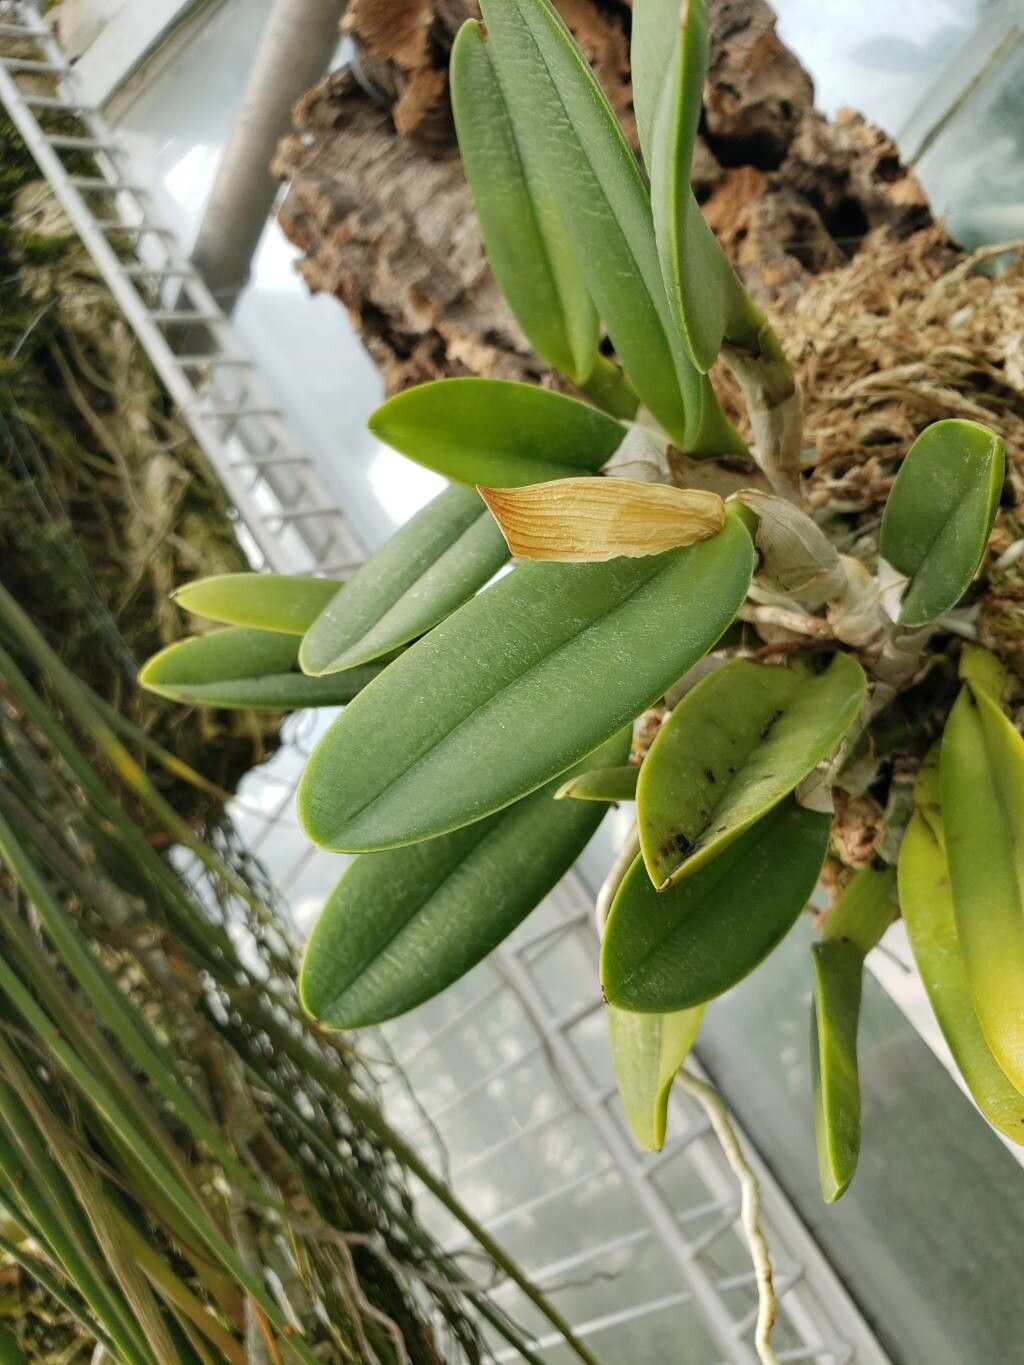
Hello fellow plant lovers! Today, we’re diving into the wonderful world of Rhyncholaelia glauca, also known as the ‘Glaucous Rice Orchid’. This beauty, with its striking, almost silvery-blue leaves and delicate, fragrant flowers, is a real showstopper in any collection. Propagating it is incredibly rewarding; there’s nothing quite like watching a tiny piece of it grow into a magnificent specimen you nurtured yourself. Now, I won’t pretend it’s as effortless as sticking a begonia leaf in water, but with a little patience and know-how, you’ll be well on your way to success.
The Best Time to Start
The absolute best time to propagate Rhyncholaelia glauca is during its active growing season. For most people, this means spring and early summer. You’re looking for new, healthy growth that’s already showing some substance. Trying to propagate when the plant is dormant or stressed is a recipe for disappointment. Think of it like trying to start a new business on a whim – it’s much better to do it when you have energy and resources!
Supplies You’ll Need
Gathering your tools beforehand makes the whole process smoother. Here’s what I always have on hand:
- Sharp, sterile pruning shears or a clean knife: Crucial for making clean cuts.
- Rooting hormone powder or gel: This isn’t strictly mandatory, but it can give your cuttings a significant boost. I tend to use it for anything I’m a little unsure about.
- Well-draining potting mix: For orchids like Rhyncholaelia glauca, a bark-based orchid mix is ideal. You can often find these at your local garden center.
- Small pots or trays with drainage holes: Choose something appropriate for the size of your cuttings.
- Perlite or horticultural charcoal: To improve drainage and aeration within the potting mix.
- A clear plastic bag or propagation dome: To create a humid environment for your cuttings.
- Spray bottle with clean water: For misting.
Propagation Methods
The most common and effective way to propagate Rhyncholaelia glauca is through division. This plant naturally forms new growths (called pseudobulbs) from its base.
- Gently unpot your established Rhyncholaelia glauca. Try to loosen as much of the old potting medium as you can without damaging the roots too much. A gentle rinse under running water can help here.
- Inspect the plant for healthy divisions. You’re looking for sections that have at least two to three healthy pseudobulbs and a decent root system. You can often see where new growth is emerging.
- Using your sterile pruning shears or knife, carefully separate the division. Make sure each new section has enough roots. If there are very old, woody rhizomes connecting the sections, you might need to cut through those.
- Optional: Apply rooting hormone to the cut end of the rhizome. Let it air dry for a few minutes before potting.
- Pot each division into its own small pot using your pre-moistened orchid mix. Don’t pack the mix too tightly; orchids like their roots to have plenty of air.
- Place the potted divisions in a warm spot with bright, indirect light.
- Cover the pots with a clear plastic bag or propagation dome to maintain high humidity. You can secure the bag with a rubber band around the rim of the pot. Ensure the leaves aren’t touching the plastic.
The “Secret Sauce” (Pro Tips)
Here are a couple of my tried-and-true tricks for getting successful propagations:
- “Don’t drown it!”: When you mist your new divisions, be judicious. You want to keep the humidity high, but you absolutely do not want the potting mix to become waterlogged. A little bit of drying out between waterings is actually beneficial. Overwatering is the quickest way to rot off those precious new roots.
- “A little warmth goes a long way”: Orchids absolutely love a bit of bottom heat, especially when they’re trying to root. Placing your pots on a seedling heat mat can significantly speed up the rooting process and increase your success rate. It mimics the warmth of a tropical environment.
Aftercare & Troubleshooting
Once your divisions are potted, keep them in that humid environment. Mist them lightly every few days, depending on how quickly the potting mix dries. You should start to see signs of new root growth within a few weeks to a couple of months. Gently tugging on a leaf is one subtle way to check for root development – if there’s some resistance, roots are forming!
The biggest issue you might encounter is rot. If you see mushy, discolored leaves or stems, it’s a sure sign of overwatering or bacterial infection. Unfortunately, if rot sets in deep, it’s often too late to save the division. This is why being careful with watering and ensuring good air circulation (even within the humidity dome) is so important. If you catch rot early on a leaf, you can try to cut away the affected part with your sterile knife, but prevention is key.
A Heartfelt Closing
Propagating Rhyncholaelia glauca is a journey, and like any good gardening endeavor, it requires a bit of faith and a lot of patience. Don’t be discouraged if your first attempt isn’t a runaway success. Learn from it, adjust your approach, and try again. The joy of seeing those new roots anchor themselves and a fresh leaf unfurl is truly unmatched. Happy propagating!
Resource:
https://identify.plantnet.org/k-world-flora/species/Rhyncholaelia%20glauca%20(Lindl.)%20Schltr./data