Oh, hello there! It’s wonderful to have you join me in the garden today. If you’re anything like me, you’ve probably been captivated by the graceful beauty of Rhododendron arborescens, also known as Smoothleaf Azalea. Its clusters of delicate, trumpet-shaped white or pinkish flowers in late spring are just pure magic. And the best part? Bringing more of this beauty into your life through propagation is incredibly rewarding. Now, I won’t lie to you – propagating rhododendrons can be a tad more involved than, say, a pothos, but it’s absolutely achievable with a little patience and the right approach. Think of it as a delightful challenge!
The Best Time to Start
For Rhododendron arborescens, the sweet spot for taking stem cuttings is typically in early to mid-summer. This is when the new growth has started to mature slightly – it’s not too soft and floppy, but it’s not yet woody and rigid either. This “semi-hardwood” stage is crucial for successful rooting. Aim for a time when the plant has had a good flush of growth but before the extreme heat of late summer sets in.
Supplies You’ll Need
Here’s what you’ll want to have on hand before you get started:
- Sharp, clean pruning shears or a sharp knife: Crucial for making clean cuts.
- Rooting hormone powder or gel: This really gives young cuttings a boost.
- A well-draining potting mix: A good blend is often peat moss, perlite, and a bit of coarse sand. Some growers use a specific rhododendron mix, which works beautifully.
- Small pots or seed trays: Clean ones, mind you!
- Plastic bags or a propagator: To maintain humidity around your cuttings.
- Watering can with a fine rose: For gentle watering.
- Sharpie marker: To label your cuttings!
Propagation Methods
While Rhododendron arborescens can be a bit fussy, stem cuttings are generally the most successful and widely used method for home gardeners.
Stem Cuttings: A Step-by-Step Guide
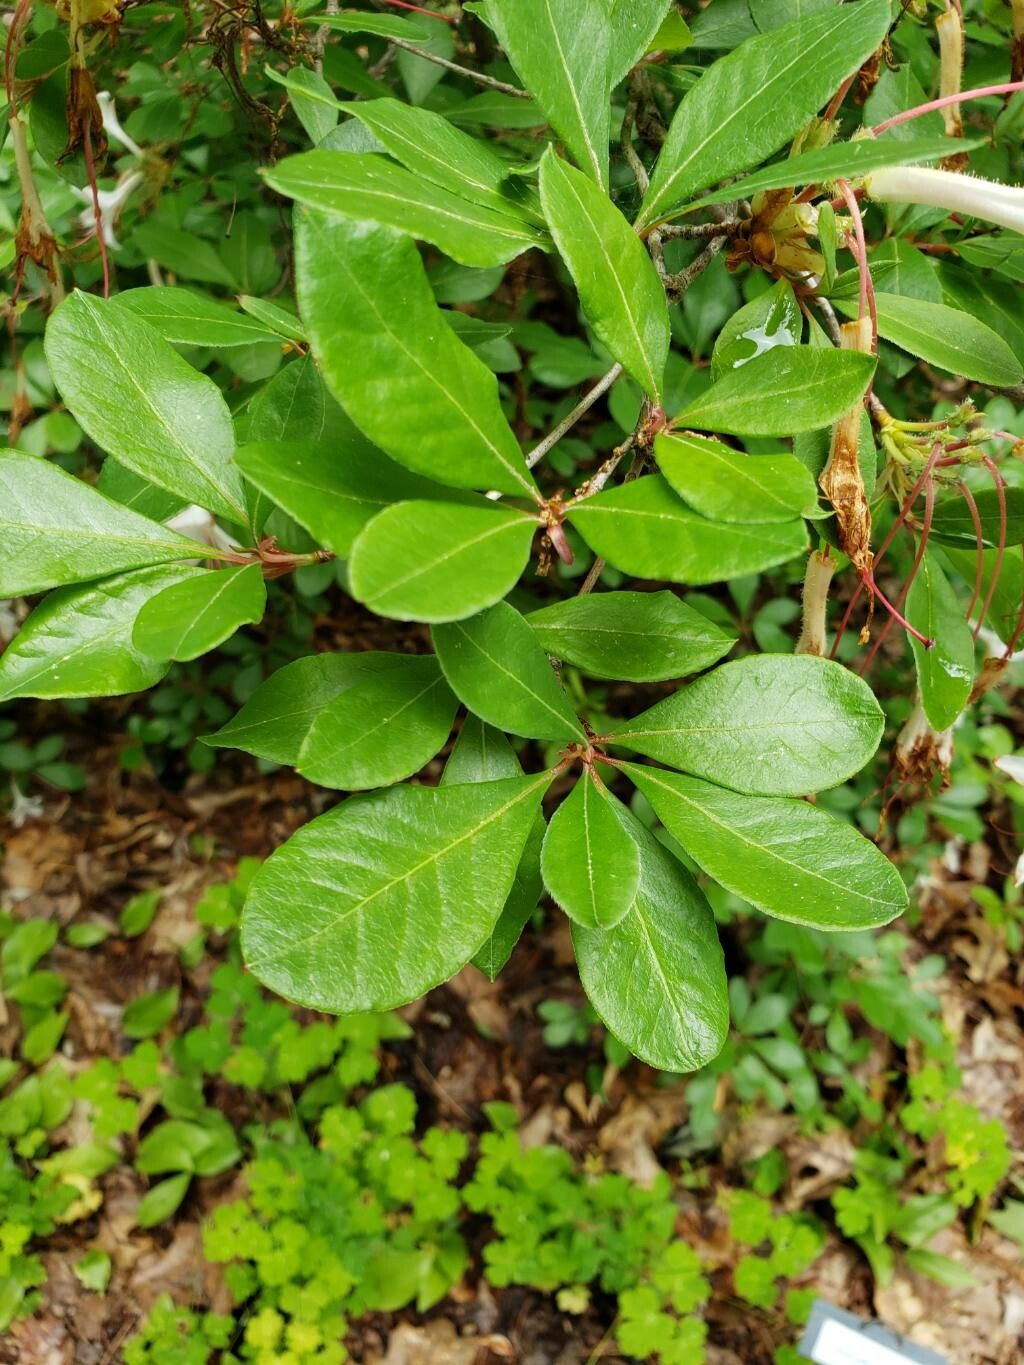
- Select Your Cuttings: On a healthy, vigorous Rhododendron arborescens plant, look for shoots that are about 4-6 inches long. These should feel firm but still have a bit of flexibility. They should be from the current year’s growth.
- Make the Cut: Using your clean shears or knife, make a clean cut just below a leaf node (where a leaf attaches to the stem). This is where the magic of rooting typically happens.
- Prepare the Cuttings: Gently remove the lower leaves, leaving just 2-3 leaves at the top. If the remaining leaves are very large, you can cut them in half horizontally to reduce water loss.
- Apply Rooting Hormone: Dip the cut end of the stem into your rooting hormone, tapping off any excess. This encourages root development.
- Pot Them Up: Fill your clean pots with your prepared potting mix. Make a small hole with your finger or a pencil and gently insert the cutting, ensuring the leaf nodes that were below the soil line are covered. Firm the soil gently around the stem.
- Water Gently: Water the potting mix thoroughly but gently. You want the soil to be moist but not waterlogged.
- Create the Humid Environment: Place the potted cuttings into a plastic bag or a propagator. Seal it loosely so there’s still some air circulation. This will create a mini-greenhouse effect, keeping the humidity high, which is vital for cuttings.
- Place in Their New Home: Position the propagator or bagged cuttings in a bright spot that receives indirect sunlight. Avoid direct sun, as this can scorch the delicate leaves.
Water Propagation (with a caveat)
While some people have success rooting rhododendron cuttings in water, I find it’s often more challenging for this specific species. The main reason is that it’s very easy for the leaves to rot if they touch the water. If you do try it, make sure absolutely no leaves are submerged. You’ll need to change the water frequently. Honestly, for me, soil propagation is the more reliable path for these beautiful shrubs.
The “Secret Sauce” (Pro Tips)
Okay, here are a couple of little tricks I’ve learned over the years that can make a big difference:
- Go for the “Heel”: Sometimes, when you’re gently pulling a shoot from the mother plant, you can get a small piece of the older wood attached to the base – this is called a “heel.” Cuttings with a heel often root even better because they have that bit of mature tissue to draw on.
- Bottom Heat is Your Friend: If you have access to a root-heating mat, using it under your propagator can significantly speed up rooting. The gentle warmth encourages root formation without drying out the top of the cuttings too quickly. It really is a game-changer, especially in cooler environments.
Aftercare & Troubleshooting
Once your cuttings have been potted up, the real waiting game begins!
- Keep Them Moist: Check the soil moisture regularly. It should always be lightly moist, never dry and never soggy. Mist the leaves occasionally if the humidity starts to drop, especially if you don’t have a propagator.
- Be Patient! Rooting can take anywhere from 6 weeks to several months. Resist the urge to tug on them! The best way to check for roots is to gently look for new leaf growth or, very carefully, try to wiggle the cutting. If there’s resistance, you likely have roots.
- Signs of Trouble: The most common sign of failure is wilting and browning leaves that progress down the stem, often followed by mushiness. This is usually a sign of rot, often caused by overwatering or poor drainage. Another sign is a blackening at the base of the cutting, which again points to rot. If you see this, it’s best to discard the affected cutting to prevent it from spreading.
A Little Encouragement
Growing new plants from cuttings is a journey of observation and learning. Don’t be discouraged if not every single cutting takes. Each attempt teaches you something new about your plant and your environment. Celebrate the successes, learn from the challenges, and most importantly, enjoy the process of nurturing new life. Happy propagating!
Resource: