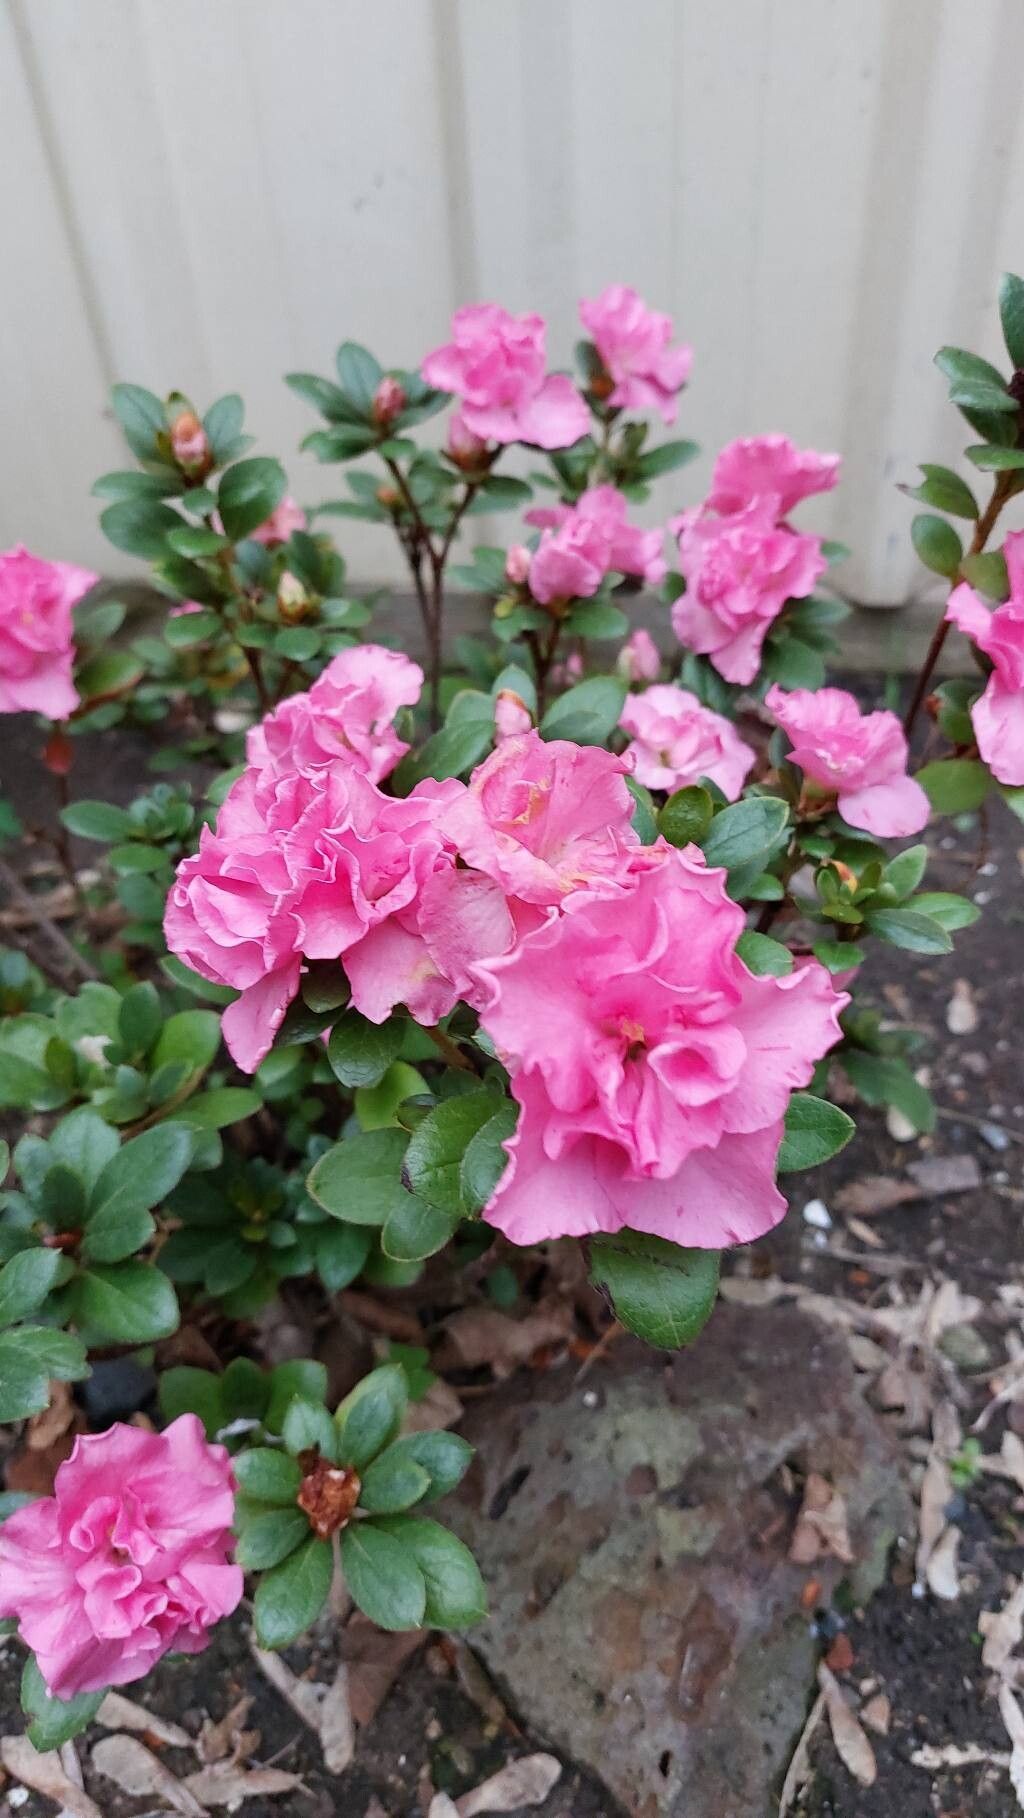
Oh, hello there! Come on in, pull up a chair. I’ve got a fresh pot of coffee brewing. Today, we’re diving into the wonderful world of propagating Rhododendron alabamense. This little gem, also known as the Piedmont Azalea, is just stunning with its fragrant, pure white flowers that often appear before the leaves in spring. There’s something so incredibly satisfying about coaxing a new plant into existence from a piece of an established beauty. It’s a tangible connection to your garden’s lineage! Now, for beginners, I’d say Rhododendron alabamense is moderately challenging. It’s not quite as fuss-free as, say, a succulent, but with a bit of care and attention, you’ll be rewarded.
The Best Time to Start
For Rhododendron alabamense, the absolute sweet spot for propagation is in late spring to early summer, right after the plant has finished flowering. This is when the current season’s growth is hardening off just enough to make a good cutting but is still succulent and full of life. We’re looking for semi-hardwood cuttings – not the brand-new, floppy green shoots, and definitely not the old, woody stems from last year. Think of a pencil’s thickness, firm but with a slight bend to it.
Supplies You’ll Need
Gathering your tools beforehand makes the whole process so much smoother. Here’s what I always have on hand:
- Sharp, clean bypass pruners or a sharp knife: For making clean cuts.
- Rooting hormone: A powdered or liquid form will do. I prefer a powder as it’s easy to dip.
- Small pots or a propagation tray: With good drainage holes, of course!
- Sterilized potting mix: A blend of equal parts peat moss or coco coir and perlite or coarse sand is ideal. This mix offers excellent drainage and aeration, which roses absolutely adore.
- Plastic bags or a propagation dome: To create a humid environment.
- Watering can with a fine rose: For gentle watering.
- Labels and a permanent marker: Don’t skip this; you’ll thank me later!
Propagation Methods
I find stem cuttings to be the most reliable and rewarding method for Rhododendron alabamense. Here’s how I do it:
-
Take Your Cuttings: Using your clean pruners, take cuttings about 4-6 inches long from healthy, vigorous stems. Make your cut just below a leaf node (where a leaf attaches to the stem). Remove the lower leaves, leaving just 2-3 at the top.
-
Apply Rooting Hormone: Lightly moisten the bottom inch of each cutting and dip it into your rooting hormone, tapping off any excess. This step is crucial for encouraging root development.
-
Pot Them Up: Fill your pots or tray with your prepared potting mix. Make a small hole in the center of the soil with a pencil or your finger. Gently insert the cuttings into the holes, ensuring the root hormone-covered end is in the soil. Firm the soil gently around the base of each cutting.
-
Water Gently: Water the soil thoroughly but gently, allowing excess water to drain away.
-
Create Humidity: Cover the pots with a plastic bag, a propagation dome, or even place the tray inside a larger clear plastic bag. Make sure the leaves aren’t touching the plastic, as this can encourage rot. You want to create a mini-greenhouse effect.
The “Secret Sauce” (Pro Tips)
Now for a few things I’ve learned over the years. These little tricks can really boost your success rate:
- Keep the leaves clean and dry: As I mentioned, don’t let the foliage touch the plastic covering. If you’re using a bag, you might need to prop it up a bit with stakes. Also, if you see any leaves starting to look a bit sad or yellow, remove them immediately. A clean cutting is a happy cutting.
- Bottom heat is your friend: If you have a heated propagation mat, place your trays on it. This gentle warmth encourages root formation from below, which is incredibly beneficial. It’s like giving the cuttings a warm hug from the roots up!
- Don’t disturb them too soon! Patience is a virtue here. It can take anywhere from 6-12 weeks, sometimes even longer, for cuttings to root. Resist the urge to pull them up and check. Instead, give them a very gentle tug; if you feel resistance, you’ve got roots!
Aftercare & Troubleshooting
Once you see those trusty roots appearing (you might even see them poking through the drainage holes!), it’s time to give them extra TLC. Gradually decrease the humidity by opening up the plastic covering a little each day for a week or so. Keep the soil consistently moist, but never waterlogged. Once the new plant is well-established with a good root system, you can transplant it into its own slightly larger pot with a good quality, acidic potting mix.
The most common issue you’ll encounter is rot. If a cutting turns black and mushy, it’s usually a sign of too much moisture and not enough air circulation. This is where that well-draining soil mix and avoiding overwatering really come into play. If you see fungus gnats, they are often a sign of overly wet soil too.
A Encouraging Closing
Propagating Rhododendron alabamense is a journey, not a race. There will be moments of waiting, and perhaps a little trial and error, but the reward of nurturing a brand-new azalea from a parent plant is truly immense. Keep experimenting, be patient, and most importantly, enjoy the beautiful process of bringing more of these fragrant wonders into your garden. Happy propagating!
Resource:
https://identify.plantnet.org/k-world-flora/species/Rhododendron%20alabamense%20Rehder/data