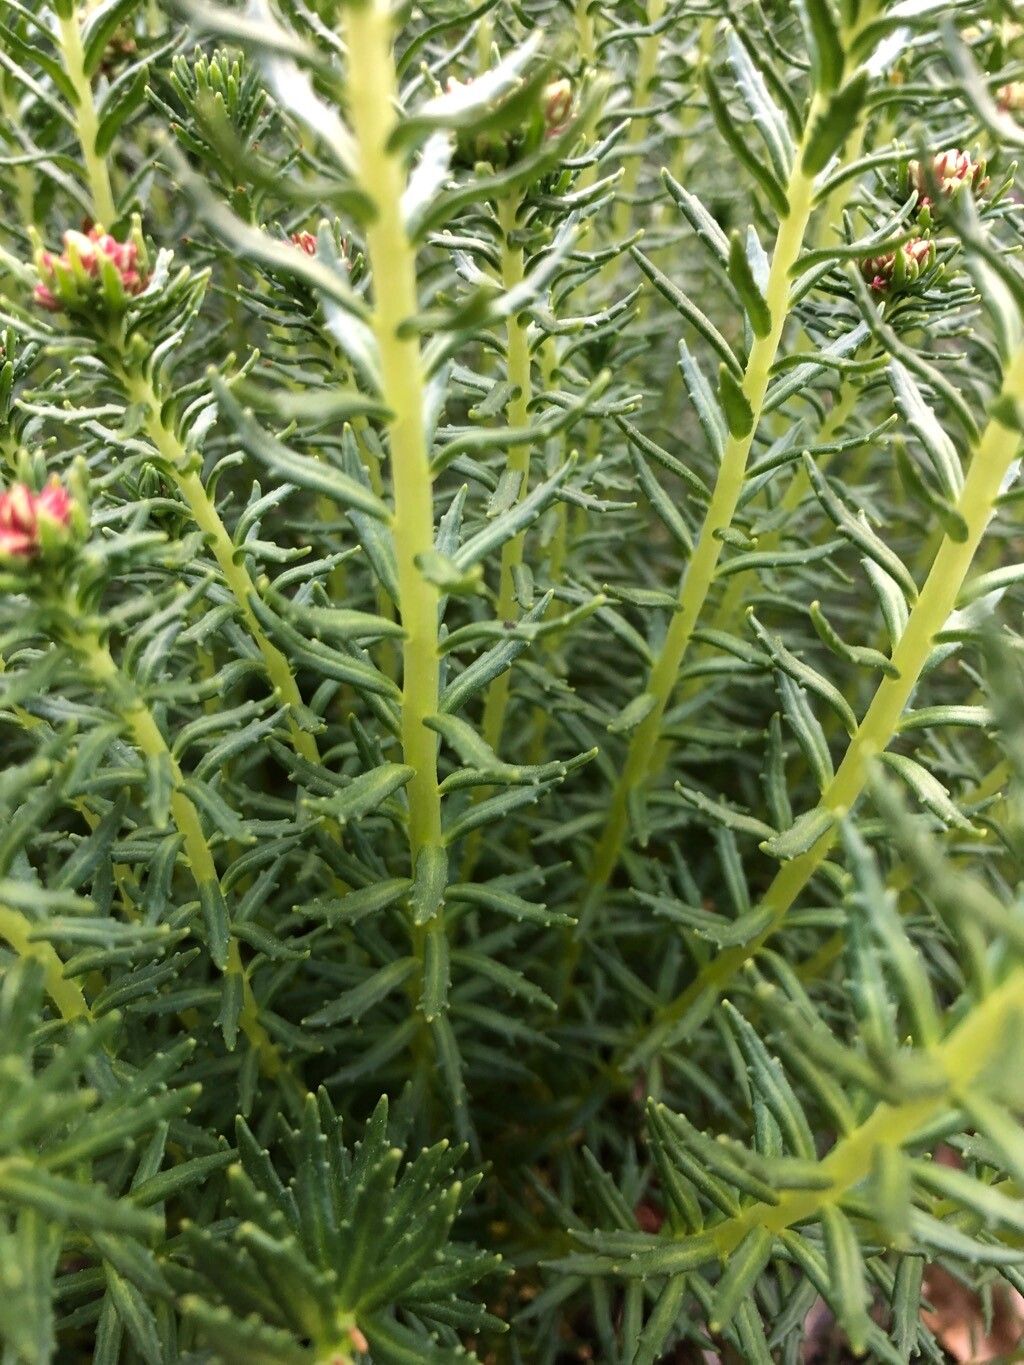
Hello fellow garden enthusiasts! It’s so lovely to have you join me today. If you’re anything like me, you appreciate plants that offer a little bit of everything – beauty, resilience, and even some potential health benefits. That’s where Rhodiola wallichiana comes in. This hardy gem, with its charming pink flowers and sturdy, fleshy leaves, is a joy to have in the garden. And the truly rewarding part? Learning to propagate it yourself! While it might sound a little intimidating at first, I promise you, with a few simple steps, you’ll be well on your way to a whole new batch of these wonderful plants. Don’t worry if you’re new to propagation; Rhodiola is generally quite cooperative.
The Best Time to Start
For Rhodiola, timing is key to getting the best results. I find that late spring to early summer is absolutely the sweet spot. This is when the plant is actively growing, and its stems are firm but not yet woody. Taking cuttings during this vibrant period gives them the best energy reserves to root successfully. You’re essentially catching them at their peak!
Supplies You’ll Need
Before we get our hands dirty, let’s gather our toolkit. Having everything ready makes the process so much smoother.
- Sharp Pruning Shears or a Clean Knife: For making clean cuts without damaging the stems.
- Rooting Hormone (Optional but Recommended): Especially helpful for encouraging faster and stronger root development. Look for one formulated for softwood or semi-hardwood cuttings.
- Gritty Potting Mix: A blend that drains exceptionally well is crucial. I like to mix equal parts perlite, coarse sand, and a good quality potting soil. This prevents waterlogging, which is a Rhodiola’s worst enemy.
- Small Pots or Trays: Clean containers with drainage holes are a must.
- Plastic Bags or a Propagator: To create a humid environment for your cuttings.
- Water: Clean water for misting and watering.
- Labeling Stakes: So you don’t forget what you’ve planted!
Propagation Methods
Rhodiola wallichiana can be propagated quite successfully through stem cuttings. It’s straightforward and yields great results.
- Taking Your Cuttings: On a pleasant, not-too-hot day in late spring or early summer, select healthy, vigorous stems from your mature Rhodiola. Look for stems that are about 4-6 inches long and feel slightly firm but not woody. Using your sharp pruning shears, make a clean cut just below a leaf node (where a leaf grows from the stem). You want to take several cuttings – not all of them will make it, and that’s perfectly normal!
- Preparing the Cuttings: Gently remove the lower leaves from each cutting, leaving just a few at the top. This prevents them from rotting in the soil. If you’re using rooting hormone, dip the cut end of each stem into the powder. Tap off any excess.
- Planting Your Cuttings: Fill your small pots or trays with your gritty potting mix. Make a small hole in the center of the soil with your finger or a pencil.
- Inserting the Cuttings: Carefully insert the cut end of each cutting into the hole, making sure at least one leaf node is buried in the soil. Gently firm the soil around the stem to ensure good contact.
- Watering and Creating Humidity: Water the soil gently but thoroughly. You want it to be moist but not waterlogged. Now, to create that humid environment that cuttings love, you can either place the pots into a propagator, or cover each pot loosely with a clear plastic bag, ensuring the bag doesn’t touch the leaves. You can prop the bag up with a few small stakes if needed.
The “Secret Sauce” (Pro Tips)
Over the years, I’ve learned a few tricks that seem to give my Rhodiola cuttings a little extra boost.
- One thing I always do is avoid letting any leaves touch the soil. If they are too low on the cutting, I just snip them off. Any leaf in contact with damp soil is an invitation for rot.
- If you have a heat mat, placing your pots on it can make a world of difference. Bottom heat really encourages root development. It’s like a cozy blanket for your baby plants!
- When you take your cuttings, it’s good practice to label them immediately. Some varieties might look similar, and you’ll thank yourself later when you’re wondering which one is which!
Aftercare & Troubleshooting
Once your cuttings are planted, the waiting game begins! Keep them in a bright, indirect light location. Avoid direct sun, which can scorch those delicate new cuttings.
Check the moisture levels regularly. The soil should remain consistently moist but never soggy. If you’re using the plastic bag trick, lift it daily for a few minutes to allow for air circulation.
You’ll know your cuttings are happy when you see new growth appearing. This can take anywhere from 4 to 8 weeks, sometimes longer. Another sign of success is when you feel a gentle resistance if you lightly tug on the cutting – that means roots have formed.
Now, for the troubleshooting. The most common issue is rot. If you see stems turning mushy or black, it’s usually a sign of too much moisture and poor drainage. If this happens, try to remove the affected cutting immediately and ensure the remaining soil drains well. Sometimes, overwatering is the culprit.
A Encouraging Closing
See? Not so daunting, is it? Propagating Rhodiola wallichiana is a wonderful way to expand your garden and share the love of these beautiful plants. Be patient, observe your cuttings, and don’t be discouraged if not every single one takes. Each attempt is a learning experience. Enjoy the process, and soon you’ll have a small forest of your own Rhodiola! Happy gardening!
Resource:
https://identify.plantnet.org/k-world-flora/species/Rhodiola%20wallichiana%20(Hook.)%20S.H.Fu/data