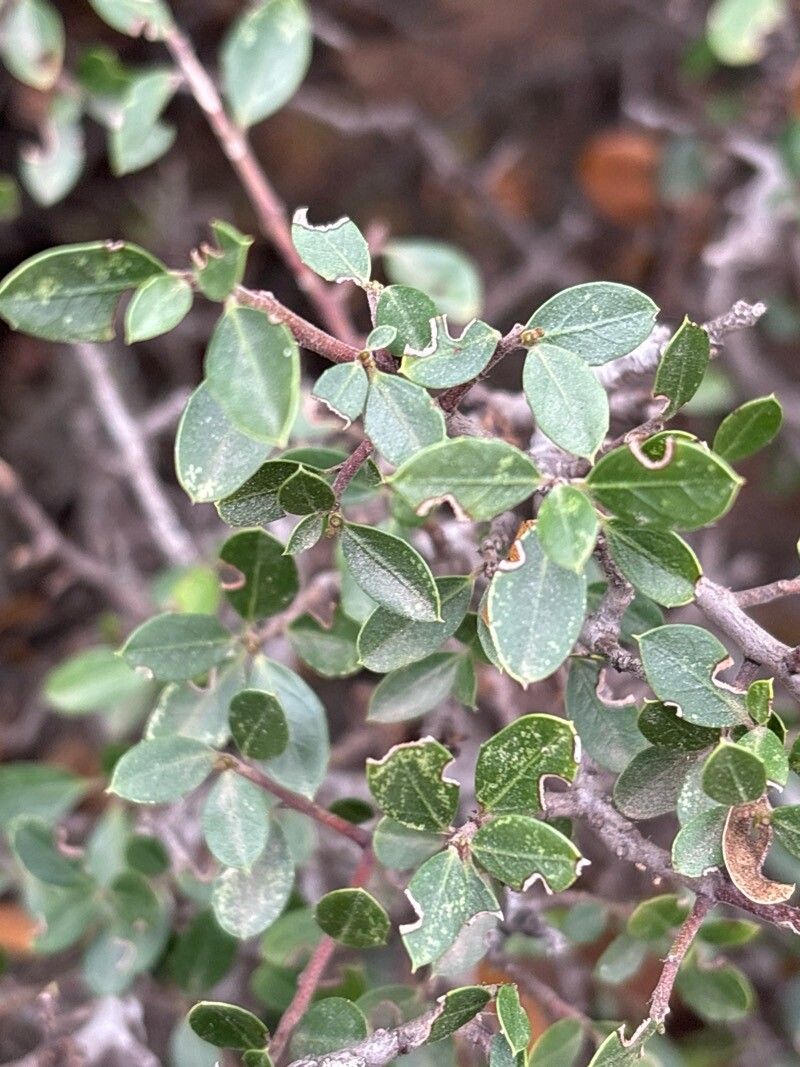
Hey there, fellow plant enthusiasts! Today, I want to chat about a real gem in the garden: Rhamnus myrtifolia, or the Myrtle-leaved Buckthorn. This handsome shrub, with its glossy, evergreen foliage and understated charm, is wonderful for adding structure and timeless appeal to any landscape. And let me tell you, the satisfaction of coaxing new life from a parent plant is something special. If you’re wondering about its propagation ease, I’d say Rhamnus myrtifolia is quite doable, even for those of you just dipping your toes into the world of plant multiplication. Patience is definitely your best friend here, but the rewards are well worth it!
The Best Time to Start
For the highest success rates with our Rhamnus myrtifolia, I’ve found that late spring to early summer is your golden window. This is when the plant is actively growing, and the stems have started to mature a bit but aren’t yet woody. You’re looking for those semi-hardwood cuttings – they have enough flexibility to root, but they’re past the very tender stage that’s prone to disappointment.
Supplies You’ll Need
Before we get our hands dirty, let’s gather our tools. Having everything ready makes the process so much smoother.
- Sharp Pruning Shears or a Knife: Clean cuts are crucial for healthy development.
- Rooting Hormone: A good quality powder or gel will give your cuttings a significant boost.
- Propagation Potting Mix: A well-draining blend is key. I like a mix of equal parts perlite, peat moss, and coarse sand. You can also buy pre-made seed-starting or succulent mixes.
- Small Pots or Trays: Clean, with drainage holes, of course!
- Plastic Bags or a Propagator: To create a humid mini-environment.
- Water: For misting and watering.
- Labels and a Marker: To keep track of what’s what and when you started.
Propagation Methods
Now, let’s get down to the nitty-gritty of bringing more Rhamnus myrtifolia into your life.
Stem Cuttings
This is my go-to method for Rhamnus myrtifolia.
- Take Your Cuttings: In late spring or early summer, select healthy, vigorous stems from your established plant. Using your sharp pruning shears, cut lengths that are about 4-6 inches long. Make the cut just below a leaf node – that little bumpy bit where a leaf emerges.
- Prepare the Cuttings: Gently remove the leaves from the bottom two-thirds of each cutting. You want to expose a good portion of the stem to encourage rooting. If the remaining leaves are quite large, I’ll often trim them in half horizontally to reduce water loss through transpiration.
- Apply Rooting Hormone: Dip the cut end of each prepared cutting into your rooting hormone. Tap off any excess so you have a light coating. This step is like giving your cutting a little encouragement to get growing.
- Plant Your Cuttings: Fill your small pots with the propagation mix, lightly moisten it, and then poke a hole in the center with a pencil or your finger. Insert the rooting-hormone-coated end of the stem into the hole, ensuring a good portion of the bare stem is in contact with the soil. Gently firm the mix around the cutting.
- Create Humidity: Water the pots gently. Then, place the pots inside a clear plastic bag or into a propagator. Ensure the leaves don’t touch the sides of the bag, as this can lead to rot. Seal the bag or close the propagator lid.
Water Propagation (Less Common, but Possible)
While stem cuttings in a soil mix are my preferred route for Rhamnus myrtifolia, I know some folks love watching roots form in water.
- Prepare Cuttings: Follow steps 1 and 2 above for preparing your cuttings.
- Place in Water: Fill a clean jar or glass with room-temperature water. Place the prepared cuttings in the water, making sure no leaves are submerged.
- Change Water Regularly: This is crucial! Change the water every few days to keep it fresh and prevent bacterial growth.
- Wait for Roots: You should start to see tiny white roots emerge within a few weeks. Once the roots are about an inch long, you can then carefully transplant them into your well-draining potting mix. This transition can be a bit delicate, so be gentle.
The “Secret Sauce” (Pro Tips)
Here are a couple of things I’ve learned over the years that really make a difference.
- Bottom Heat is Your Friend: If you’re planning on doing a batch of cuttings, consider investing in a heating mat for propagation. Placing your pots on a gentle heat source (around 70-75°F or 21-24°C) can significantly speed up root development. It’s like a warm hug for your cuttings.
- Don’t Overwater, Ever! This is probably the biggest mistake beginners make. The goal is consistently moist, not soggy, soil. Too much water is the fast lane to root rot, and that’s a one-way ticket to disappointment. I like to check the moisture by gently pressing the soil with my finger. If it feels dry about an inch down, it’s time for a light watering or misting.
Aftercare & Troubleshooting
So, you’ve got roots! Congratulations! Now what?
Once you see noticeable root growth – and this can take anywhere from 4-8 weeks, sometimes longer – it’s time to gradually acclimate your new plants. If they’re in a propagator or bag, start by opening the bag or vents for a few hours each day. Eventually, you can remove the plastic cover entirely.
Keep them in a bright, indirect light location. Continue to water when the top inch of soil feels dry. Once they’re showing good top growth and seem established after a few weeks, you can transplant them into slightly larger pots with a good quality potting mix.
Now, about troubleshooting: The most common issue is rot. If you notice your cuttings are turning mushy, blackening, or look limp and waterlogged, it’s usually a sign of too much moisture or not enough air circulation. Sadly, with rot, it’s usually too late to save them. If you see leaves yellowing and dropping, it could be a sign of not enough light or stress from the transplanting process. Just keep them consistently moist and out of direct sun for a bit.
A Encouraging Closing
Propagating plants is a journey, and with Rhamnus myrtifolia, it’s one filled with quiet satisfaction. Don’t be discouraged if your first attempt isn’t perfect; that’s how we all learn! Be patient, observe your new little charges, and enjoy the magical process of creating your own garden companions. Happy propagating!
Resource:
https://identify.plantnet.org/k-world-flora/species/Rhamnus%20myrtifolia%20Willk./data