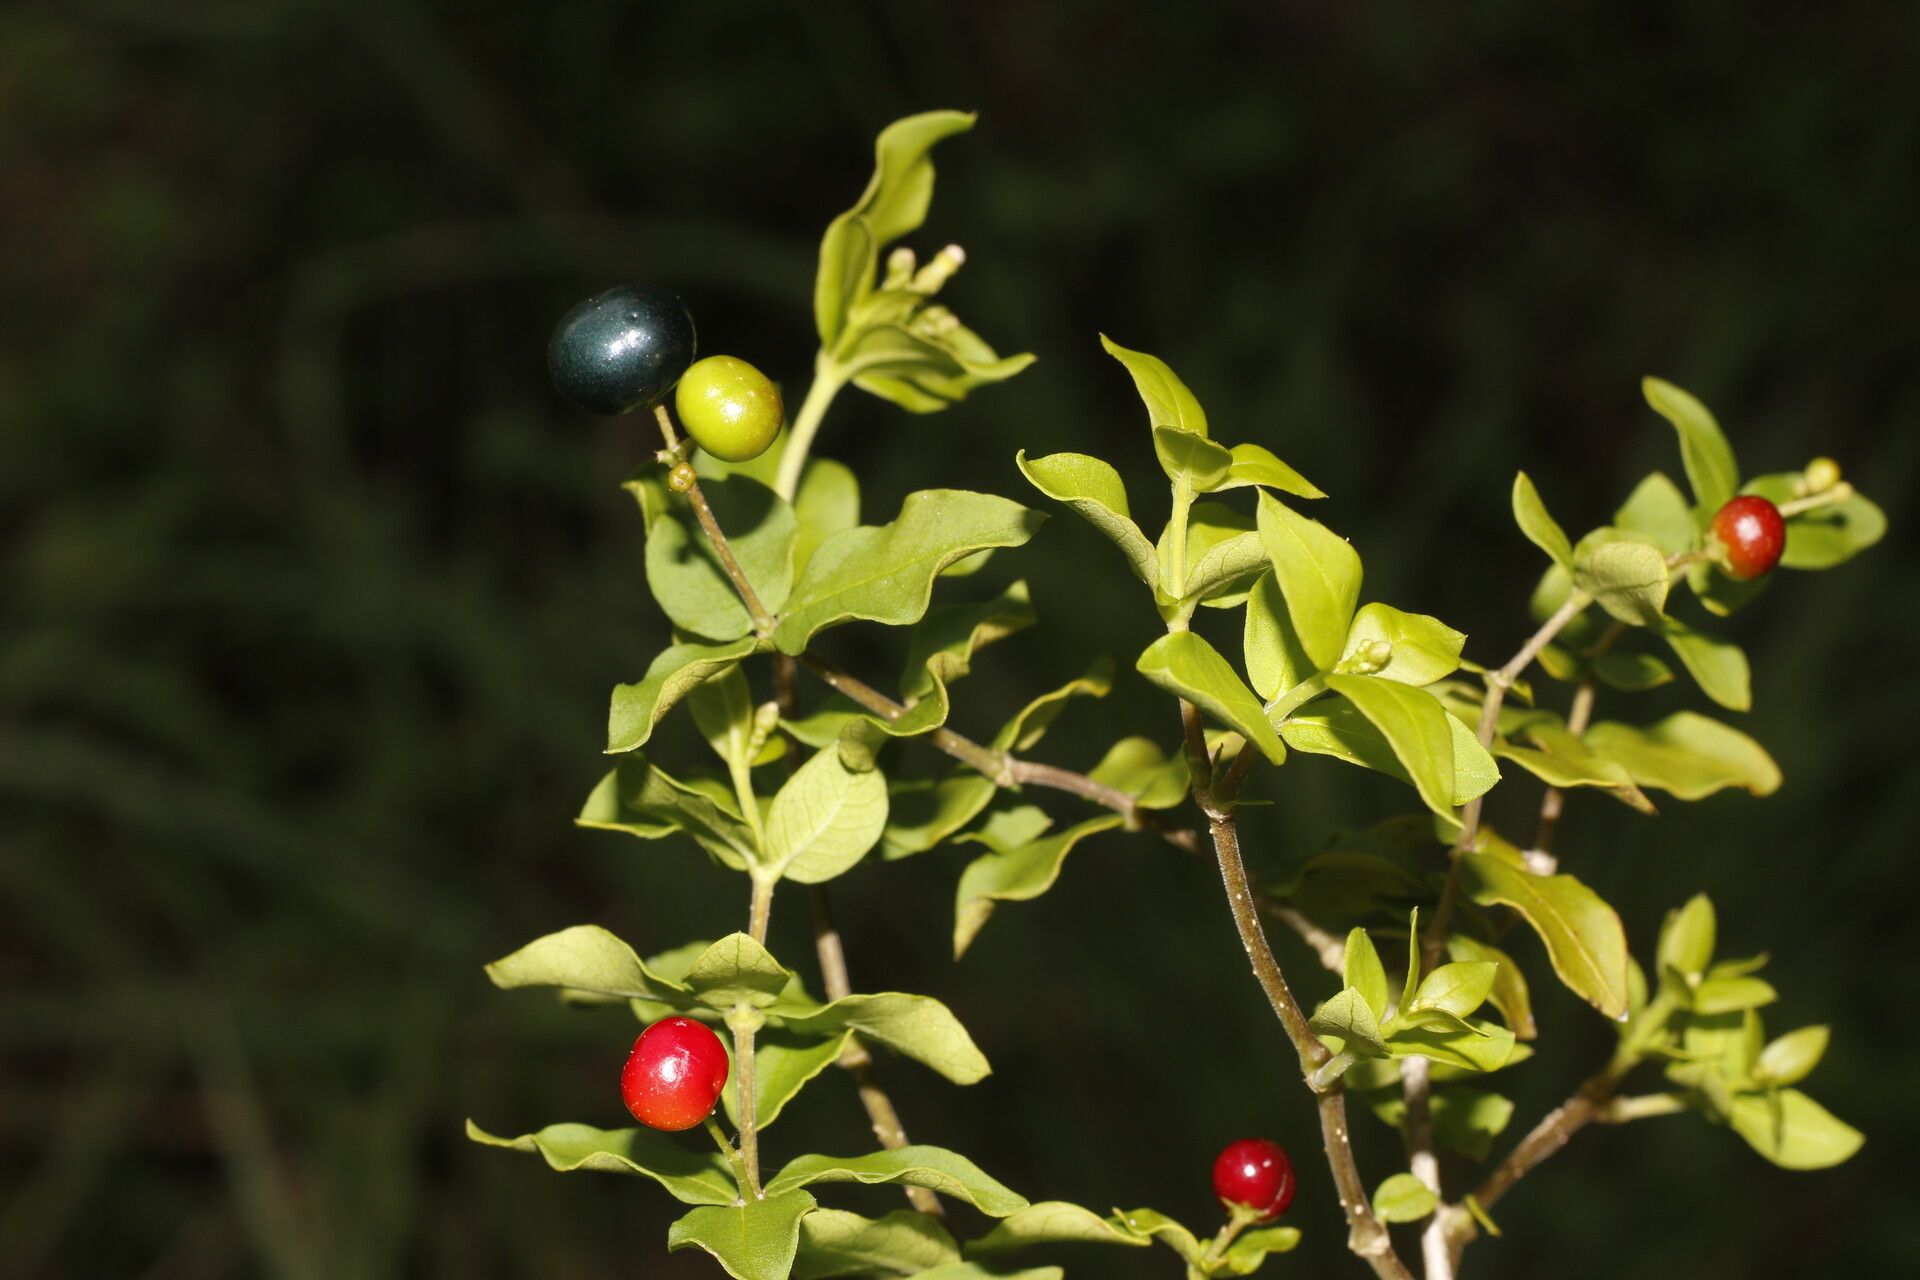
Oh, hello there! Come on in, grab a mug. We’ve got some exciting propagation to chat about today, and for those of you who’ve admired the dusky charm and lovely flowers of Rauvolfia ligustrina, you’re in for a treat. This little gem, with its glossy leaves and delicate blossoms, can be a bit of a conversation starter in the garden. And the best part? You can share that beauty with friends, or simply expand your own collection, by taking cuttings. Now, is it a beginner-friendly plant? Honestly, it’s moderate. It’s not as fuss-free as some of the hardier houseplants, but with a little attention, you’ll find success.
The Best Time to Start
For Rauvolfia ligustrina, the sweet spot for taking cuttings is usually in late spring to early summer. You’re looking for new growth that’s started to firm up a bit – it’s often called “semi-hardwood.” You know, it’s not the floppy, brand-new tip, but it’s also not old, woody stem. This stage gives the cutting the best balance of flexibility and the ability to form roots. Waiting until the plant is actively growing makes a big difference.
Supplies You’ll Need
Before we get our hands dirty, let’s make sure we have everything ready. This makes the whole process much smoother!
- Sharp Pruning Shears or a Knife: Clean cuts are crucial. I prefer secateurs that I can sterilize easily.
- Rooting Hormone: A good quality rooting powder or gel will significantly boost your chances.
- Potting Mix: A light, well-draining mix is key. I usually combine equal parts perlite and peat moss or coco coir. Some gardeners add a bit of fine bark for aeration.
- Small Pots or Seed Trays: Clean pots are a must to prevent disease.
- Plastic Bags or a Propagation Dome: To create a humid environment.
- Water: For watering the cuttings.
- Gloves: If you’re sensitive, though Rauvolfia isn’t terribly irritating.
- Labels: Trust me, you’ll thank yourself later!
Propagation Methods
We’ll focus on the most reliable method for Rauvolfia ligustrina: stem cuttings.
- Prepare Your Cuttings: Head out to your Rauvolfia plant when the conditions are right. Look for healthy stems that have that semi-hardwood feel. You want to take cuttings that are about 4-6 inches long. Make your cut just below a leaf node (where a leaf joins the stem). This is where the magic happens for root formation.
- Remove Lower Leaves: Gently remove the leaves from the bottom half or two-thirds of your cutting. You want to expose the stem where roots can emerge. A few leaves at the top are okay to help with photosynthesis, but don’t overdo it. You can even snip larger leaves in half to reduce water loss.
- Apply Rooting Hormone: Dip the cut end of the stem into your rooting hormone. Tap off any excess powder – you just need a light coating.
- Plant Your Cuttings: Fill your clean pots with your prepared potting mix. Make a small hole in the center of each pot with a pencil or your finger. Gently insert the hormone-coated end of your cutting into the hole, ensuring it makes good contact with the soil. Firm the soil gently around the stem.
- Water Gently: Water the soil thoroughly but gently. You don’t want to dislodge the cutting.
- Create Humidity: This is where the plastic bag or propagation dome comes in. Drape a clear plastic bag over the pot, ensuring the leaves don’t touch the plastic if possible. Alternatively, place the pots inside a clear plastic box or use a propagation dome. This creates a mini-greenhouse effect, keeping the humidity high, which is vital for cuttings that can’t yet absorb water effectively through roots.
The “Secret Sauce” (Pro Tips)
Here are a few things I’ve learned over the years that make a real difference:
- Don’t Drown Those Leaves! If any leaves are resting on the soil or touching the inside of your humidity dome, gently trim them off. They’ll just rot and can infect your cutting.
- Bottom Heat is Your Friend: If you have the space, popping your pots onto a gentle heat mat can really speed up root development. It mimics the warmth that the soil would naturally get in summer. Just a low setting is all that’s needed.
- Dip, Don’t Stir: When you’re using rooting hormone powder, be careful not to dip multiple cuttings into the same container of powder directly. If you need to root a lot, pour a small amount into a separate dish first, or use a different tool for each cutting to avoid spreading disease.
Aftercare & Troubleshooting
Once your cuttings are planted and set up with humidity, the waiting game begins! Keep them in a bright location, but out of direct, harsh sunlight. The soil should be kept consistently moist, but never soggy. It’s a fine balance!
You’ll know roots are forming when you see new leaf growth. This can take anywhere from a few weeks to a couple of months, so patience is key. You can also give a very gentle tug on the cutting. If you feel resistance, you likely have new roots!
The most common issue you’ll encounter is rot. If you see your cutting turning black or mushy, it’s usually a sign of too much moisture and not enough air circulation, or a sign of disease. Sometimes, a bit of antifungal can help prevent the spread, but often, those particular cuttings are lost. Don’t despair; just try again with better airflow or a slightly drier mix.
A Encouraging Closing
There you have it! Propagating Rauvolfia ligustrina is a wonderfully rewarding way to multiply your plant treasures. Don’t get discouraged if your first attempt isn’t perfect. Every gardener has lost more than their fair share of cuttings. The key is to keep trying, observe your plants, and celebrate each tiny victory. Enjoy the journey of nurturing new life!
Resource: