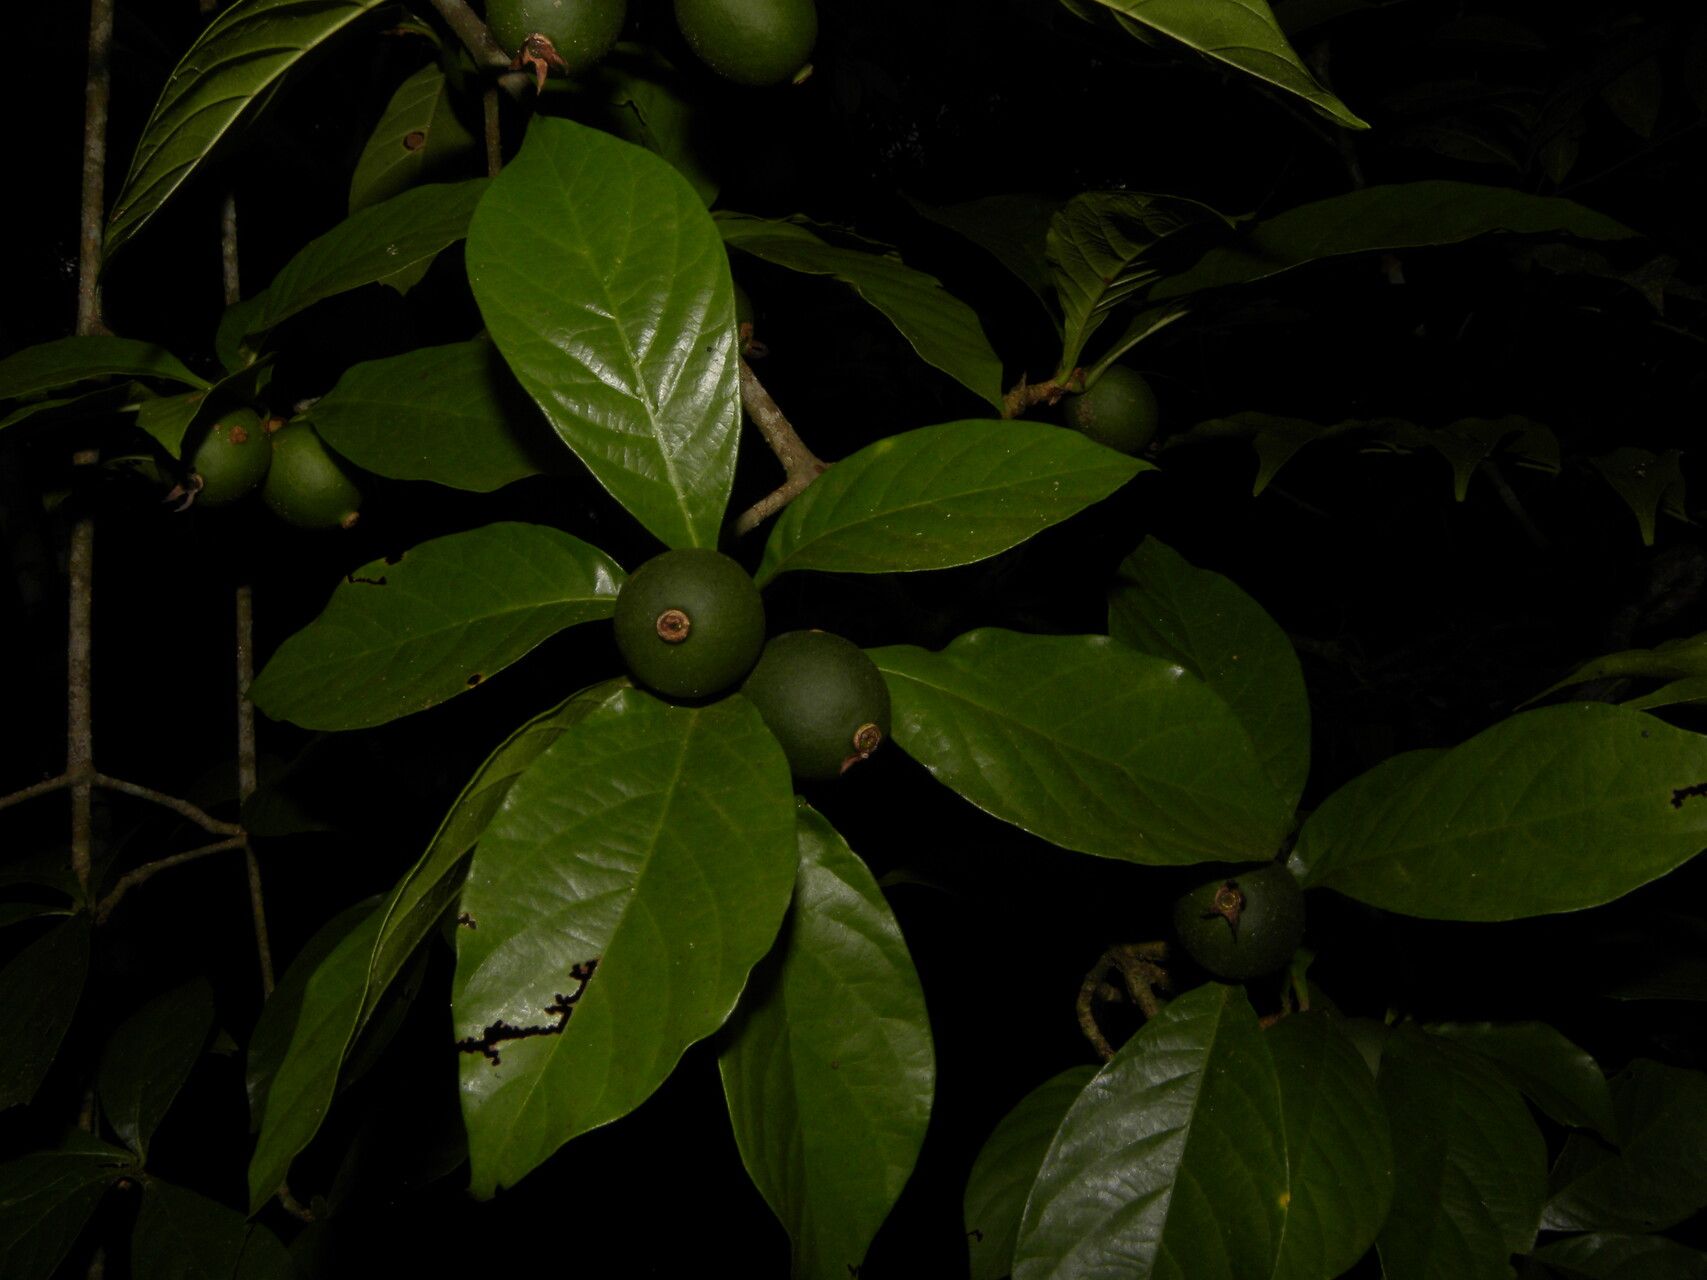
Hello there, fellow plant lovers! It’s so nice to sit down with you for a bit. Today, I want to chat about a plant that’s really captured my heart: Randia armata. You might know it by its common name, the Thorny Randia, or perhaps the Candlewood. Whatever you call it, this stunning plant, with its glossy leaves and those intriguing, almost alien-looking flowers that give way to beautiful berries, is a real treat for any garden. And the best part? You can easily grow your own! Propagating this beauty is incredibly rewarding, though I’ll be honest, it’s a little more on the ‘intermediate’ side for beginners, but with a little patience and these tips, you’ll be well on your way.
The Best Time to Start
For the highest success rate with Randia armata, you’ll want to get started in late spring or early summer. This is when the plant is actively growing and has plenty of energy to put into developing new roots. Look for stems that are not too woody, but also not the brand-new, floppy growth. A nice, semi-hardwood cutting is usually your best bet.
Supplies You’ll Need
Here’s what you’ll want to gather before you begin:
- Sharp Pruning Shears or a Clean Knife: For making clean cuts.
- Rooting Hormone Powder or Gel: This really gives your cuttings a boost.
- Well-Draining Potting Mix: I like a blend of peat moss, perlite, and a bit of compost.
- Small Pots or Seedling Trays: With drainage holes, of course!
- Clear Plastic Bags or a Propagation Dome: To create a humid environment.
- Watering Can with a Fine Rose: For gentle watering.
- Labels: To keep track of your cuttings!
Propagation Methods
Let’s get our hands dirty! The most reliable way to propagate Randia armata for me has been through stem cuttings.
- Take Your Cuttings: Select a healthy stem with several sets of leaves. Using your clean shears, make a cut just below a leaf node (where a leaf attaches to the stem). Aim for cuttings that are about 4-6 inches long. Remove the lower leaves, leaving just a few at the top.
- Apply Rooting Hormone: Dip the cut end of the stem into your rooting hormone powder or gel. Tap off any excess.
- Plant the Cuttings: Fill your small pots or trays with your well-draining potting mix. Make a small hole with your finger or a pencil and carefully insert the cutting, ensuring the leaf nodes are covered by the soil. Gently firm the soil around the stem.
- Create Humidity: Water the soil gently until it’s moist but not waterlogged. Then, cover the pot or tray with a clear plastic bag or place it under a propagation dome. This will trap moisture and create the humid environment your cuttings need.
- Provide Light and Warmth: Place the pots in a bright spot, but out of direct sunlight. A little warmth from below can also be very beneficial.
The “Secret Sauce” (Pro Tips)
Here are a few tricks I’ve learned over the years that really seem to make a difference:
- Give Them a Little Heat: Placing your pots on a heat mat designed for seedlings can significantly speed up root formation. It mimicks the warmth of spring soil, and the plants absolutely love it.
- Don’t Overwater (or Underwater!): This is a balancing act. The soil should feel consistently moist, but never soggy. If you see condensation dripping heavily from the plastic, it’s a good sign. If the leaves start to look a bit droopy and the soil feels dry, it’s time for a gentle watering.
- Think About Air Circulation: While humidity is key, a little bit of airflow helps prevent fungal diseases. Once a day, I like to lift the plastic bag or open the dome for a few minutes to allow for some air exchange.
Aftercare & Troubleshooting
Once you start to see new growth on your cuttings, that’s a great sign they’re developing roots! You can gently tug on a cutting to feel for resistance – that means roots are forming. Continue to keep the soil moist and the environment humid. Once they’re well-rooted, you can gradually acclimate them to normal room conditions by opening the plastic bag or dome for longer periods.
The most common issue you’ll encounter is rot. This usually happens from overwatering or poor drainage. If you see a cutting turning black and mushy, sadly, it’s likely time to compost it and try again. Prevention is key here – good drainage and not letting the pots sit in standing water are your best defenses.
A Encouraging Closing
Propagating plants is a journey, and it’s filled with learning. Don’t be discouraged if every single cutting doesn’t make it. That’s just part of the process! Take what you learn, tweak your method, and try again. Most importantly, enjoy the journey and the magic of creating new life from a simple stem. Happy gardening!
Resource:
https://identify.plantnet.org/k-world-flora/species/Randia%20armata%20(Sw.)%20DC./data