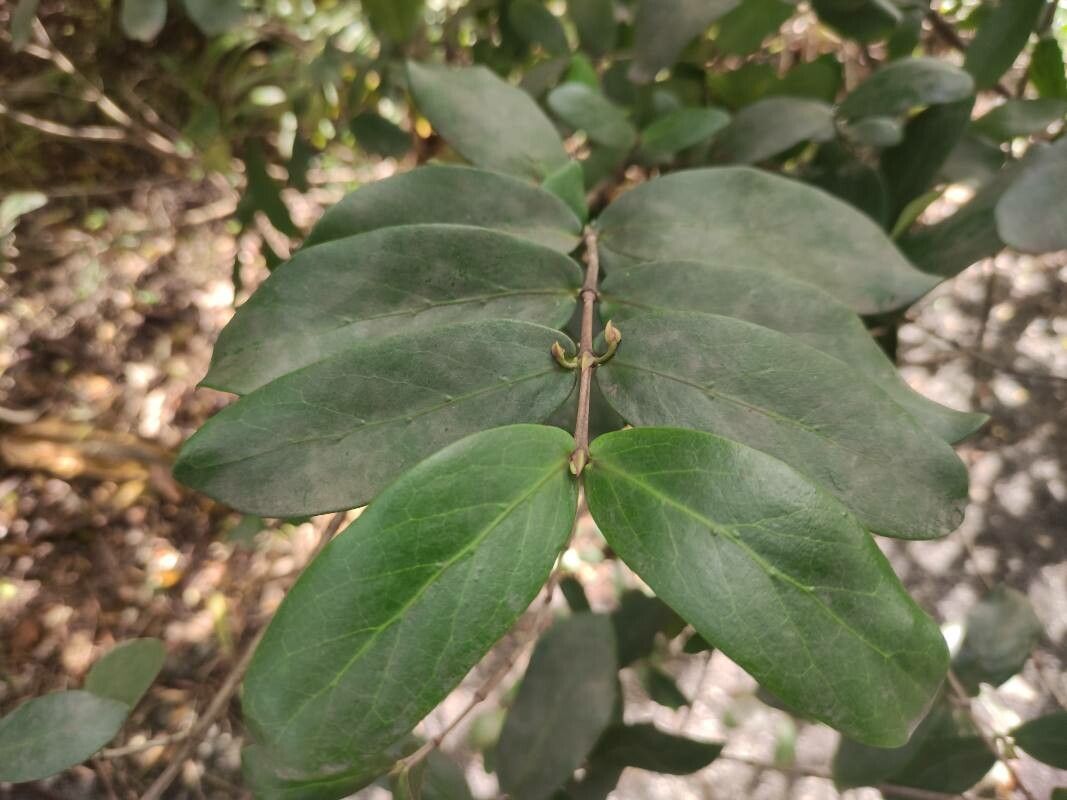
Hello, fellow plant lovers! Today, we’re diving into the wonderful world of Pyrostria commersonii, a plant that’s been bringing a splash of vibrant color and intriguing texture to my garden for years. With its striking foliage and interesting growth habit, it’s a real showstopper. And the best part? Bringing new ones into the world yourself is incredibly rewarding! Whether you’re just starting out or you’ve got a few seasons under your belt, propagating Pyrostria commersonii is a fantastic way to expand your collection and share the joy with others. I’ll be honest, it’s not always the absolute easiest plant to get to sprout, but with a little know-how and a lot of patience, you’ll be celebrating successes in no time.
The Best Time to Start
For the highest chance of success with Pyrostria commersonii, I find that late spring to early summer is your sweet spot. This is when the plant is in its most vigorous growth phase, meaning it has ample energy to put into developing new roots. You want to be taking cuttings from healthy, actively growing stems. Avoid anything that looks stressed, dormant, or has just finished flowering.
Supplies You’ll Need
Here’s what you’ll want to have on hand before you get started:
- Sharp Pruning Shears or a Clean Knife: A clean cut is essential to prevent disease.
- Rooting Hormone Powder or Gel: This is a real game-changer for encouraging root development.
- Potting Mix: A well-draining mix is crucial. I like to use a blend of peat moss, perlite, and a bit of coarse sand. A store-bought succulent or cactus mix works well too.
- Small Pots or Seedling Trays: Clean pots are a must.
- Plastic Bags or a Propagator: To create a humid environment.
- Watering Can with a Fine Rose: For gentle watering.
- Labels and a Marker: To keep track of your propagations.
Propagation Methods: Stem Cuttings
This is my go-to method for Pyrostria commersonii. It’s straightforward and usually yields great results:
- Select Your Stems: Look for healthy, semi-hardwood stems that are about 4-6 inches long. These are stems that are firm but still slightly flexible – not woody and old, nor soft and brand new.
- Make the Cut: Using your sharp pruning shears or knife, make a clean cut just below a leaf node. A leaf node is a point on the stem where a leaf grows.
- Prepare the Cutting: Gently remove the lower leaves from the cutting, leaving just a few at the top. This reduces water loss and prevents rot. If the remaining leaves are quite large, you can even snip them in half to further minimize transpiration.
- Apply Rooting Hormone: Dip the cut end of the stem into your rooting hormone, tapping off any excess. Make sure the end is lightly coated.
- Planting: Fill your clean pots with your well-draining potting mix. Make a small hole in the center with your finger or a pencil. Insert the cutting into the hole, ensuring the rooting hormone stays on the cut end. Gently firm the soil around the cutting.
- Water and Cover: Water the soil gently until it’s evenly moist. Then, cover the pot with a clear plastic bag or place it in a propagator. This traps humidity, which is vital for cuttings to root. You can prop the bag up with a few small sticks to prevent it from touching the leaves.
The “Secret Sauce” (Pro Tips)
Here are a couple of things I’ve learned over the years that really help boost success rates:
- Keep the Leaves DRY: This is a big one! When you water, try your best not to get the leaves wet. If they stay damp for too long, they’re a prime target for fungal issues. A gentle watering at the base of the cutting is best.
- Bottom Heat is Your Friend: While not absolutely essential, placing your pots on a gentle heat mat (around 70-75°F or 21-24°C) can significantly speed up root development. It mimics the warmth of the ground in nature and gives those roots a real kickstart.
Aftercare & Troubleshooting
Once your cuttings are planted, place them in a bright, indirect light location. Avoid direct sunlight, which can scorch the delicate leaves. Keep the soil consistently moist but not waterlogged.
You’ll know your cuttings are rooting when you see new leaf growth. This can take anywhere from a few weeks to a couple of months. Gently tugging on the cutting will also offer resistance if roots have formed.
Now, for troubleshooting. The most common issue you’ll encounter is rot. If your cuttings turn mushy, black, or start to fall apart, it’s usually a sign of too much moisture and not enough airflow. If this happens, remove the affected cuttings immediately to prevent it from spreading. Sometimes, you might see the leaves start to yellow or wilt. This can be a sign of stress, but it can also indicate a lack of roots. Patience is key here.
Let the Green Begin!
Propagating Pyrostria commersonii is a journey, and like any good garden project, it requires a bit of patience and observation. Don’t be discouraged if your first attempts aren’t perfect. Each cutting you take, each pot you fill, is an opportunity to learn and grow alongside your plants. So grab your shears, get your hands in the soil, and enjoy the process of creating new life. Happy propagating!
Resource:
https://identify.plantnet.org/k-world-flora/species/Pyrostria%20commersonii%20J.F.Gmel./data