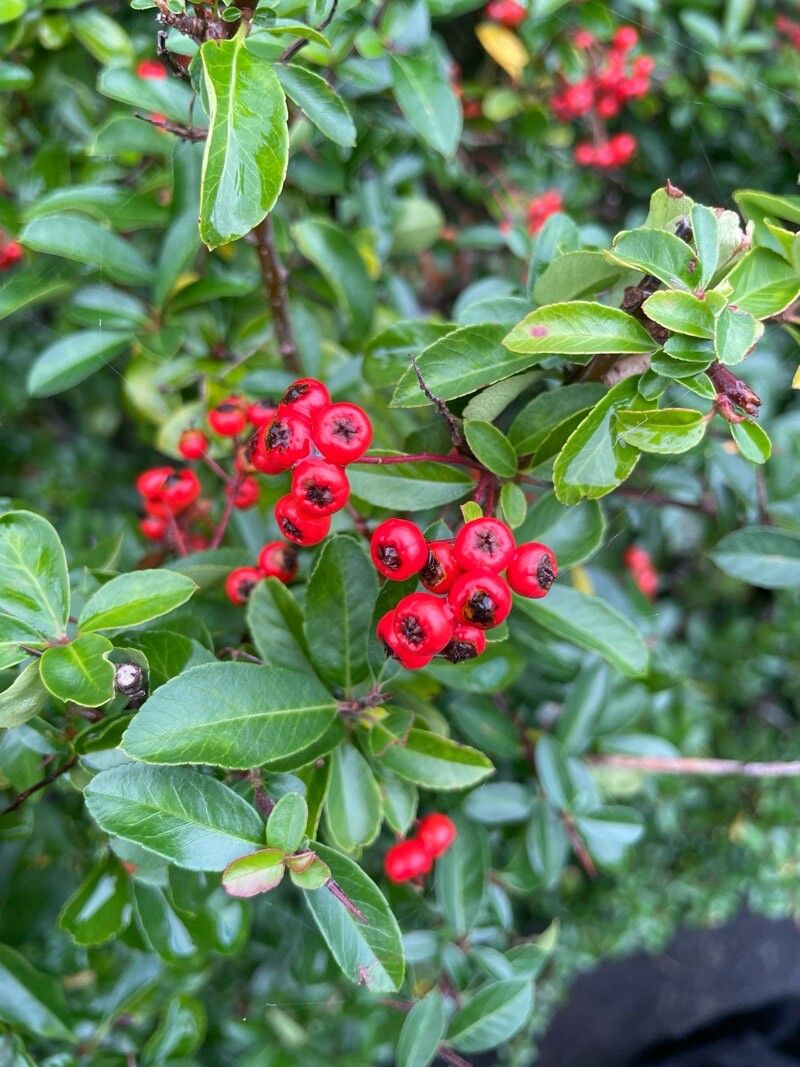
Hello there, fellow garden enthusiasts! Today, we’re diving into the wonderful world of propagating Pyracantha crenulata, also known as Himalayan Firethorn. If you’re drawn to its vibrant berries, thorny branches that make for excellent deterrents, and the way it attracts birds, you’re in for a treat. Propagating these beauties from your own plants is incredibly rewarding. It’s a fantastic way to expand your garden or share these lovely shrubs with friends. And for those of you just dipping your toes into the world of propagation, I find Pyracantha to be quite forgiving – a real confidence booster!
The Best Time to Start
For the highest success rate with Pyracantha crenulata, late spring to early summer is your sweet spot. This is when the plant is actively growing and the stems are developing new, semi-hardy growth. These semi-hardwood cuttings are usually more cooperative than old, woody material or brand-new, tender shoots. Keep an eye on your plant; you’re looking for stems that have started to firm up but are still somewhat flexible.
Supplies You’ll Need
Before we get our hands dirty, let’s gather our troops:
- Sharp Pruning Shears or a Knife: Cleanliness is key to preventing disease.
- Rooting Hormone: This is a crucial aid, especially for more woody plants. Look for IBA (Indole-3-butyric acid) based ones.
- Small Pots or Trays: About 4-6 inches deep are ideal. Make sure they have drainage holes!
- Propagation Medium: A mix of coarse perlite and peat moss (50/50) is my go-to. It drains well and retains just enough moisture. Some folks swear by a mix of sand and peat moss, too.
- Clear Plastic Bags or a Propagator with a Lid: To create a humid environment.
- Gravel or Small Stones: For the bottom of pots if you’re worried about drainage.
- Labels and a Pen: To keep track of what you’ve planted and when!
Propagation Methods: Stem Cuttings
This is the most common and effective method for Pyracantha crenulata.
- Take Your Cuttings: On a pleasant morning, after the dew has dried, select healthy, non-flowering shoots. Using your clean shears, make a clean cut just below a leaf node (where a leaf attaches to the stem). Aim for cuttings about 4-6 inches long. Remove any flowers or fruits from the cuttings.
- Prepare the Cuttings: Gently strip off the leaves from the bottom half of the cutting. You want to leave just a couple of leaves at the very top. This reduces water loss and allows the plant to focus its energy on root development.
- Apply Rooting Hormone: Dip the cut end of each prepared cutting into your rooting hormone. Tap off any excess.
- Plant Your Cuttings: Fill your pots with your propagation medium, moisten it thoroughly, and then gently make a hole with a pencil or your finger. Insert each cutting into the hole, ensuring the bottom leaves are not buried in the soil. Firm the medium gently around the base of the cutting.
- Create Humidity: Water the pots gently. Then, place the pots inside a clear plastic bag, sealing it loosely with a twist tie or rubber band. If you have a propagator, place the lid on. You want to create a mini greenhouse effect.
The “Secret Sauce” (Pro Tips)
Here are a few things I’ve learned over the years that can make a real difference:
- The “Scratch Test” for Woody Cuttings: If you’re working with slightly older, woodier stems, give the base a gentle nick with your knife (about 1 inch up from the bottom). You’re just trying to expose a tiny sliver of the green cambium layer underneath the bark. This wound site can often encourage faster rooting, especially when paired with rooting hormone.
- Bottom Heat is Your Friend: While not strictly essential, placing your pots on a gentle heat mat can significantly speed up root formation. Aim for a soil temperature around 70-75°F (21-24°C). You’ll often see roots developing much quicker with this little boost.
- Don’t Overwater! This is probably the most common mistake. The point of the plastic bag is to keep the environment humid, not to create a swamp in your pots. The propagation medium should feel like a wrung-out sponge – moist, but not soggy. Soggy conditions are a fast track to rot.
Aftercare & Troubleshooting
Once your cuttings have rooted, you’ll start to see tiny new leaves unfurling. To check for roots, give a cutting a gentle tug; if there’s resistance, roots are forming!
- Acclimatize: Gradually introduce your rooted cuttings to the outside air. Open the plastic bag for a few hours each day, increasing the time over a week.
- Potting Up: Once they’re reasonably well-rooted (usually after 4-8 weeks, but it can take longer), you can pot them up into individual, slightly larger pots using a good quality potting mix.
- Watch for Rot: The most common failure is rot, which shows up as a black, mushy stem base. If you see this, unfortunately, that cutting is likely lost. It’s usually caused by overwatering or poor drainage. Prevention is key here!
- Wilting: Occasional slight wilting is normal as the plant adjusts. However, persistent wilting, especially if the soil feels wet, could indicate root rot. If the soil feels dry, it might just need a drink.
A Encouraging Closing
Propagating plants is a journey, and like any good garden project, it requires patience. Don’t be discouraged if not every cutting takes. Each attempt is a learning experience. Enjoy the process, celebrate your successes, and soon you’ll have a whole little army of Pyracantha crenulata to grace your garden or share with loved ones. Happy propagating!
Resource:
https://identify.plantnet.org/k-world-flora/species/Pyracantha%20crenulata%20(D.Don)%20M.Roem./data