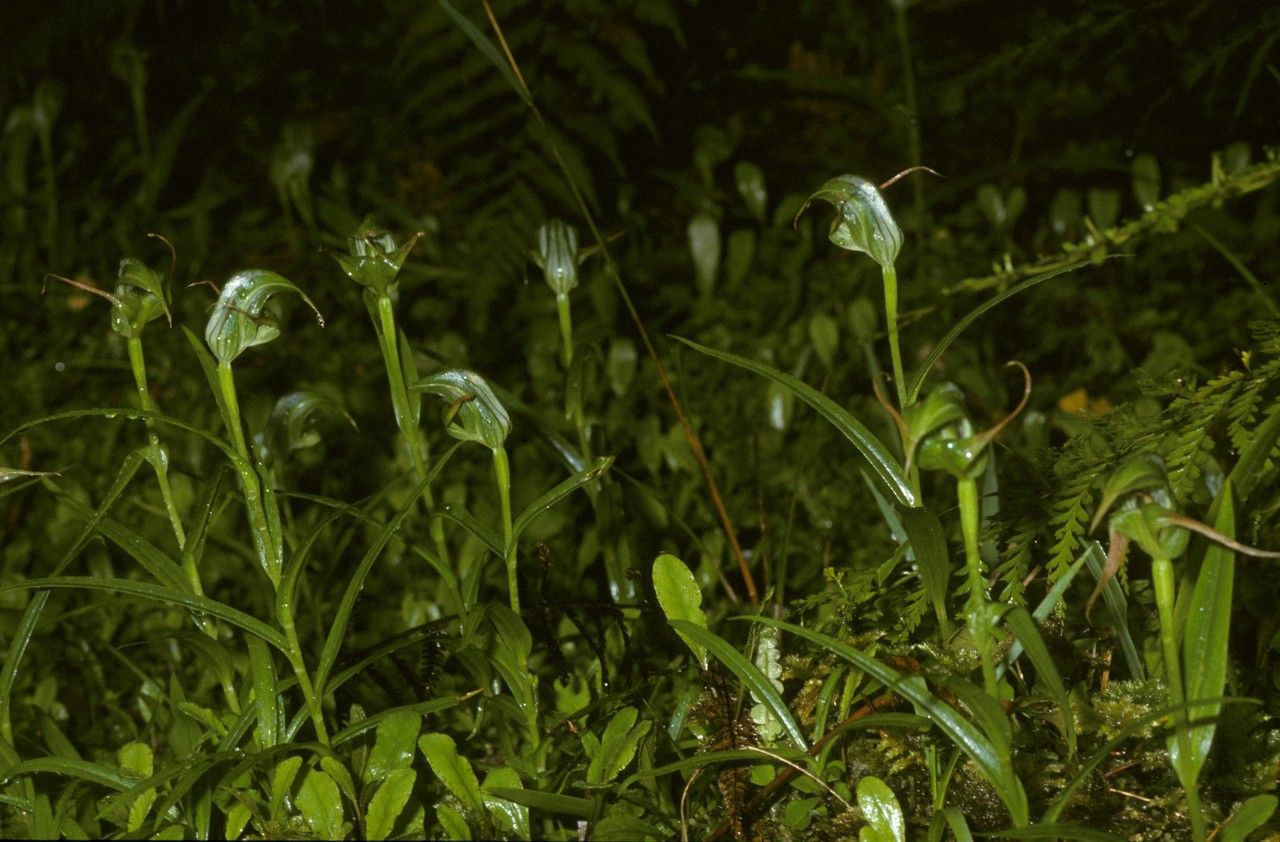
Hello, fellow garden enthusiasts! I’m so happy you’ve stopped by. Today, we’re diving into the delightful world of Pterostylis banksii, also known as the Common Greenhood Orchid. If you’ve ever admired their quirky, hooded flowers and the way they pop up in unexpected places, you’re not alone. Propagating them is a wonderfully rewarding journey, a chance to bring more of that unique magic into your own garden. Now, I’ll be honest, Pterostylis orchids can be a little particular, and for us beginners, it might feel a tad challenging at first. But stick with me, and we’ll navigate it together!
The Best Time to Start
The sweet spot for propagating Pterostylis banksii is generally when the plant is actively growing but just finishing its flowering period. For many species, this often falls in late spring or early summer. You’ll see the leaves starting to mature, and the energy is shifting from flowering to vegetative growth. Trying to propagate too early, while it’s still in peak bloom, can stress the mother plant. Waiting until the leaves start to naturally yellow and die back isn’t ideal either, as the energy reserves might be too low.
Supplies You’ll Need
To get your propagation station set up, gather these handy bits and bobs:
- Sharp, sterile pruning shears or a razor blade: Cleanliness is key to preventing disease.
- Well-draining potting mix: A mix specifically for orchids, or a blend of perlite, coco coir, and a bit of sphagnum moss, works beautifully. You want air circulation right down to the roots.
- Small pots or trays: Keep them clean!
- Rooting hormone powder (optional but helpful): For encouraging quicker root development.
- Spray bottle: For gentle misting.
- Clear plastic bags or a propagator: To create a humid environment.
- Labels and a marker: To keep track of your efforts!
Propagation Methods
Most successful Pterostylis propagation happens through division. These orchids form small, underground tubers from which new plants emerge. Think of them like tiny potatoes!
Here’s how we’ll do it:
- Gently excavate: When the time is right (remember, late spring/early summer!), carefully unearth the mother plant. You can do this by gently loosening the soil around it with your hands or a trowel. Avoid pulling it out forcefully. You’re looking for the clump of tubers.
- Identify the divisions: You’ll see where one tuber is clearly attached to another, sometimes with a thin rhizome connecting them, or you might find small offsets already emerging.
- Separate with care: Using your sterile pruning shears or razor blade, carefully cut between the tubers. If you’re dividing a larger clump, aim to give each new division at least one healthy-looking tuber and some attached root material. Don’t worry if you lose a few tiny roots; the plant will regrow them.
- Dip in rooting hormone (if using): Lightly dust the cut ends of the divisions with rooting hormone powder. This step isn’t strictly necessary for Pterostylis if the tubers are healthy, but it can give them a little boost.
- Pot them up: Fill your clean pots with the well-draining orchid mix. Plant each division so the top of the tuber is just barely covered by the mix.
- Water lightly: Give them a gentle watering, just enough to settle the mix around the tubers.
The “Secret Sauce” (Pro Tips)
Now for a few little tricks I’ve picked up over the years:
- Don’t overwater! This is probably the biggest pitfall. These orchids, especially as divisions, can be prone to rot if kept too soggy. Let the potting mix dry out slightly between waterings. Think of it as a gentle drink, not a drowning.
- Mimic their natural habitat: These orchids thrive in dappled shade and appreciate a bit of humidity. Once potted, pop the pots into clear plastic bags or a propagator, making sure the leaves don’t touch the sides of the bag as this can encourage fungal issues. Keep them in a spot with bright, indirect light.
- Patience, patience, patience: Pterostylis are not lightning-fast propagators. It can take several weeks, or even a couple of months, for new root growth to become evident. Resist the urge to keep digging them up to check!
Aftercare & Troubleshooting
Once you see signs of new growth – a tiny shoot emerging from the mix or new leaves unfurling – you know you’re on the right track!
- Gradually acclimate: Once roots are well-established (you might see them peeking out of the drainage holes), slowly begin to open up the plastic bag or propagator over a week or two. This lets the new plants get used to normal humidity levels.
- Continue with careful watering: Keep them in that bright, indirect light and water only when the top layer of the potting mix feels dry to the touch.
- Watch for rot: The most common sign of failure is rot, which looks like a mushy, blackening, or dissolving tuber or stem. This is almost always due to overwatering and poor drainage. If you spot it, it’s best to remove the affected part immediately to prevent it from spreading. Sadly, if the main tuber rots, the plant is usually lost.
A Little Encouragement
Propagating Pterostylis banksii is a wonderful way to multiply your enjoyment of these unique plants. It takes a bit of finesse, yes, but the satisfaction of nurturing a new life from a division is truly special. Be patient, observe closely, and celebrate every little sign of progress. Happy propagating, and may your gardens be ever more green and vibrant!
Resource: