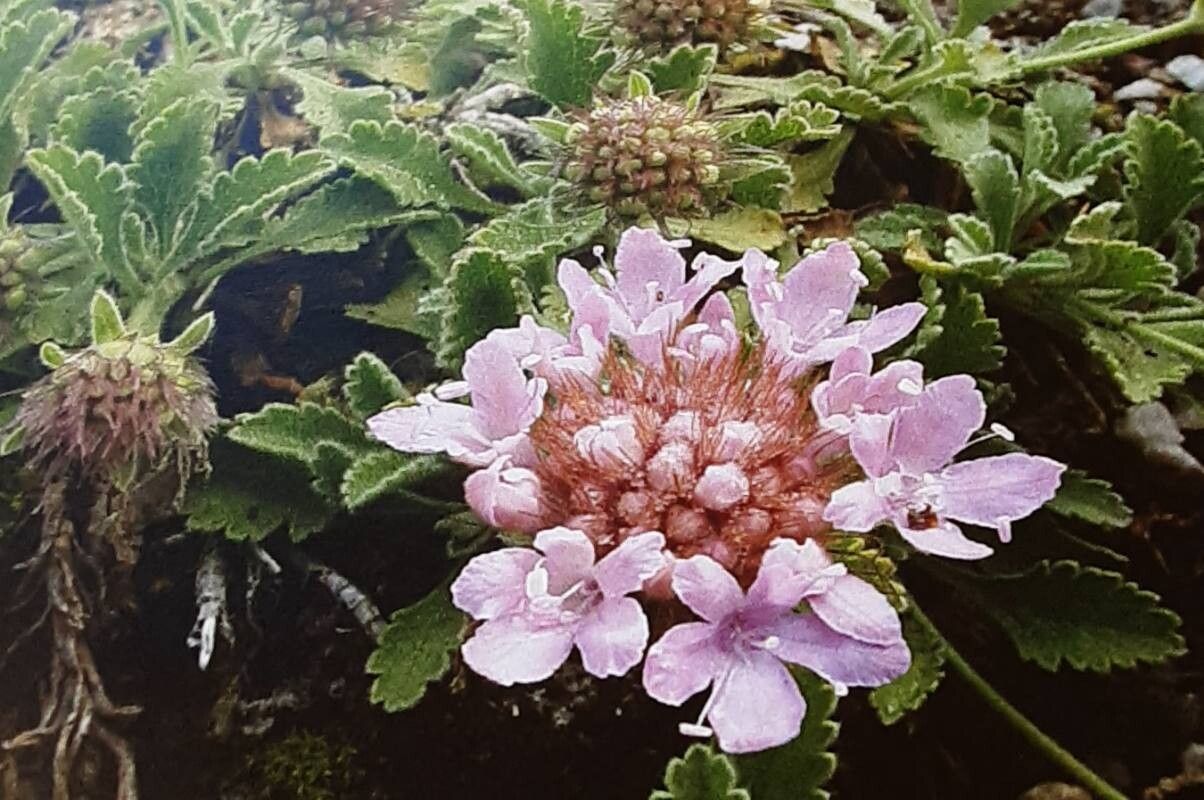
Well, hello there, fellow plant lover! It’s me, your garden buddy, ready to spill the beans on one of my absolute favorite low-maintenance beauties: Pterocephalus pterocephala. If you’ve ever admired those delicate, pincushion-like blooms bouncing joyfully in the breeze, you’re not alone. This Mediterranean native is a real charmer. And guess what? It’s wonderfully easy to grow from cuttings. That means you can fill your garden, pots, or even share with friends without breaking the bank. If you’re new to propagating, this is a fantastic plant to start with!
The Best Time to Start
For the highest success rates, I always recommend taking cuttings in the late spring or early summer. This is when the plant is actively growing and has plenty of energy. You’re looking for stems that are semi-hardened – not brand new, floppy growth, but also not old, woody stems. They should feel firm but still have a bit of flexibility. Think of them as “just right.”
Supplies You’ll Need
Before we dive in, let’s gather our tools. Having everything ready makes the process so much smoother:
- Sharp Pruning Shears or a Clean Knife: For making clean cuts.
- Rooting Hormone (Optional but Recommended): I like to use a powder or gel.
- Well-Draining Potting Mix: A mix of perlite, vermiculite, and peat moss is perfect. Or, a good quality succulent/cactus mix works beautifully.
- Small Pots or Trays: With drainage holes, of course!
- Labels: So you don’t forget what you planted where!
- A Watering Can or Spray Bottle: For gentle watering.
Propagation Methods
Let’s get our hands dirty! Stem cuttings are the most common and successful way to propagate Pterocephalus pterocephala.
- Take the Cuttings: Using your sharp shears or knife, select healthy, non-flowering stems that are about 4-6 inches long. Make a clean cut just below a leaf node (where a leaf attaches to the stem). Try to take a few, as it’s not uncommon for a few to not take.
- Prepare the Cuttings: Gently remove the leaves from the bottom half of each cutting. This is crucial because any leaves submerged in soil or water will likely rot. You want to expose the leaf nodes, as that’s where the roots will emerge.
- Dip in Rooting Hormone (Optional): If you’re using rooting hormone, dip the cut end into the powder or gel. Tap off any excess.
- Plant Your Cuttings: Fill your small pots with your well-draining potting mix. Make a small hole with a pencil or your finger and insert the prepared cutting, ensuring the lower leaf nodes are buried in the soil. Gently firm the soil around the base of the cutting.
- Water Gently: Water the soil thoroughly but gently. You don’t want to disturb the cuttings.
The “Secret Sauce” (Pro Tips)
Over the years, I’ve learned a few tricks that really boost my propagation success:
- Don’t Drown Your Cuttings: While the soil needs to be moist, it should never be waterlogged. Overwatering is the fastest way to rot out your new baby plants. I often let the top inch of soil dry out before watering again.
- Humidity is Your Friend: Pterocephalus pterocephala cuttings love a bit of humidity. After planting, I’ll often cover the pot with a clear plastic bag or place it in a mini-greenhouse. Just make sure to vent it daily for a few minutes to prevent fungal issues.
- A Little Warmth Helps: While not strictly necessary, placing your pots on a heat mat can significantly speed up root formation, especially if your propagating room is a bit on the cooler side. It mimics the warmth of summer and encourages those roots to get going.
Aftercare & Troubleshooting
Once your cuttings are planted, be patient! It can take anywhere from 3 to 6 weeks for roots to develop. You’ll know they’re ready when you feel a gentle tug when you try to lightly pull on the cutting, or when you see new growth emerging.
The most common problem you’ll encounter is rot. If a cutting turns mushy or black, it’s best to discard it to prevent it from spreading. This is usually a sign of too much moisture or lack of air circulation. If you see mold on the soil surface, gently scrape it off and improve ventilation.
Once roots have formed, you can treat your new plants much like their parent. Keep them consistently moist (but not soggy) and provide them with plenty of sunshine. You can slowly acclimatize them to drier air by opening the plastic bag or greenhouse cover for longer periods each day.
A Bit More Patience, Please!
Propagating plants is a wonderful way to connect with nature’s cycles. It’s a journey that teaches you patience and rewards you with new life. So, don’t be discouraged if not every cutting takes. Keep trying, learn from each attempt, and most importantly, enjoy the process of nurturing these little bits of green magic into flourishing plants. Happy propagating!
Resource: