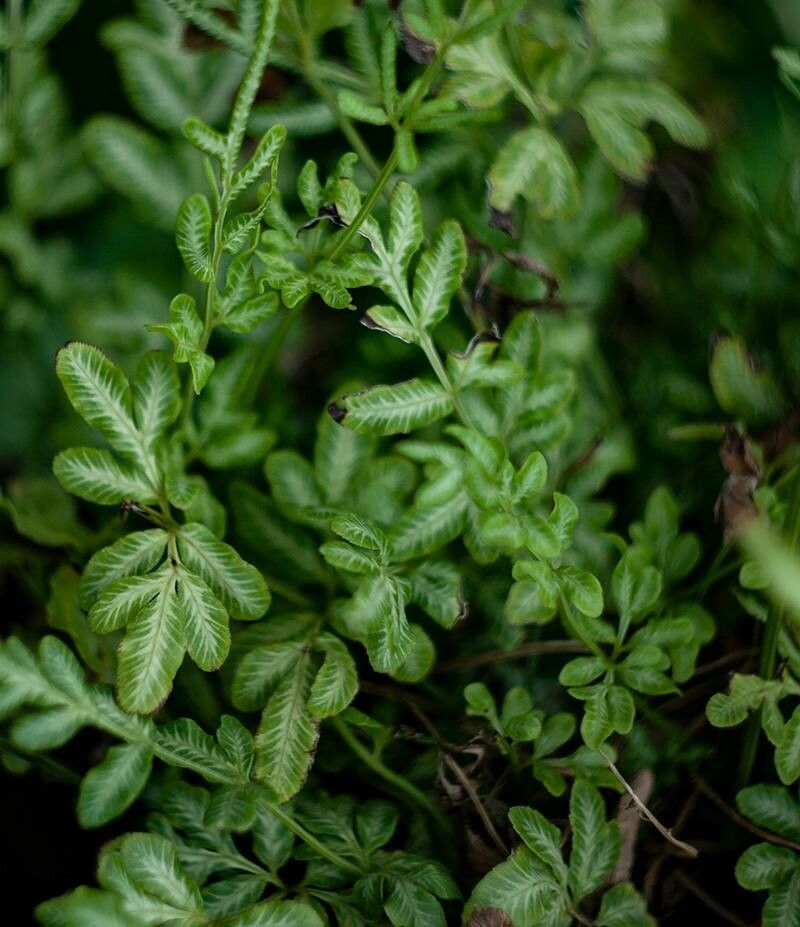
Hello there, fellow plant lovers! Today, we’re diving into the fascinating world of Pteris parkeri, also known as the Parker’s Brake Fern. If you’ve ever seen this beauty gracing a shady corner or a terrarium, you’ll know that its delicate, feathery fronds bring a touch of elegance and tranquility to any space. And the best part? It’s surprisingly rewarding to create more of these green gems for yourself or to share with friends. Now, I know some ferns can be a bit finicky, but Pteris parkeri is actually quite a good one to start with when it comes to propagation. You’ll find yourself with a little fern army in no time!
The Best Time to Start
The absolute best time to get your propagation party started is in the spring and early summer. This is when your Pteris parkeri is usually putting on its most vigorous growth. New fronds are unfurling, and the plant has plenty of energy to spare. Starting during this active growth phase significantly increases your chances of success. Think of it as giving your new little ferns the longest possible growing season to establish themselves.
Supplies You’ll Need
Before we get our hands dirty, let’s gather our trusty gardening companions:
- Sharp pruning shears or a clean knife: For taking clean cuts.
- Well-draining potting mix: I like a blend of peat moss, perlite, and a bit of orchid bark for good aeration.
- Small pots or trays: Clean ones are a must to prevent disease.
- Clear plastic bags or a propagator: To create a humid environment.
- Rooting hormone (optional but recommended): Especially helpful if you’re taking cuttings from less vigorous stems.
- Watering can with a fine rose: To water gently.
- Spray bottle: For misting.
Propagation Methods
Pteris parkeri is most easily propagated through division and spore propagation. While stem cuttings aren’t always reliable for this specific fern, division is your golden ticket to multiply this lovely plant.
1. Division: Your Fern-Spawning Secret Weapon
This is by far the easiest and most successful method for Pteris parkeri.
- Gently unpot your mature fern. Do this on a day when the soil is slightly moist, not bone dry or soaking wet.
- Inspect the root ball. You’re looking for natural breaks where you can see distinct clumps of growth. Sometimes, you can gently pull apart sections with your hands. If it’s a bit stubborn, use your clean pruning shears or knife to cut through the root ball, making sure each section has plenty of healthy roots and at least one or two emerging fronds.
- Pot up each new division. Use your well-draining potting mix in your small pots. Plant each division at the same depth it was growing originally.
- Water thoroughly. Water from the top until you see water draining from the bottom of the pot.
- Create a humid microclimate. This is crucial! You can do this by placing the potted divisions inside a clear plastic bag (loosely tied) or into a propagator. Make sure the leaves aren’t pressed against the plastic directly.
- Place in bright, indirect light. Avoid direct sunlight, as this can scorch the delicate new growth.
2. Spore Propagation: For the Patient Gardener
This method is more akin to starting from seed and requires a good deal of patience, but it’s incredibly rewarding when you see those first tiny fiddleheads unfurl.
- Harvest Spores: Look on the underside of mature fronds. You’ll see small, brown structures called sporangia, often clustered. When these are ripe (they’ll look dry and often release dust when touched), carefully snip off the frond or even just the spore-bearing section.
- Sow the Spores: You can sow them on a sterile, moist propagation medium. A common mix is sterilized sphagnum moss or a fine seedling mix. Lightly mist your surface. Gently tap the harvested spores onto the surface of the medium. You don’t need to bury them; they need light to germinate.
- Cover and Maintain Humidity: Cover your container with a lid or clear plastic to maintain high humidity. Keep it moist but not waterlogged.
- Patience is Key: Germination can take weeks, even months. You’ll first see tiny green gametophytes, which then develop into the familiar fern plantlets. Once these are large enough to handle, you can carefully transplant them into individual pots.
The “Secret Sauce” (Pro Tips)
Here are a couple of tricks I’ve learned over the years that really make a difference:
- When dividing, don’t be afraid to trim back overly long or damaged roots. A healthy, albeit smaller, root system is always better than a sprawling, unhealthy one.
- For both division and spores, establish a consistent misting schedule. Ferns love humidity. I like to mist daily, or even twice a day if the air is particularly dry, especially when they are “babies.” Just a light shower is usually enough to keep their tiny leaves happy.
Aftercare & Troubleshooting
Once your divisions have developed a good root system (you’ll see roots emerging from the drainage holes or the plant looking more stable), you can start to gradually acclimatize them to less humid conditions. Remove them from their plastic bag or propagator for a few hours each day, slowly increasing the time. Water when the top inch of soil feels dry.
The most common sign of trouble is rot. If you see your new plantlets turning mushy or black, it’s usually a sign of overwatering or poor air circulation. If you catch it early, you can try to remove the affected parts, let the soil dry out a bit more, and improve air flow. Remember, a little less water is often better than too much!
A Encouraging Closing
Propagating plants is such a wonderful way to connect with nature and expand your green collection. Don’t get discouraged if your first attempt isn’t perfect. Every gardener has a few plants that just don’t cooperate! Be patient with your Pteris parkeri babies, give them the love and humidity they crave, and soon you’ll be rewarded with beautiful new ferns. Happy propagating!
Resource:
https://identify.plantnet.org/k-world-flora/species/Pteris%20parkeri%20J.J.Parker/data