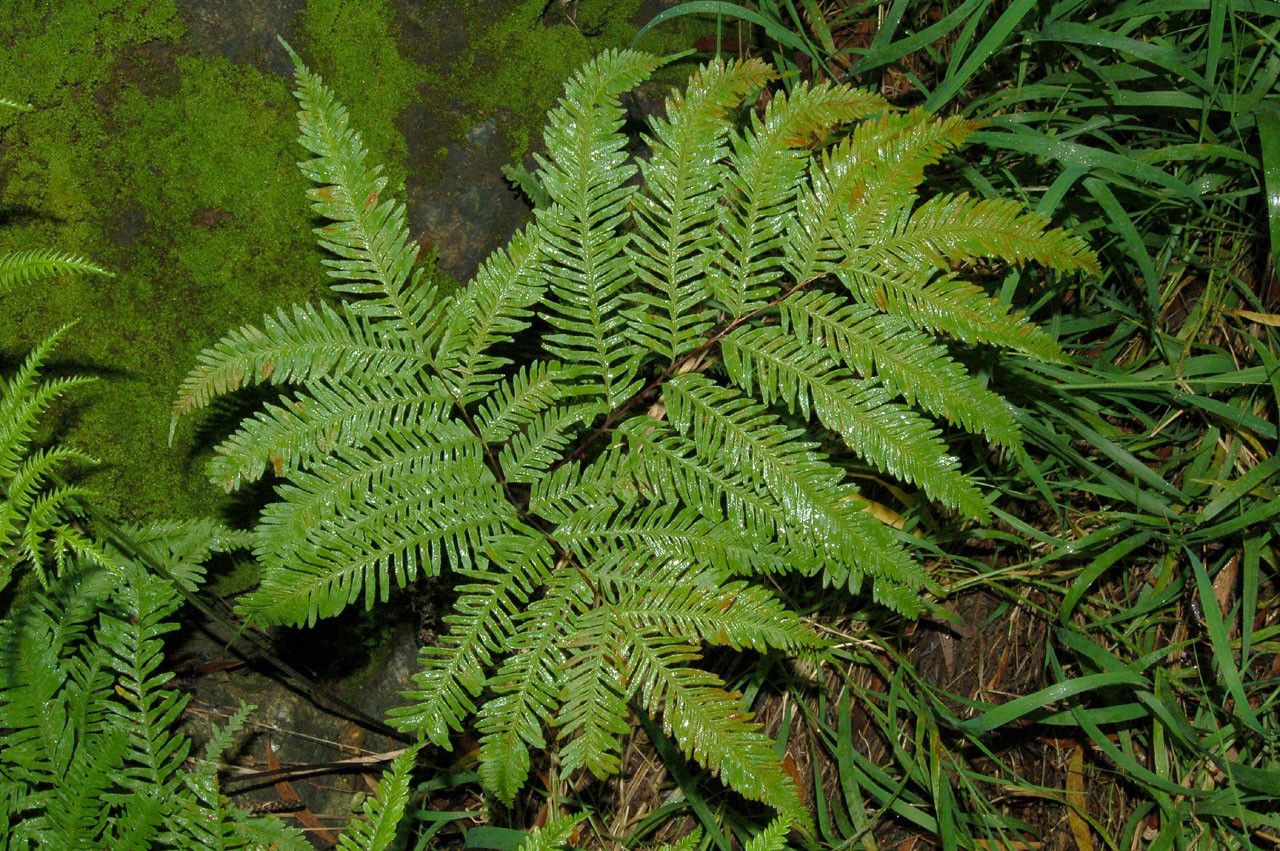
Hello, fellow plant enthusiasts! I’m so glad you’re here. Today, we’re diving into the wonderful world of propagating Pteris novae-caledoniae, also known affectionately by some as the New Caledonian brake fern. If you’ve ever admired its intricate fronds and graceful arch, you’re not alone. This fern brings a touch of the exotic to any indoor space, its delicate yet striking beauty a real conversation starter. And honestly, the joy of creating a whole new plant from a piece of an old one? It’s pure magic.
Now, if you’re new to the propagation game, let me put your mind at ease. While some ferns can be a bit fussy, Pteris novae-caledoniae is a fairly forgiving plant, especially when you get the hang of its preferred methods. Don’t be intimidated – with a little care and attention, you’ll be well on your way to success.
When to Get Your Hands Dirty
The absolute best time to propagate your Pteris novae-caledoniae is during its active growth period. For most of us, this means spring and early summer. You’ll notice new fronds unfurling, and the plant will be buzzing with energy. This is when it has the most reserves to dedicate to creating new roots and shoots. Trying to propagate when the plant is dormant is just setting yourself up for disappointment.
What You’ll Need for the Job
Gathering your supplies before you start makes the whole process so much smoother. Think of it like setting up your kitchen before baking a delicious cake!
- Sharp Pruning Shears or a Clean Knife: For making clean cuts.
- Sterile Potting Mix: A good quality, well-draining seed-starting mix or a blend of peat moss, perlite, and orchid bark works wonders. You want something that holds moisture but doesn’t become waterlogged.
- Small Pots or Trays: Clean, small pots (around 3-4 inches) are perfect for starting new ferns.
- Clear Plastic Bag or Dome: To create a humidity-rich environment.
- Watering Can with a Fine Rose: For gentle watering.
- Optional: Rooting Hormone: While not always strictly necessary for this fern, it can give cuttings a little boost. Look for a liquid or powder rooting hormone specifically for herbaceous plants.
- Optional: Bottom Heat Mat: This is a game-changer in cooler climates or during less ideal propagation times.
Let’s Get Growing: Propagation Methods
Pteris novae-caledoniae can be propagated through a couple of fantastic methods. I find division to be the most straightforward, especially for beginners, but stem cuttings also yield great results.
Method 1: Division – The Gardener’s Best Friend
This is like giving your mother plant a nice haircut and getting bonus babies in return!
- Gently Remove from Pot: Carefully take your Pteris novae-caledoniae out of its current pot. Loosen any tightly bound roots.
- Inspect the Root Ball: Look for natural breaks in the root system. You’re looking for sections that have their own distinct clumps of roots and at least a couple of fronds.
- Make the Cut (if needed): If the clumps aren’t easily separated, use your clean shears or knife to divide the root ball. Make sure each division has both roots and some leafy growth.
- Pot Up Your New Pups: Fill your small pots with your prepared potting mix. Make a little well in the center and place your new division in it, spreading out the roots gently.
- Water and Cover: Water thoroughly until you see water draining from the bottom. Then, place the pot inside a clear plastic bag or under a dome to maintain high humidity. Keep it out of direct sunlight.
Method 2: Stem Cuttings – A Little More Patience
This method involves taking pieces of the fern to encourage rooting.
- Select a Healthy Frond: Choose a frond that is mature but not yet old and yellowing. Look for one with a good length of stem (the part that connects to the rhizome or main stem).
- Make a Clean Cut: Using your sharp shears or knife, cut the frond as close to the base of the plant as possible.
- Prepare the Cutting: If the frond has lots of leaflets, you can often gently trim off some of the leaflets to reduce water loss. You want to focus the plant’s energy on root production.
- Dip in Rooting Hormone (Optional): If you’re using rooting hormone, lightly dip the cut end of the stem into the powder or liquid. Tap off any excess.
- Plant the Cutting: Fill your small pot with your sterile potting mix. Make a hole with your finger and insert the cut end of the frond. Gently firm the soil around the stem.
- Water and Cover: Water well and immediately place the pot inside a clear plastic bag or under a humidity dome. Again, keep it out of direct sun.
The “Secret Sauce” from My Garden Journal
Over the years, I’ve learned a few tricks that make a big difference, especially with ferns like these.
- Rhizome Whisperer: For division, don’t be afraid to gently tease apart the rhizome. It’s a living, growing structure, and you can usually find natural separation points. If you must cut it, sterilized tools are crucial to prevent infection.
- Humidity is King (and Queen!): This is non-negotiable for Pteris novae-caledoniae. That plastic bag or dome isn’t just for show; it creates the humid microclimate these delicate cuttings need to develop roots before they can start absorbing enough water from the soil. Make sure the leaves aren’t directly touching the inside of the plastic, as this can encourage rot. Peek inside daily and wipe away condensation if it’s excessive.
- Bottom Heat Boost: If you have a heating mat designed for propagation, use it! Placing your pots on a gentle heat source (around 70-75°F or 21-24°C) will significantly speed up root development. It mimics the warmth of the tropics where these plants thrive.
Aftercare and Troubleshooting: What to Watch For
Once you see signs of new growth – a tiny new frond unfurling or the cutting showing resilience – you know roots are forming!
- Gradual Acclimation: Once roots are established (you might see them peeking out the drainage holes or the new growth is robust), it’s time to gradually acclimate your new fern to normal conditions. Start by opening the plastic bag a little larger each day for a week. Remove the bag completely once the plant seems happy.
- Watering: Keep the soil consistently moist but not waterlogged. Think of it like a wrung-out sponge. You’ll get a feel for it.
- Light: Continue to provide bright, indirect light. No direct sun, ever!
Common Signs of Trouble:
- Wilting and Yellowing Fronds: This is the most common sign. It could mean it’s not getting enough humidity, the soil is too dry, or it’s getting too much light.
- Mushy Stem or Rot: If the stem turns brown and mushy, it’s likely rot, often caused by too much moisture and poor air circulation. Unfortunately, this is usually fatal. Cut your losses and start again, focusing on better drainage and humidity control.
- No Growth After Weeks: Be patient! Some plants take their sweet time. If there’s no sign of rot, and the cutting still looks green and firm, just keep providing the right conditions.
Go Forth and Propagate!
Don’t get discouraged if your first attempt isn’t perfect. Gardening is a journey, and propagation is a skill that improves with practice. Enjoy the process of observing your new Pteris novae-caledoniae develop and thrive. Soon, you’ll have a little fern family to share with friends or simply to admire yourself. Happy growing!
Resource:
https://identify.plantnet.org/k-world-flora/species/Pteris%20novae-caledoniae%20Hook./data