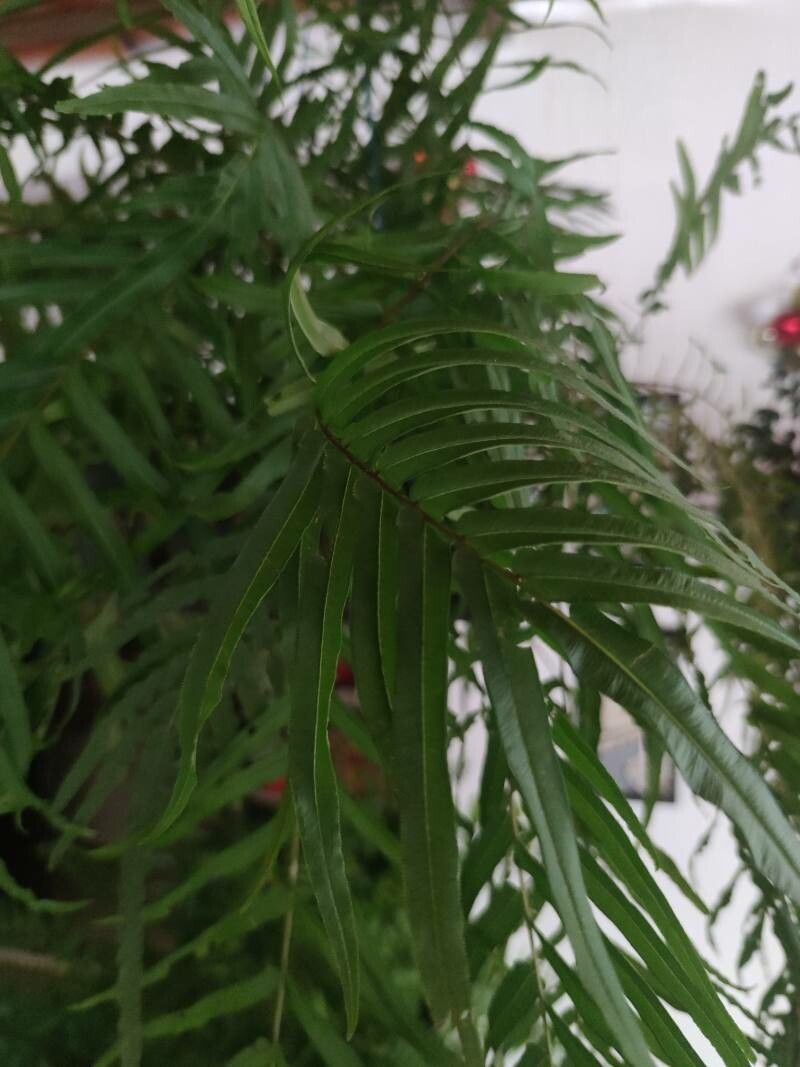
Oh, hello there! Grab a mug, let’s chat about one of my favorite ferns: the Pteris longifolia, or long-leaf brake fern. If you’ve ever admired those elegant, arching fronds spilling out of a pot, you’re not alone. They bring such a lovely touch of the tropics indoors, and honestly, they’re not nearly as fussy as some ferns can be.
One of the most satisfying things you can do as a plant parent is to create more of the plants you love. And propagating Pteris longifolia? It’s a wonderful way to multiply that green goodness without breaking the bank. For beginners, I’d say this fern is a pretty forgiving friend, making propagation a great starting point for new adventures in plant magic.
The Best Time to Start
For the highest chance of success, I always recommend propagating your Pteris longifolia during its active growing season. This typically means spring and early summer. The plant is full of vigor then, ready to put out new growth, which is exactly what we want when we’re trying to coax new roots and shoots into existence. You’ll notice it’s putting out lots of fresh, bright green fronds – a sure sign it’s ready for a little propagation party.
Supplies You’ll Need
Before we dive in, let’s gather our toolkit. It’s not much, but having everything ready makes the process smooth sailing:
- Sharp, clean pruning shears or scissors: A clean cut is crucial to prevent disease.
- Potting mix: A well-draining potting mix is essential. I like to use a blend of peat moss, perlite, and a bit of coco coir. For ferns, you want something that retains moisture but doesn’t become waterlogged.
- Small pots or propagation trays: Clean ones, of course!
- Watering can or spray bottle: For gentle watering.
- Optional: Rooting hormone: While Pteris longifolia can root readily without it, a little rooting hormone can speed things up.
- Optional: Clear plastic bag or propagation dome: To create a humid microclimate.
- Optional: Small trowel or dibber: For making holes in the soil.
Propagation Methods
Pteris longifolia is a wonderfully cooperative plant for propagation, and two methods stand out for their ease and effectiveness.
Method 1: Division
This is the most straightforward way to go if your fern is getting a little crowded in its pot.
- Gently remove the fern from its pot. Turn it on its side and tap the bottom of the pot. If it resists, you might need to carefully run a knife around the edge.
- Inspect the root ball. You’re looking for distinct clumps or crowns where new fronds are emerging.
- Use your hands or clean pruning shears to carefully separate these clumps. Try to ensure each division has a healthy portion of roots attached. Don’t worry if it’s a little messy; the fern is tough.
- Pot up each division into its own container filled with your well-draining potting mix.
- Water gently and place the newly potted divisions in a bright spot, out of direct sunlight.
Method 2: Spore Propagation (For the Adventurous!)
This is a bit more of a long game, like growing a plant from seed, but fascinating to watch. You’ll need to identify the sporangia (tiny dots) on the underside of mature fronds.
- Harvest sporangia: Carefully scrape some of the dark brown spore masses from the underside of a healthy frond into a clean paper envelope. Let them dry for a day or two, and they’ll release their spores.
- Prepare a sterile medium: Use a shallow tray filled with a sterile mix, like sterilized peat moss and vermiculite, kept consistently moist.
- Sow the spores: Sprinkle the spores thinly over the surface of the moistened medium. Do not cover them.
- Cover and wait: Cover the tray loosely with a clear plastic bag or lid to maintain humidity. Place it in a warm, dimly lit spot.
- Patience is key: You’ll see tiny green structures called gametophytes emerge over several weeks or months. Eventually, these will develop into young ferns. From this point, you’ll need to carefully transplant them to individual pots.
The “Secret Sauce” (Pro Tips)
Now, here are a couple of little tricks I’ve learned over the years that can make a big difference:
- Don’t drown your new division: When you pot up your divisions, water them thoroughly once, then let the top inch of soil dry out before watering again. Overwatering is the quickest way to rot those brand-new roots.
- The power of humidity: Ferns adore humidity. For divisions, placing a plastic bag loosely over the pot or using a clear propagation dome creates a mini-greenhouse effect that really encourages root formation. Just make sure to open it for an hour or so each day to allow for air circulation and prevent fungal issues.
Aftercare & Troubleshooting
Once your little Pteris longifolia divisions start to perk up and show signs of new growth – little fiddleheads unfurling are a sure sign! – you can gradually introduce them to slightly less humid conditions. Continue to keep them in bright, indirect light and water when the topsoil is dry.
Now, let’s talk about what can go wrong. The most common culprit is rot. If you see fronds turning yellow and mushy, or if the soil stays constantly soggy, you’re likely overwatering. Gently pull away any rotted material and try to let the soil dry out more. If you see mold on the surface of the soil, it means the humidity is too high and there isn’t enough air circulation. Open up your cover or mist less frequently.
Don’t be discouraged if a propagation doesn’t work out. It happens to the best of us! Plants have their own timelines, and sometimes it just takes a little experimentation. The key is to keep trying, observe your plant, and learn from each attempt.
Happy propagating! You’ve got this. Enjoy the journey of nurturing new life from your beloved fern.
Resource:
https://identify.plantnet.org/k-world-flora/species/Pteris%20longifolia%20L./data