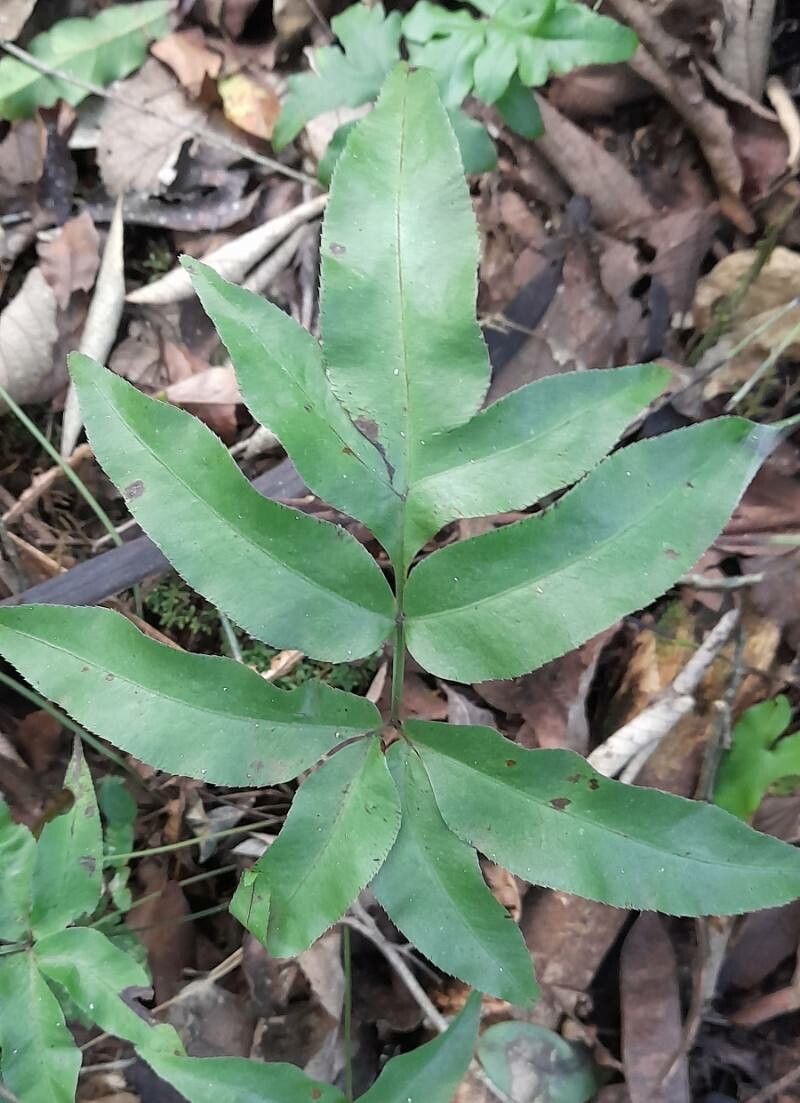
Oh, hello there! Come on in, grab a mug. Today, we’re diving into the world of Pteris brasiliensis, also known as the Brazilian Brake Fern. I’ve always been drawn to its delicate fronds and elegant arch. Seeing new life spring from even a tiny piece of the parent plant is just one of those garden joys that never gets old. And guess what? While ferns can sometimes seem a bit fussy, propagating Pteris brasiliensis is actually quite forgiving, making it a lovely project for both seasoned and new gardeners.
When to Get Your Hands Dirty
For the best chance of success with our friendly Brake Fern, think spring or early summer. This is when the plant is actively growing and has plenty of energy to put into developing new roots. You’ll see fresh fiddleheads unfurling, which is a sure sign it’s ready to share its magic.
Your Propagation Toolkit
To make this a smooth operation, gather these essentials:
- Sharp Pruning Shears or a Clean Knife: For making clean cuts.
- A Well-Draining Potting Mix: I like a blend of peat moss, perlite, and a bit of compost. Ferns don’t like soggy feet.
- Small Pots or Trays: For your new baby plants.
- Clear Plastic Bags or a Propagator: To create a humid environment.
- Watering Can with a Fine Rose: For gentle watering.
- Rooting Hormone (Optional but helpful): Especially if you’re a bit nervous.
- Labels: So you don’t forget what you planted where!
Bringing New Ferns to Life: Let’s Propagate!
Pteris brasiliensis is wonderfully amenable to a few different propagation methods, but my favorite for its simplicity and reliability is division.
Method: Division
This is really the most straightforward way to multiply your Pteris brasiliensis.
- Gently Remove from Pot: Carefully take your mature fern out of its current pot. You might need to tap the sides or gently coax it out.
- Inspect the Root Ball: Look at the base of the plant. You’ll likely see distinct clumps or sections where new growth is emerging from the rhizomes (the main underground stem).
- Divide: Using your clean shears or knife, carefully separate these clumps. Aim for sections that have at least a couple of healthy rhizome pieces and some emerging fronds. Don’t be afraid to get in there, but be gentle with the roots. If it’s a very tight clump, you might even be able to tease it apart with your fingers.
- Pot Up: Take your divided sections and plant them in their new, well-draining pots filled with your prepared mix. Plant them at the same depth they were growing before.
- Water Gently: Give them a good, soft watering. You want the soil to be moist but not waterlogged.
Method: Spore Propagation (For the Adventurous!)
This is a bit more advanced and takes patience, but it’s fascinating! Ferns reproduce via spores, which are like tiny dust-like “seeds” on the underside of mature fronds.
- Collect Spores: Look for brownish, dusty patches on the underside of healthy, mature fronds. These are the sporangia, containing the spores. Carefully snip off a frond with these spore patches.
- Dry and Collect: Place the frond indoors, in a dry spot, on a piece of white paper for a few days. The spores will fall out. Gently tap the paper to collect the fine spore dust.
- Prepare a Spore Bed: Use a shallow tray filled with sterile, damp sphagnum moss or a very fine, sterile potting mix.
- Sow Spores: Lightly sprinkle the spores over the surface of the moss or soil. Don’t cover them.
- Create Humidity: Cover the tray with a clear lid or plastic wrap. Keep it out of direct sunlight.
- Patience is Key: It can take weeks or even months for tiny green sprouts (called prothalli) to appear. This is where the real waiting game begins!
The “Secret Sauce” – My Insider Tips
- Don’t Overcrowd for Division: When you’re dividing, try to give each new section enough space. Cramming too much into one pot will stress them and hinder root development. It’s better to have a few strong new plants than many struggling ones.
- Humidity is Your Best Friend: Especially after division or if you’re attempting spore propagation, mist your new cuttings or spore trays regularly or keep them enclosed in a propagator. The high humidity helps them retain moisture while they’re busy developing roots. Don’t let the leaves touch the water in the spore tray, though; that can cause rot.
- Bottom Heat for Spores: If you’re trying the spore method, a little gentle bottom heat (like a seedling heat mat set to a low temperature) can significantly speed up germination. It mimics the warmth of a forest floor.
Aftercare and What to Watch For
Once your divisions have settled in and you see new frond growth, they’re officially on their way! You can gradually introduce them to more light, but always keep them out of direct, harsh sunlight, which can scorch their delicate leaves. Water when the top inch of soil feels dry.
If you’re working with spores, be patient. Those tiny green prothalli will eventually develop into miniature ferns.
Common Hiccups:
- Wilting Fronds: This usually means it’s too dry, or the roots haven’t established yet. Increase humidity and make sure the soil is consistently moist.
- Rotting at the Base: This is the most common sign of too much water and poor drainage. If you see mushy stems or rhizomes, you’ve likely overwatered. Try to salvage any healthy parts and repot them in drier soil, ensuring good airflow.
Keep Nurturing
Propagating Pteris brasiliensis is a wonderful way to expand your fern collection and deepen your connection with these beautiful plants. Be patient with the process, celebrate every new frond that unfurls, and enjoy the journey of bringing more green into your world. Happy gardening!
Resource:
https://identify.plantnet.org/k-world-flora/species/Pteris%20brasiliensis%20Raddi/data