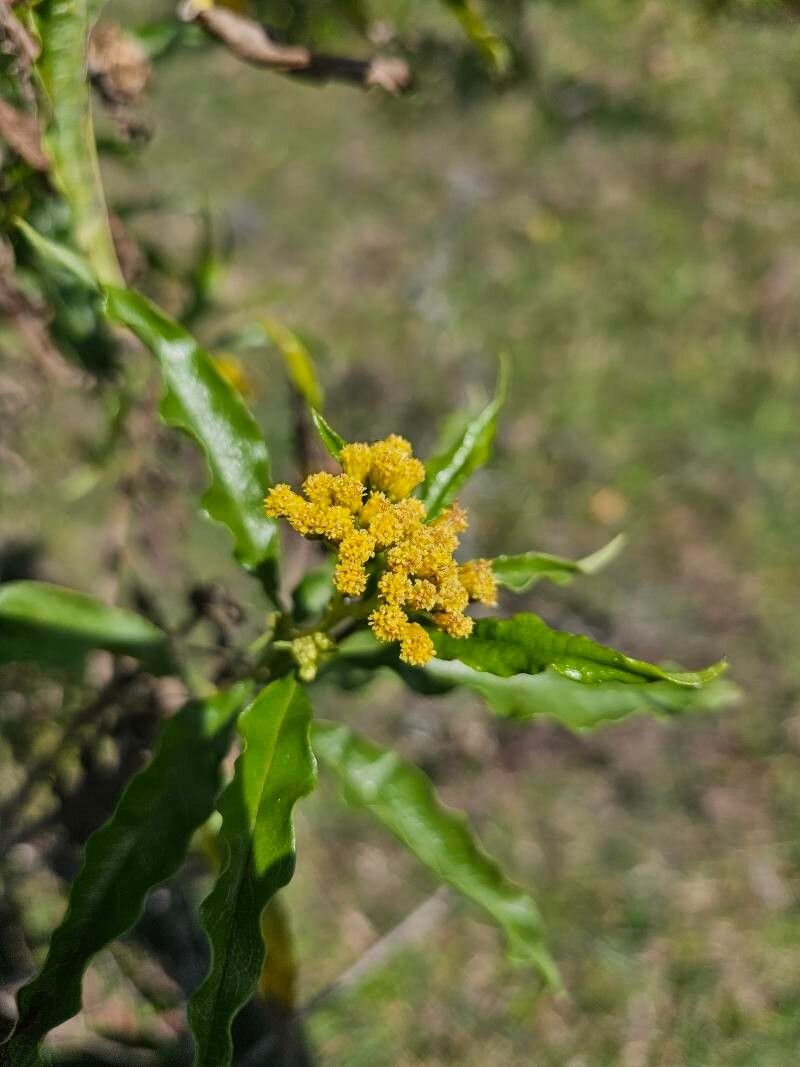
Oh, Psiadia punctulata! What a joy to talk about this fragrant gem. If you’ve ever caught the sweet, aromatic scent wafting from this shrub, you know exactly why it’s worth getting more of. Its delicate, star-like flowers are a magnet for pollinators, and the silvery-green foliage adds such a lovely texture to any garden corner. And the best part? Propagating it is a wonderfully rewarding way to expand your collection – and it’s not as daunting as you might think! Beginners can absolutely get in on this.
The Best Time to Start
For the happiest cuttings and the best chance of success, I find late spring to early summer is your sweet spot. This is when the plant is actively growing, and the new, somewhat softened shoots have plenty of energy to put into forming roots. Avoid trying to propagate from woody, mature stems or during the plant’s major dormant period – it’s just too much of an uphill battle.
Supplies You’ll Need
Gathering your tools beforehand makes the entire process smoother. Here’s what I usually have on hand:
- Sharp Pruning Shears or a Knife: A clean cut is essential for good rooting.
- Rooting Hormone: While not strictly necessary for every plant, it’s a great confidence booster, especially for Psiadia. I prefer a powder called IBA.
- Potting Mix: A light, well-draining mix is key. I like to use a blend of equal parts peat moss or coco coir and perlite or coarse sand. This ensures good aeration and prevents waterlogged soil.
- Small Pots or Seed Trays: Clean pots are a must to avoid fungal disease.
- Plastic Bags or a Propagator: To maintain humidity around your cuttings.
- Labels and a Pen: To keep track of what you’ve potted and when.
- Watering Can with a Fine Rose: For gentle watering.
Propagation Methods
Stem cuttings are the most reliable way to go with Psiadia punctulata. It’s simple and effective!
Stem Cuttings:
- Take Your Cuttings: Select a healthy stem that’s about 4-6 inches long and has recent, non-flowering growth. Look for stems that are flexible but not floppy. Make a clean cut just below a leaf node (where a leaf attaches to the stem). Remove the lower leaves from the cutting, leaving just a few at the top.
- Apply Rooting Hormone: Dip the cut end of the stem into your rooting hormone powder, tapping off any excess. Follow the instructions on your specific product.
- Plant Your Cuttings: Fill your small pots with your prepared potting mix. Make a small hole in the center with your finger or a pencil. Gently insert the hormone-treated end of the cutting into the hole, making sure the leaf nodes are below the soil surface. Firm the soil gently around the stem.
- Provide Humidity: Water the soil lightly until it’s moist but not soggy. Place the potted cuttings inside a clear plastic bag or a propagator lid. This creates a humid microclimate that prevents the cuttings from drying out before they can form roots.
- Find a Spot: Place your pots in a bright location that receives indirect sunlight. Avoid direct sun, which can scorch the delicate cuttings.
The “Secret Sauce” (Pro Tips)
Now, for a couple of little tricks I’ve picked up over the years that can really tip the scales in your favor:
- Bottom Heat is Your Friend: If you have one, using a gentle heating mat underneath your pots can make a huge difference. Roots love warmth, and it significantly speeds up the rooting process. Just a few degrees above room temperature is perfect.
- Don’t Be Afraid to Experiment with Leaf Nodes: When you remove the lower leaves, you can actually make tiny incisions on the exposed leaf nodes. This exposes more of the cambium layer, which is where roots often emerge from. It sounds a bit drastic, but it can give cuttings an extra boost.
Aftercare & Troubleshooting
Once your cuttings have taken root – you can usually tell by gently tugging them and feeling resistance, or by seeing new growth – it’s time to transition them.
- Gradual Acclimation: Slowly remove the plastic bag or propagator lid over a few days. This allows the young plant to get used to the drier air.
- Gentle Watering: Continue to water when the top inch of soil feels dry. Don’t overwater!
- Repotting: Once the roots have filled the pot, you can transplant them into slightly larger pots with your regular potting mix.
The most common issue you might run into is rot. This usually happens if the soil stays too wet or the humidity is too high for too long. If you see your cuttings wilting, going black, or developing mushy stems, it’s often a sign of overwatering or not enough air circulation. Don’t be disheartened if a few don’t make it; it’s all part of the learning process!
A Encouraging Closing
Propagating plants is a dance with nature, a patient art. Each little cutting you nurture is a promise of future blooms and fragrances. So, get your hands dirty, be patient with your new green babies, and enjoy the magical process of bringing more Psiadia punctulata into your world. Happy gardening!
Resource:
https://identify.plantnet.org/k-world-flora/species/Psiadia%20punctulata%20Vatke/data