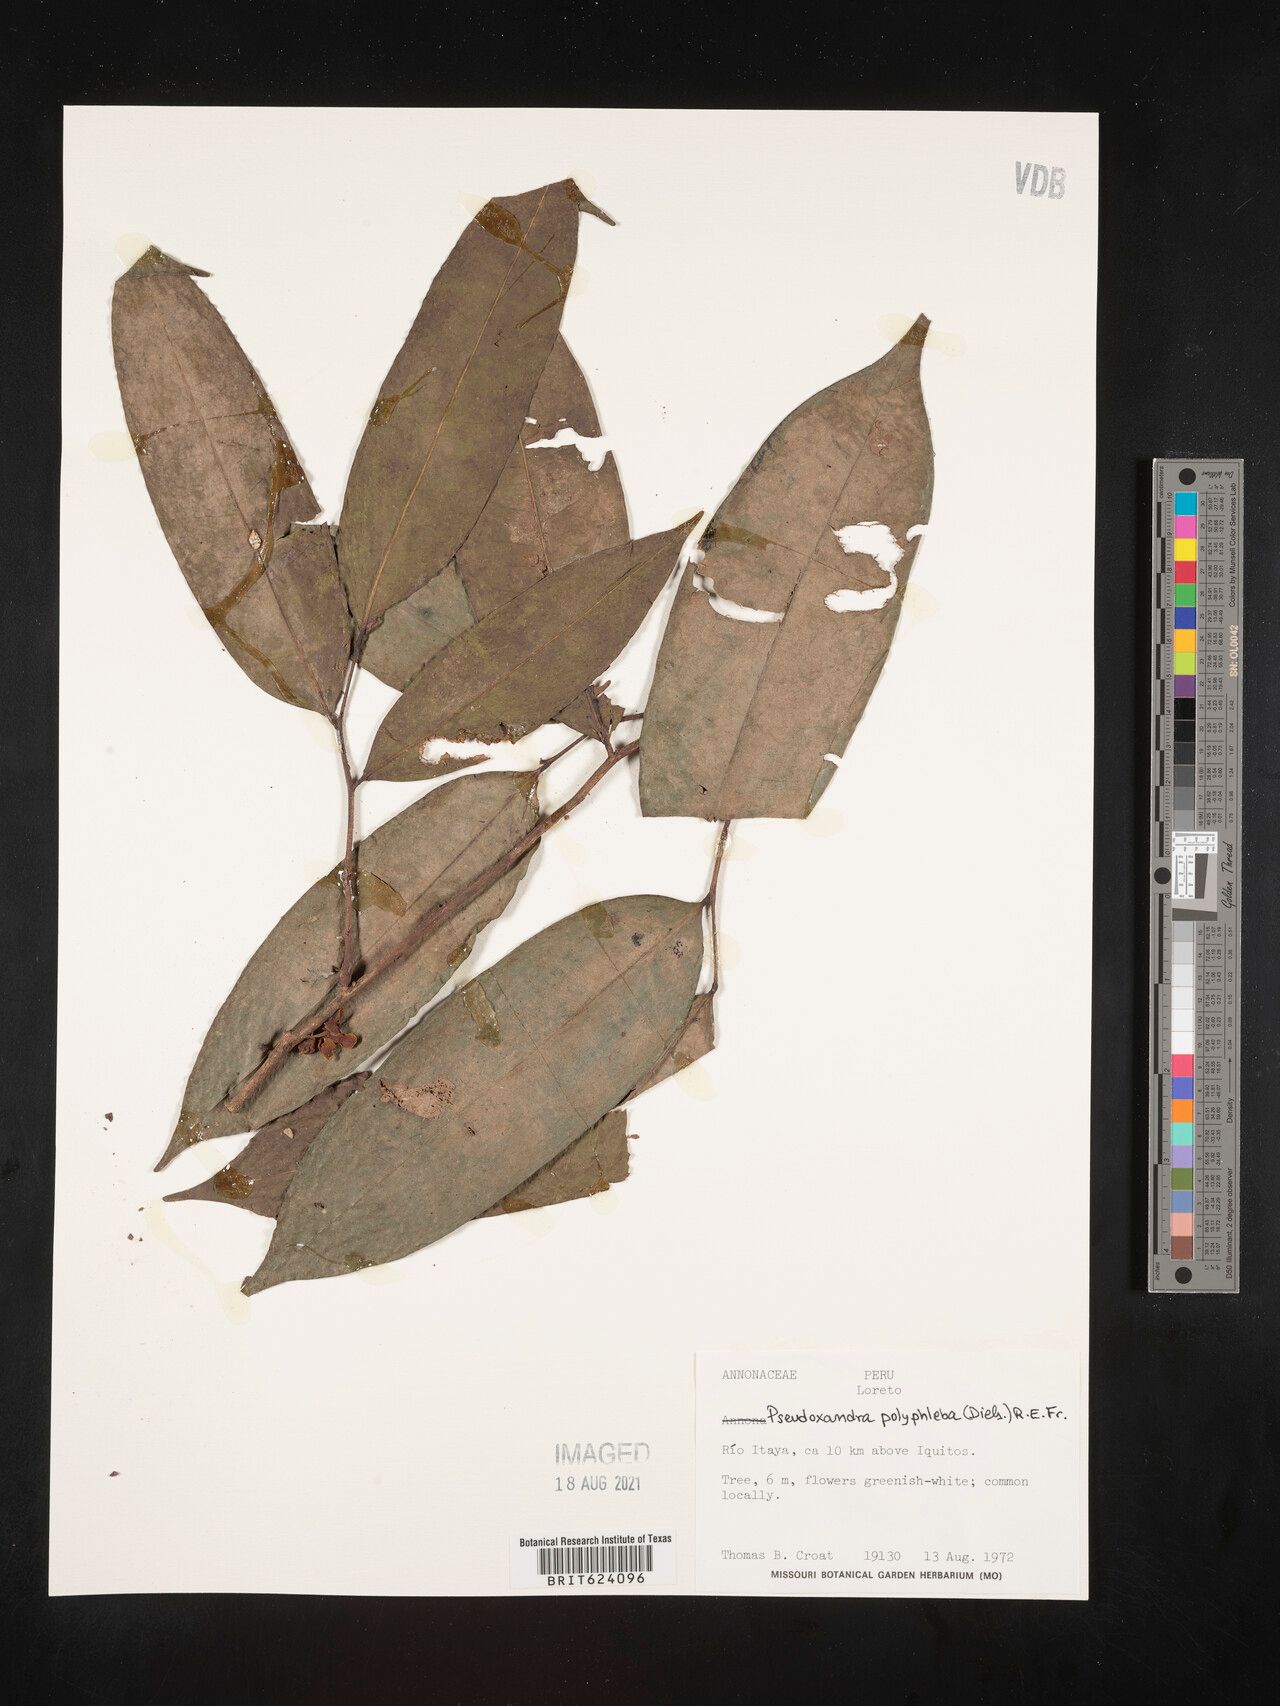
Hey there, fellow plant enthusiasts! It’s always such a joy to connect with you over our shared love for all things green. Today, I want to chat about a plant that has truly captured my heart over the years: the magnificent Pseudoxandra polyphleba. If you haven’t encountered this beauty before, imagine lush, glossy leaves with an almost velvety texture, often displaying captivating patterns and a graceful, arching habit. It’s a real showstopper, and bringing a new one into existence from a tiny cutting feels like pure magic.
Now, about getting started. If you’re new to propagation, you might find Pseudoxandra polyphleba to be a moderately challenging plant to work with. It’s not incredibly difficult, but it does appreciate a bit of specific TLC. Don’t let that deter you, though! With a little patience and following these steps, you’ll be well on your way to success. The reward of watching a new plant unfurl its first leaves from a piece of your existing one is absolutely unparalleled.
The Best Time to Start
The sweet spot for propagating Pseudoxandra polyphleba is definitely during its active growing season. Think late spring through early summer. This is when the plant is full of vigor, producing abundant new growth that’s more pliable and receptive to rooting. Attempting to propagate when the plant is stressed or in a dormant phase will significantly lower your chances of success. Look for healthy, young stems that are firm but not overly woody.
Supplies You’ll Need
Gathering the right tools makes all the difference. Here’s what I always have on hand:
- Sharp, sterile pruning shears or a clean knife: Essential for making clean cuts to avoid damage and disease.
- Rooting hormone (powder or gel): This is a big help, especially for trickier plants like Pseudoxandra polyphleba. It encourages faster and stronger root development.
- Well-draining potting mix: I love a good blend of peat moss or coco coir, perlite, and a bit of orchid bark. You want it to hold moisture but not become waterlogged.
- Small pots or propagating trays: Clean containers are key! I usually opt for 4-inch pots for stem cuttings.
- Plastic bags or a propagation dome: To create a humid microclimate around your cuttings.
- Spray bottle with water: For misting.
- Optional: Heat mat: This can really boost rooting success, especially if your room is on the cooler side.
Propagation Methods
Let’s dive into how we’ll bring these beauties to life. For Pseudoxandra polyphleba, stem cuttings are generally the most reliable method.
Stem Cuttings
- Take a cutting: Select a healthy, semi-hardwood stem that is about 4-6 inches long. This means it’s not brand new and floppy, but also not tough and woody. Make a clean cut just below a leaf node (where a leaf attaches to the stem). This is where the magic happens in terms of root initiation.
- Prepare the cutting: Gently remove the lower leaves, leaving just a couple at the very top. This prevents them from rotting in the soil and reduces water loss. You can even cut any larger top leaves in half horizontally (like a little haircut) to further reduce transpiration.
- Apply rooting hormone: Dip the cut end of the stem into your rooting hormone, giving it a good coating. Tap off any excess.
- Plant the cutting: Fill your small pot with your well-draining mix. Make a pilot hole with your finger or a pencil, and carefully insert the cutting, ensuring the leaf nodes are below the soil surface. Gently firm the soil around the stem.
- Create humidity: Water the soil lightly until it’s evenly moist. Then, cover the pot with a clear plastic bag, securing it with a rubber band, or place it under a propagation dome. I sometimes use stakes to keep the plastic from touching the leaves.
- Place in bright, indirect light: Find a warm spot that receives bright, filtered light. Avoid direct sun, as it can scorch your developing cuttings.
Water Propagation (Use with Caution for this plant)
While some plants root beautifully in water, Pseudoxandra polyphleba can be a bit finicky with this method. If you do try it:
- Prepare your cutting as described above.
- Place the cutting in a clean jar or vase of room-temperature water.
- Crucially, ensure no leaves are submerged. As soon as the first tiny roots appear (often a week or two), you must transplant it into soil immediately. Allowing roots to grow too long in water can make them fragile and prone to rot when moved.
The “Secret Sauce” (Pro Tips)
After years of coaxing reluctant plants, I’ve learned a few tricks that really seem to encourage them.
- Bottom Heat is Your Friend: I can’t stress this enough! A heat mat placed underneath your tray of cuttings provides consistent warmth to the root zone. This encourages root development much faster and more reliably than ambient room temperature. It’s a game-changer, especially during cooler months.
- Don’t Over-Water! This is probably the most common mistake. The soil should be consistently moist, not soggy. Overwatering is the fastest way to invite rot. Stick your finger about an inch into the soil. If it feels dry, water lightly. If it feels damp, leave it be. The humidity you create with the plastic bag will help keep the leaves hydrated.
- Watch for the “Thickening”: Before you see significant green growth or roots, you might notice the stem at the base of the cutting appearing slightly thicker. This is a great sign that root hairs are forming below the soil. Keep peeking gently, but resist the urge to tug!
Aftercare & Troubleshooting
Once you see signs of new growth – a tiny leaf unfurling or a gentle tug revealing resistance (indicating roots!) – it’s time to transition.
- Acclimatize: Gradually remove the plastic bag or dome over a week or so, allowing the new plant to get used to your room’s humidity.
- Potting Up: When the roots are well-established and you have a decent amount of foliage, you can pot up your new Pseudoxandra polyphleba into a slightly larger pot with fresh potting mix.
- Common Issues: The biggest culprit is rot, usually caused by overwatering or poor drainage. If the stem turns mushy and black, it’s a lost cause. You might also see wilting if the cutting isn’t getting enough humidity or has dried out too much. If leaves start yellowing and dropping without clear signs of rot, it might be a sign of stress from too much direct light or a sudden temperature change.
A Encouraging Closing
Propagating plants is a journey of learning and observation. Every cutting is a unique experiment, and not every one will be a success – and that’s perfectly okay! The most important thing is to be patient, to pay attention to your plant’s needs, and to enjoy the process. Seeing that first new leaf emerge from your efforts is one of the most rewarding experiences in gardening. Happy propagating, and may your Pseudoxandra polyphleba thrive!
Resource: