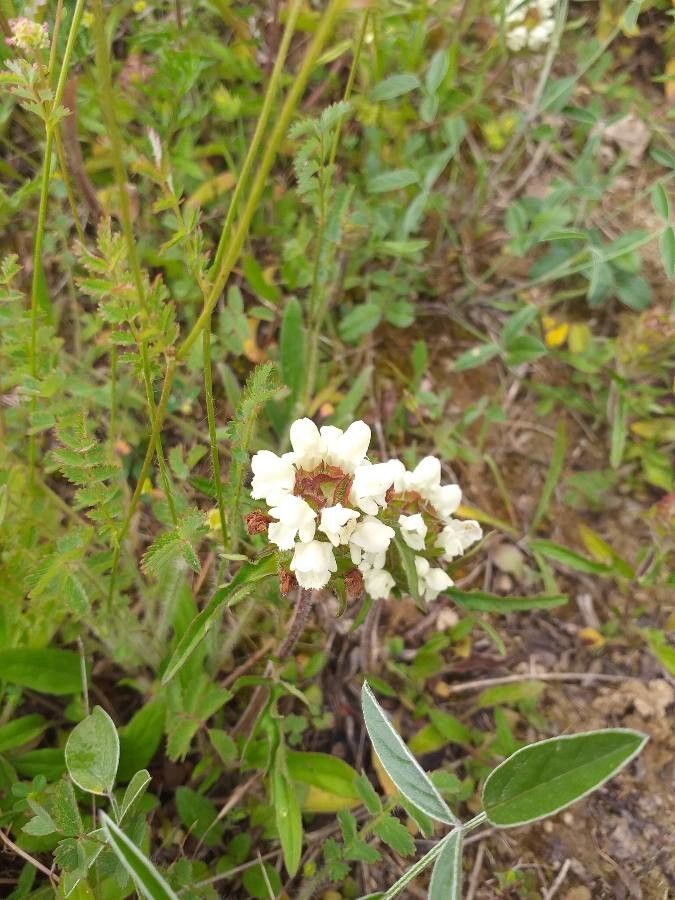
Hello garden friends! I’m so glad you’ve stopped by. Today, we’re diving into a plant that brings me a lot of joy: Prunella laciniata, or Cutleaf Self-Heal.
Why You’ll Love Propagating Prunella laciniata
This lovely little perennial is a pollinator magnet, drawing bees and butterflies with its charming, spiky blooms in shades of purple, pink, and white. It’s wonderfully low-maintenance once established and has a neat, mounding habit that fills in nicely. Best of all, propagating Prunella laciniata is surprisingly straightforward, making it a fantastic choice for beginners looking to expand their garden for free! It’s incredibly rewarding to watch a tiny cutting transform into a robust new plant.
When to Get Your Hands Dirty
The sweet spot for propagating Prunella laciniata is typically in late spring or early summer, just as the plant is in its active vegetative growth phase. You want to catch it before it puts all its energy into flowering. New, soft growth is usually your best bet for cuttings, as it contains the right hormones for rooting.
Your Propagation Toolkit
Here’s what you’ll want to gather before you start:
- Sharp, clean pruning shears or a sharp knife: For making clean cuts.
- Rooting hormone (optional, but recommended): Powder or gel forms work well.
- A well-draining seed starting mix or a blend of equal parts peat moss and perlite: This is crucial for preventing waterlogged roots.
- Small pots or trays: With drainage holes!
- Plastic bag or a propagation dome: To create a humid environment.
- Watering can with a fine rose or a spray bottle: For gentle watering.
- Labels and a marker: To keep track of your efforts!
Let’s Get Propagating!
There are a couple of really effective ways to multiply your Prunella laciniata.
Stem Cuttings: My Go-To Method
This is my favorite, as it’s so reliable.
- Select healthy stems: Look for non-flowering shoots that are about 3-6 inches long.
- Take your cuttings: Using your clean shears or knife, make a clean cut just below a leaf node. A leaf node is where a leaf joins the stem; this is where roots will emerge.
- Prepare the cuttings: Gently remove the lower leaves, leaving just a few at the top. This prevents them from rotting in the moist soil.
- Apply rooting hormone: If you’re using it, dip the cut end of each stem into the rooting hormone, tapping off any excess.
- Plant your cuttings: Make a hole in your prepared potting mix with a pencil or your finger. Insert the cut end of the stem into the hole. Gently firm the soil around the base of the cutting to ensure good contact.
- Water thoroughly: Water gently until the soil is moist but not soggy.
- Create a mini-greenhouse: Cover the pot or tray with a plastic bag or propagation dome. This will trap humidity, which is essential for cuttings. Make sure the leaves aren’t touching the plastic if possible.
- Place in bright, indirect light: Avoid direct sun, which can scorch your precious cuttings. A bright windowsill is perfect.
Division: A Simple Fall Task
This method is best done in the fall, after the flowering period is over, or in early spring before new growth really takes off.
- Dig up the plant: Carefully dig around the base of your Prunella laciniata and lift the entire clump.
- Gently tease apart the roots: Look for natural divisions where the plant has multiple crowns. You can use your fingers or a trowel to gently separate sections. Each section should have a good amount of roots and at least one healthy shoot.
- Replant immediately: Place your divisions into their new homes, planting them at the same depth they were previously growing. Water them in well.
The “Secret Sauce” from My Garden
I’ve learned a few things over the years that really boost success rates.
- Bottom Heat is Your Friend: For stem cuttings, especially if you’re starting early or in a cooler environment, placing the pots on a seedling heat mat can dramatically speed up rooting. This warmth encourages root development from below. Just a gentle warmth is all you need.
- Don’t Be Afraid to Mist: If you’re not using a dome, mist your cuttings once or twice a day with a spray bottle to maintain that high humidity. It helps keep the leaves turgid and encourages the plant to send energy downwards to form roots, rather than upwards to sustain wilting leaves.
- Patience with the Pull Test: When you think your cuttings might be rooted, give a very gentle tug. If you feel resistance, it’s a good sign roots are forming. Don’t pull them out to check every day, though!
Nurturing Your New Sprouts
Once your cuttings have developed a healthy root system (you’ll see new growth at the top and feel good resistance when you gently tug), it’s time for a little more attention.
- Acclimatize them: Gradually remove the plastic bag or dome over a few days to let them adjust to normal humidity.
- Pot them up: Move them to slightly larger pots with fresh, well-draining soil.
- Water wisely: Water when the top inch of soil feels dry. Avoid overwatering, as this is the fastest way to invite root rot, which looks like the stem turning mushy and black at the soil line. If you see this, unfortunately, that cutting is likely lost.
- Watch for wilting: If your plant looks droopy, it could be a sign of too little water, too much water, or if it were a cutting, potentially not enough humidity. Feel the soil to diagnose!
Happy Gardening!
Propagating Prunella laciniata is a wonderful way to fill your garden beds or share with friends. Don’t get discouraged if every single cutting doesn’t make it – that’s just part of the learning process. Be patient, enjoy the rhythm of the seasons, and celebrate every new plant you coax into existence! Happy growing!
Resource:
https://identify.plantnet.org/k-world-flora/species/Prunella%20laciniata%20(L.)%20L./data