Tiny Blooms, Big Rewards: Let’s Propagate Prunella Grandiflora!
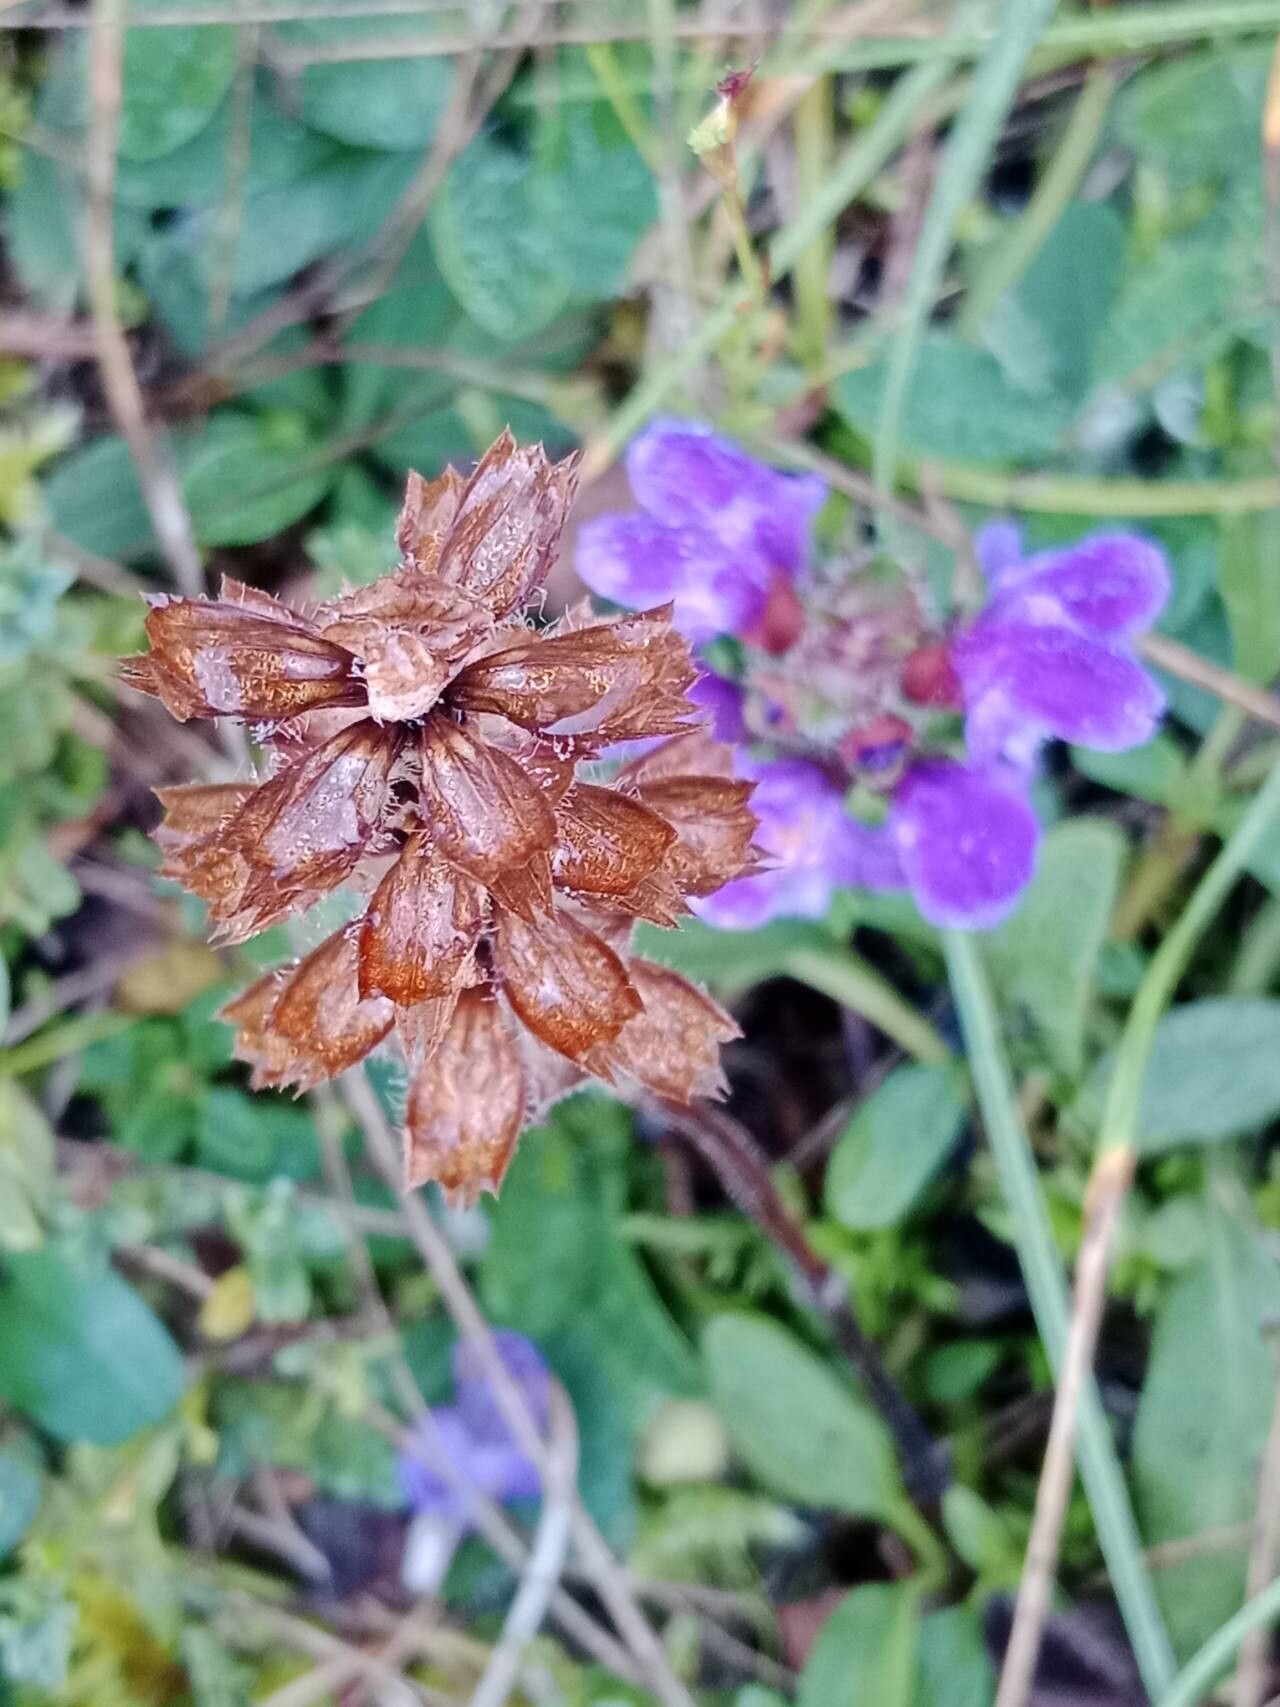
Oh, Prunella grandiflora! If you haven’t had the pleasure, this little gem is a garden darling for so many reasons. I call it “self-healer” because it’s so forgiving, and those lovely spikes of deep purple-blue flowers really pack a punch in borders and rock gardens. They bloom for ages, attracting all sorts of buzzing friends, and they’re tough as old boots once established.
And the best part? Propagating it is a breeze! Seriously, if you’re new to the gardening game, this is a fantastic plant to start with. You’ll feel like a bona fide plant wizard in no time. Seeing your very own little Prunella babies sprout up from a cutting you took is such a satisfying feeling.
When to Get Your Hands Dirty
The sweet spot for propagating Prunella grandiflora is generally in late spring to early summer. This is when the plant is actively growing, and the new shoots are pliant and full of life. You can also have success with division in early spring as the soil begins to warm up.
Your Propagation Toolkit
Here’s what you’ll want to have on hand:
- Sharp pruning shears or a clean cutting knife: For making neat incisions.
- Rooting hormone (optional but helpful): Especially for stem cuttings. A powder or gel works fine.
- Well-draining potting mix: A good quality seed starting mix or a blend of equal parts peat moss and perlite is excellent.
- Small pots or trays: Clean containers with drainage holes are a must.
- Watering can or spray bottle: For gentle hydration.
- Plastic bags or a propagator lid: To create a humid environment for cuttings.
- Labels and a pen: So you don’t forget what you planted where!
Growing New Prunella from Your Own
There are a couple of super straightforward ways to multiply your Prunella collection.
Method 1: Stem Cuttings – My Go-To for Speed
This is my favorite method because it’s so reliable and you get a good number of new plants fairly quickly.
- Take Your Cuttings: As I mentioned, aim for late spring or early summer. Look for non-flowering, healthy stems that are about 3-5 inches long. Use your sharp shears to make a clean cut right below a leaf node (where a leaf grows from the stem).
- Prepare the Cuttings: Gently remove the lower leaves from the bottom half of the stem. You want to expose at least one or two leaf nodes to encourage root development. If the cutting has flower buds, nip them off – energy is better directed towards roots!
- Dip in Rooting Hormone (Optional): If you’re using rooting hormone, dip the cut end into the powder or gel. Tap off any excess.
- Pot Them Up: Fill your small pots with your well-draining potting mix. Make a small hole in the center with your finger or a pencil and insert the cutting. Gently firm the soil around the stem.
- Water and Cover: Water the soil thoroughly but gently. Then, cover the pot with a clear plastic bag, securing it around the rim with a rubber band, or place it inside a propagator with the lid on. This creates that essential humid microclimate.
- Find a Cozy Spot: Place the pots in a bright location, but out of direct, scorching sunlight. A windowsill is usually perfect.
Method 2: Division – The “Instant Gratification” Option
This method is best done in early spring when the plant is just waking up.
- Dig Up the Plant: Carefully dig around the base of your mature Prunella plant with a trowel or spade. Lift the entire clump out of the ground.
- Gently Separate: You can often gently pull the root ball apart with your hands. If it’s a bit stubborn, use two forks, tines facing each other, to tease the roots apart. The goal is to create smaller sections, each with its own roots and shoots.
- Replant Immediately: Get those divided pieces planted back into the ground or into pots with fresh, well-draining soil as soon as possible. Water them in well.
The “Secret Sauce” – Experienced Gardener Wisdom!
Here are a couple of my little tricks that make a big difference:
- Don’t Let Leaves Touch the Water (for Stem Cuttings): When you water your cuttings, make sure no leaves are submerged. Rot sets in quickly if leaves sit in stagnant water, and you’ll likely lose the cutting. I often use a spray bottle to mist the soil until it’s moist, rather than drenching it.
- Bottom Heat is Your Friend: For stem cuttings, a little warmth from below can really speed up root formation. A heated propagator mat is ideal, but even placing the pots on top of a fridge or a warm appliance can give them that extra boost. You’ll often see roots develop faster with this gentle warmth.
Aftercare and What to Watch For
Once your cuttings have been in their humid homes for a few weeks, gentle tugging is your best indicator. If you feel resistance, new roots have formed! At this point, you can gradually acclimatize them to drier air by removing the plastic bag or lid for longer periods each day.
Once they have a good root system, you can transplant them into individual, slightly larger pots or directly into your garden. Keep them consistently moist but not waterlogged as they establish.
What if things go wrong? The most common culprit is rot. If your cuttings turn mushy, black, or develop fuzzy mold, it’s usually a sign of too much moisture and poor air circulation. Don’t be discouraged! Just clean up your pots, maybe adjust your watering, and try again. Sometimes, cuttings just don’t take, and that’s part of the learning process.
Happy Growing, My Friends!
Propagating Prunella grandiflora is a wonderfully rewarding way to fill your garden with more of this delightful plant. Be patient, have fun, and enjoy the process of nurturing these little bits of life. You’ve got this!
Resource:
https://identify.plantnet.org/k-world-flora/species/Prunella%20grandiflora%20(L.)%20Turra/data