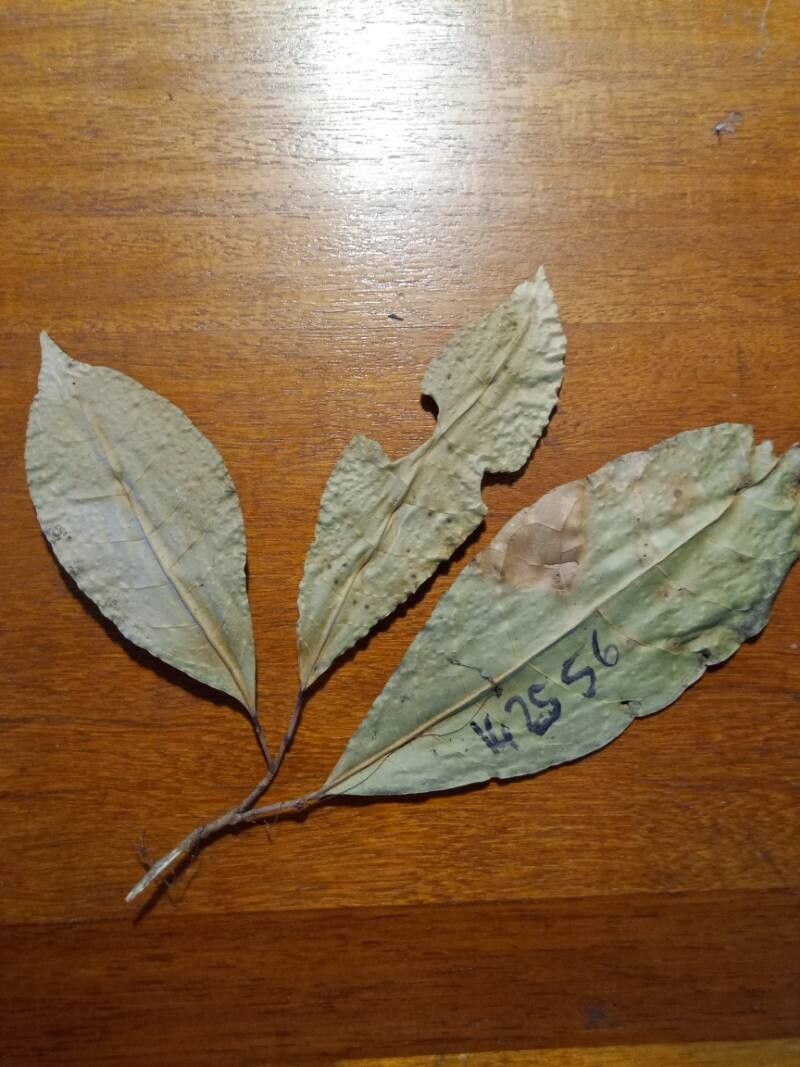
Hello, fellow garden enthusiasts! If you’ve ever admired the glossy leaves and aromatic presence of Protium occultum, you’re not alone. This gem, with its subtle yet captivating fragrance, brings a unique charm to any collection. And let me tell you from experience, coaxing a new plant into existence from a piece of an existing one is one of the most satisfying parts of gardening. It’s a little act of creation, right in your own home! Now, is Protium occultum a walk in the park for a brand-new gardener? Honestly, it’s a moderately challenging plant to propagate. It requires a bit of patience and attention to detail, but with these steps, I’m confident you can be successful.
The Best Time to Start
For Protium occultum, I find the late spring to early summer is absolutely prime time. The plant is actively growing, which means it’s brimming with energy and a higher likelihood of successful rooting. You’re looking for healthy, semi-hardwood stems. Think of it as a stem that’s not brand new and floppy, but also not old and woody.
Supplies You’ll Need
Gathering your tools beforehand makes the whole process much smoother. Here’s what I recommend:
- Sharp, sterilized pruning shears or a clean knife: A clean cut is crucial to prevent disease.
- Rooting hormone powder or gel: This isn’t strictly required for all plants, but for Protium occultum, it really gives your cuttings a helpful boost.
- A well-draining potting mix: I like to use a blend of equal parts peat moss or coco coir, perlite, and a bit of coarse sand. This ensures good aeration.
- Small pots or containers: Clean ones are a must.
- A clear plastic bag or humidity dome: To maintain high humidity around your cuttings.
- A small trowel or dibber: For making holes in the soil.
- Watering can or spray bottle: For gentle watering.
Propagation Methods
While there are a few ways to go, I’ve found stem cuttings to be the most reliable for Protium occultum.
- Take Your Cuttings: On a healthy, actively growing stem, make a clean cut just below a leaf node. A leaf node is where a leaf attaches to the stem. Aim for cuttings that are about 4-6 inches long. Remove the lower leaves, leaving just two or three at the top. This reduces water loss and prevents leaves from rotting in the soil.
- Prepare the Cutting: Dip the cut end of the stem into your rooting hormone, coating it well. Tap off any excess; you don’t want a thick clump.
- Pot Up the Cuttings: Make a hole in your prepared potting mix with your trowel or dibber. Gently insert the treated end of the cutting into the hole, ensuring the nodes where you removed leaves are below the soil surface. Firm the soil gently around the stem. If you’re taking multiple cuttings, give them a little space.
- Provide Humidity: Water the soil gently after potting. Then, cover the pot with a clear plastic bag or place it under a humidity dome. This is your little greenhouse! Make sure no leaves are touching the plastic if possible.
- Find a Warm, Bright Spot: Place your pots in a location that receives bright, indirect light. Avoid direct sun, which can scorch the delicate cuttings.
The “Secret Sauce” (Pro Tips)
Here are a couple of things I’ve learned over the years that really make a difference with trickier propagations like this:
- Bottom Heat is Your Friend: If you have a seedling heat mat, placing your pots on it can dramatically speed up root development. Protium occultum loves a little warmth from below while it’s trying to grow roots.
- Don’t Drown It, Keep it Moist: While humidity is key, overwatering the soil is a fast track to rot. The soil should feel consistently moist but not waterlogged. When you check the humidity dome, you’ll see condensation. If it’s bone dry, give it a gentle watering. If it’s dripping wet, it might be too much. I usually mist the leaves lightly every few days if the humidity seems to be dropping.
Aftercare & Troubleshooting
Once you see new growth or feel a gentle tug when you lightly pull on the cutting (a good sign of roots!), you’re almost there! Gradually acclimate your new plant to lower humidity by opening the plastic bag or dome a little each day for a week. Continue to water as needed, letting the top inch of soil dry out between waterings.
The most common issue you might encounter is rot. If your cutting turns black and mushy, it’s unfortunately a sign that it’s succumbed to rot, usually from too much moisture and not enough airflow. If you see a leaf turning yellow and dropping, that’s often normal as the plant redirects energy to rooting.
The most exciting part is seeing that first tiny new leaf emerge – pure magic!
A Little Patience Goes a Long Way
Remember, propagation is an art and a science. Not every cutting will make it, and that’s perfectly okay. The beauty is in the process, in nurturing a new life. Be patient, observe your cuttings, and celebrate every small victory. Happy propagating!
Resource:
https://identify.plantnet.org/k-world-flora/species/Protium%20occultum%20Daly/data