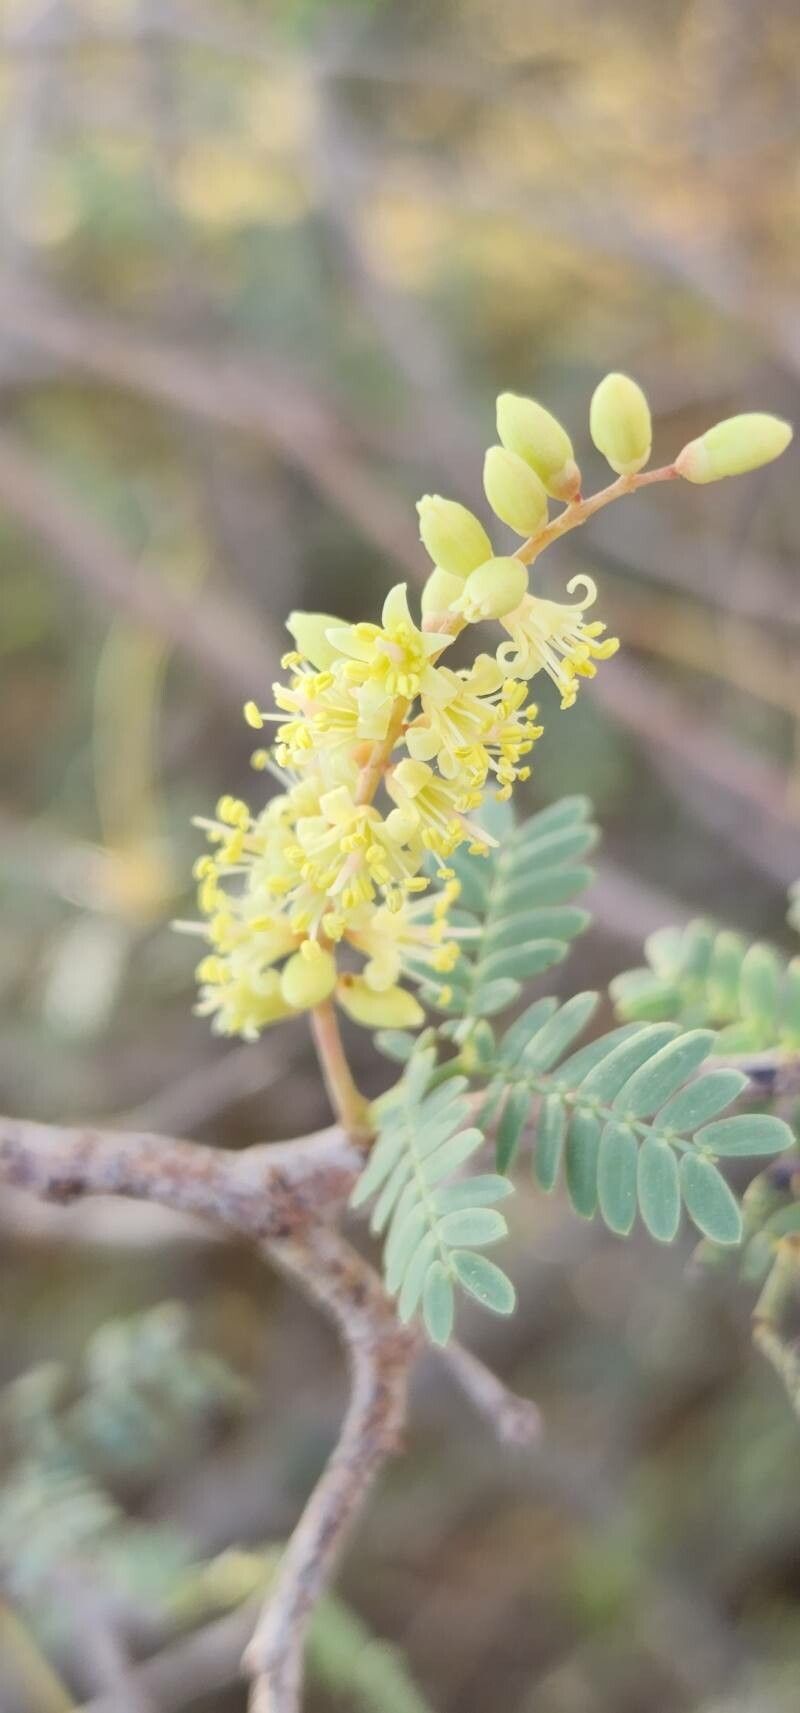
Hey there, fellow plant lovers! Today, we’re diving into the wonderful world of Prosopis koelziana, also known as the Khejri tree or Indian Mesquite. This incredible plant is a true survivor, with beautiful, feathery foliage and a knack for thriving in challenging conditions. Growing your own Khejri from cuttings or seeds is incredibly rewarding. It’s a tangible connection to nature, and honestly, there’s something special about nurturing a new life from a tiny piece of an existing one. Now, for beginners, I’d say Prosopis koelziana is moderately easy to propagate. It’s not a fussy plant, but it does appreciate a little guidance, which is exactly what we’re about to give it!
The Best Time to Start
The absolute best time to get your propagation efforts underway is during the active growing season. For Prosopis koelziana, this typically means late spring to early summer. You want to catch the plant when it’s full of vigor, pushing out new growth. Look for stems that are semi-hardwood – meaning they’re not brand new and flimsy, but not old and woody either. They should be somewhat flexible.
Supplies You’ll Need
Here’s a handy list of what you’ll want to have on hand:
- Sharp pruning shears or a clean knife: For taking your cuttings. Sterilize them between cuts to prevent disease!
- Rooting hormone: This isn’t strictly mandatory, but it can significantly boost your success rate. Gel or powder works well.
- Well-draining potting mix: A good blend of peat moss, perlite, and coarse sand is ideal. You want it to drain freely.
- Small pots or trays: Clean and with drainage holes, of course.
- Plastic bags or a propagation dome: To create a humid microclimate for your cuttings.
- Watering can or spray bottle: For gentle watering.
- Optional: Heat mat: Bottom heat can really speed up root development.
Propagation Methods
Let’s get our hands dirty with the most common and successful methods for Prosopis koelziana.
Stem Cuttings
This is my go-to method for this plant.
- Select your cutting: Find a healthy, semi-hardwood stem that’s about 4-6 inches long. Make the cut at a 45-degree angle just below a leaf node. This is where roots are most likely to form.
- Prepare the cutting: Gently remove the lower leaves from the cutting. You can leave the top 2-3 leaves, but if they’re very large, consider cutting them in half to reduce water loss.
- Apply rooting hormone: Dip the cut end into your rooting hormone, tapping off any excess.
- Plant the cutting: Make a hole in your prepared potting mix with a pencil or your finger, then insert the cutting. Gently firm the soil around the base.
- Water and cover: Water the soil lightly until it’s moist but not waterlogged. Then, cover the pot with a plastic bag or place it under a propagation dome. If you’re using a plastic bag, you can secure it with a rubber band around the pot. Ensure the leaves don’t touch the plastic bag.
Water Propagation
While stem cuttings in soil are my preferred method for long-term success, you can absolutely get roots started in water.
- Take a cutting: Same as step 1 above.
- Remove lower leaves: Just like with soil propagation.
- Place in water: Put the cutting in a clean jar or glass of water. Make sure no leaves are submerged in the water. Leaves in the water will rot and can affect the health of your cutting.
- Change water regularly: Replace the water every 2-3 days to keep it fresh and prevent bacterial growth.
- Wait for roots: You should see tiny white nubs appear within a few weeks. Once these roots are about an inch long, it’s time to transplant them into soil.
The “Secret Sauce” (Pro Tips)
Here are a few things I’ve learned over the years that can make a big difference:
- Don’t be afraid of bottom heat: If you have a heat mat, placing your pots on it can significantly speed up root formation. It mimics the warmth of the soil in summer and encourages those roots to emerge.
- Cleanliness is key, always! I can’t stress this enough. Always use clean tools, clean pots, and clean water. A little bit of forgotten fungus or bacteria can undo all your hard work. Sterilize your shears with rubbing alcohol between each cut.
- Patience with the light: Once your cuttings are planted, place them in a bright location but out of direct, scorching sunlight. Too much sun can scorch those tender new leaves and dry out your cuttings before they have a chance to root. Bright, indirect light is perfect.
Aftercare & Troubleshooting
Once you start seeing signs of roots – often a gentle tug will show some resistance, or you might even see new leaf growth – it’s time for a slightly different approach.
For cuttings rooted in soil, gradually introduce them to more air by opening the plastic bag or dome a little more each day before removing it completely. Continue to keep the soil consistently moist but not soggy. For those water-propagated gems, carefully transplant them into their own small pots filled with your well-draining mix. Water them in gently.
Now, what if things go wrong? The most common culprit is rot. If your cutting turns black and mushy, it’s usually a sign of too much moisture and not enough air circulation. Unfortunately, rot is often fatal, so it’s best to discard it and start fresh. Another sign of failure is if the cutting shrivels and dries out completely – this means it couldn’t get enough moisture, perhaps due to lack of humidity or the soil drying out too much. Don’t get discouraged if your first attempt isn’t perfect. Gardening is a journey of learning!
A Encouraging Closing
Propagating Prosopis koelziana is a wonderful way to expand your collection and share these beautiful plants with others. Remember to be patient, observe your cuttings, and celebrate every little victory, whether it’s a tiny root or a new leaf. Enjoy the process, and happy gardening!
Resource:
https://identify.plantnet.org/k-world-flora/species/Prosopis%20koelziana%20Burkart/data