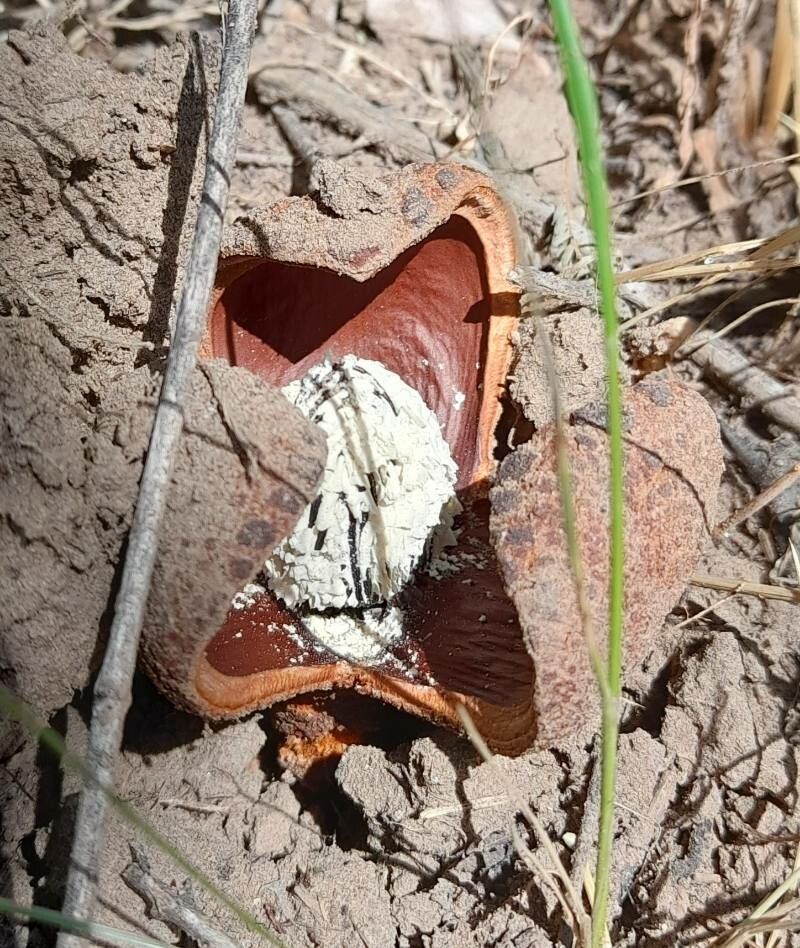
Hello, fellow garden enthusiasts! If you’re looking for a plant that brings a touch of the exotic and a real sense of accomplishment to your gardening journey, let me introduce you to Prosopanche americana. This isn’t your everyday houseplant, and that’s part of its charm. Its unique appearance and the sheer satisfaction of coaxing a new life from a piece of the parent plant make propagating it a truly rewarding endeavor. Now, is it a walk in the park for absolute beginners? I’d say it leans a little more towards the adventurous side, but with a bit of care and these tips, you’ll be well on your way to success.
The Best Time to Start
For Prosopanche americana, I find the late spring to early summer is absolutely prime time. This is when the plant is actively growing and has that energetic surge. You want to be taking cuttings when the growth is vigorous, not when it’s stressed or dormant. Think of it as stealing a little sunshine-powered energy for your new plant babies.
Supplies You’ll Need
To give your new Prosopanche the best start, gather these essentials:
- Sharp Pruning Shears or a Craft Knife: Clean cuts are crucial.
- Well-Draining Potting Mix: I like a blend of half perlite and half coarse sand, or a good quality cactus/succulent mix. Good aeration is key.
- Rooting Hormone Powder (Optional but Recommended): Helps speed things up and improve success rates.
- Small Pots or Seedling Trays: With drainage holes, of course!
- Plastic Bags or a Clear Dome Lid: To create a humid environment.
- A Watering Can with a Fine Rose: For gentle watering.
- A Sunny or Bright, Indirect Light Location: Avoid harsh, direct sun initially.
Propagation Methods
Let’s get our hands dirty! While Prosopanche americana can be a bit fussy, stem cuttings are generally your most reliable bet.
Stem Cuttings:
- Select Your Cutting: Look for a healthy, non-flowering stem that’s at least 4-6 inches long. It should be firm and green, not woody or limp.
- Make the Cut: Using your clean, sharp shears or knife, make a cut just below a leaf node. This is where new roots are most likely to form.
- Prepare the Cutting: Gently remove the lower leaves from the cutting. You want to expose a few nodes.
- Apply Rooting Hormone (Optional): Dip the cut end into your rooting hormone powder, tapping off any excess. This step is like giving your cutting a little boost to kickstart root development.
- Plant the Cutting: Fill your small pot with your well-draining potting mix. Make a small hole with your finger or a pencil and insert the cut end of the stem. Firm the soil gently around it to provide support.
- Water Gently: Water the soil thoroughly but carefully so you don’t dislodge the cutting.
- Create a Humid Environment: Cover the pot with a clear plastic bag, securing it with a rubber band, or place it under a clear dome lid. This humidity is vital for preventing the cutting from drying out before it can root.
- Provide Light: Place the pot in a spot that gets bright, indirect light. No direct sun at this stage, please!
The “Secret Sauce” (Pro Tips)
Here are a few things I’ve learned over the years that make a big difference:
- Let the Cutting Callus: Before you even dip it in hormone or plant it, let the cut end of the stem dry and form a slight callus for a day or two in a dry, shaded spot. This helps prevent rot after planting.
- Bottom Heat is Your Friend: If you have access to a seedling heat mat, using it can significantly speed up root development. The warmth encourages root growth from below.
- Don’t Overwater, But Don’t Let It Shrivel: This is a delicate balance. The soil should be consistently moist but never waterlogged. Check the moisture level by gently touching the soil surface.
Aftercare & Troubleshooting
Once your cutting has been in its pot for a few weeks, you can start gently tugging on it. If you feel resistance, congratulations, you’ve got roots!
- Gradual Acclimation: Once roots have formed, gradually remove the plastic bag or dome over the next week or so, allowing the new plant to adjust to normal humidity.
- Watering: Continue to water when the top inch of soil feels dry.
- Light: As it establishes, you can slowly introduce it to slightly brighter light.
Now, what if things aren’t going as planned?
- Rot: This is the most common culprit. It looks like a mushy, brown, or black stem. It’s usually caused by overwatering and poor drainage. If you see rot, it’s often best to discard the cutting and start fresh, ensuring your soil is well-draining and you’re not drowning your plant.
- No Root Development: This can happen if the cutting was too old, too young, or the environmental conditions weren’t right. Be patient! Sometimes it just takes time.
A Encouraging Closing
Propagating Prosopanche americana is a journey, not a race. There will be times when things don’t work out, and that’s perfectly okay. Every gardener has had their share of failed attempts. The joy is in the process, in learning about the plant’s needs, and in the thrill of seeing that first tiny root emerge. So, give it a try, keep these tips in your back pocket, and enjoy watching your garden, and your skills, grow! Happy propagating!
Resource:
https://identify.plantnet.org/k-world-flora/species/Prosopanche%20americana%20(R.Br.)%20Baill./data