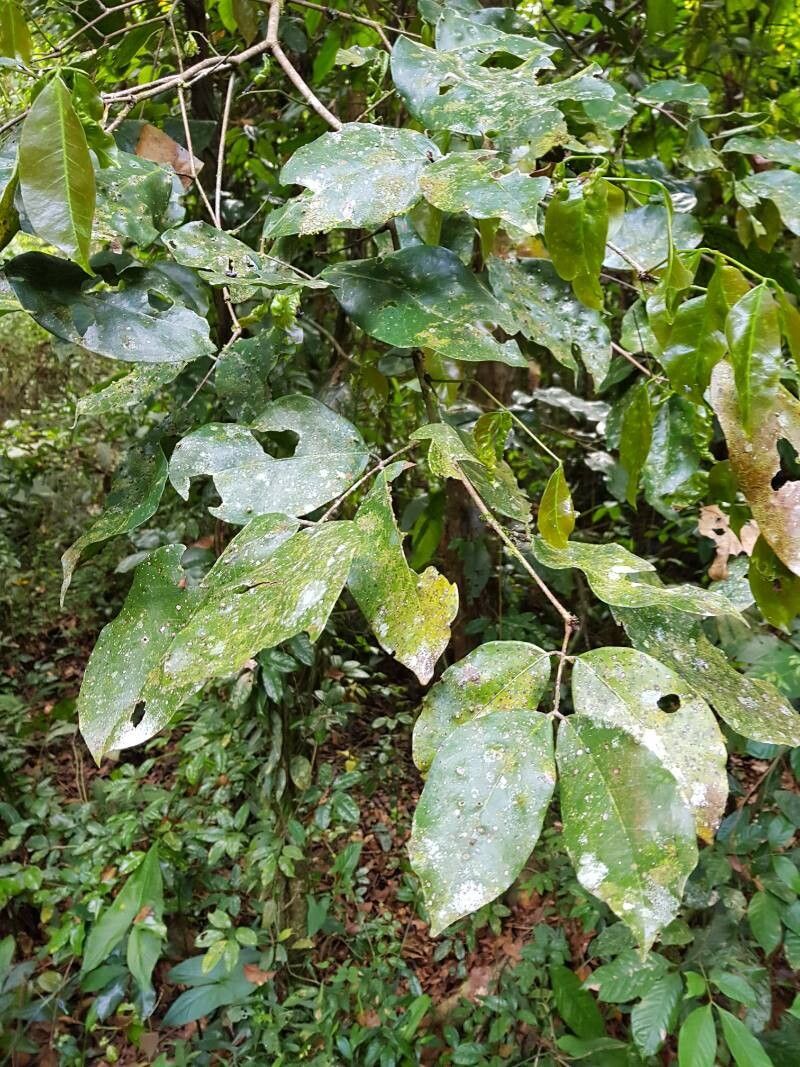
Oh, hello! Come on in, grab a mug. I’ve been meaning to chat with you about Prioria copaifera, also known as Balsamwood or, more commonly, Copal. This tree is such a gem. Its fragrant wood, historically used for incense, and its beautiful, glossy foliage make it a lovely addition to any larger garden or even as an impressive specimen tree. And guess what? Propagating it is absolutely doable and incredibly rewarding! It’s not the absolute easiest plant for a complete beginner, perhaps, but with a little patience and these tips, you’ll be well on your way to a whole new Copal.
The Best Time to Start
For the highest success rate when propagating Prioria copaifera, I always aim for late spring to mid-summer. This is when the plant is in its most vigorous growth phase. You’ll be working with softwood or semi-hardwood cuttings, which root much more readily than older, woody material. Look for healthy, new growth that’s slightly firm but not yet brittle.
Supplies You’ll Need
Before we get our hands dirty, let’s gather our tools. A well-prepared station makes all the difference!
- Sharp Pruning Shears or a Clean Knife: For making clean cuts.
- Rooting Hormone: A powdered or liquid form will help stimulate root development.
- Potting Mix: A well-draining mix is crucial. I like a blend of 50% perlite and 50% peat moss or coco coir. You can also buy a good quality seed starting mix.
- Small Pots or Trays: Clean containers with drainage holes are a must.
- Clear Plastic Bags or a Propagation Dome: To maintain humidity.
- Watering Can or Spray Bottle: For gentle watering.
- Optional: Heating Mat: For bottom heat, which can speed up rooting.
Propagation Methods
Let’s get down to the nitty-gritty. I find stem cuttings to be the most reliable method for Prioria copaifera.
Stem Cuttings:
- Take Your Cuttings: Select healthy stems from your mature Copal tree. Aim for pieces about 6-8 inches long. Using your sharp shears or knife, make a clean cut just below a leaf node. Remove any flowers or flower buds. Strip off the lower leaves, leaving just 2-3 leaves at the top. This helps prevent rot and concentrates the plant’s energy on rooting.
- Prepare the Cuttings: If you’re using powdered rooting hormone, dip the cut end of the stem into water first, then into the powder, tapping off any excess. If using liquid hormone, follow the package instructions.
- Plant Your Cuttings: Fill your pots with your prepared potting mix. Make a small hole in the center of each pot with a pencil or your finger. Insert the prepared cutting into the hole, ensuring the leaf nodes are below the soil surface. Gently firm the soil around the stem.
- Water and Cover: Water the cuttings thoroughly until water drains from the bottom. Then, cover the pots with a clear plastic bag, or place them inside a propagation dome. This creates a humid microclimate, which is vital for successful rooting. Ensure the leaves do not touch the plastic if possible.
The “Secret Sauce” (Pro Tips)
Now, for a couple of tricks I’ve picked up over the years, things that really give your cuttings a boost.
- Bottom Heat is Your Friend: If you have a heating mat, place your pots on top of it. Copal roots tend to form much faster when the soil temperature is consistently warm, around 70-75°F (21-24°C). This is especially helpful if your propagation area is a bit cooler.
- Don’t Disturb Them Too Soon: Resist the urge to constantly pull at your cuttings to check for roots. It’s best to wait at least 4-6 weeks before gently tugging. If there’s resistance, roots are forming! You can also look for new leaf growth at the top, another strong indicator of rooting.
Aftercare & Troubleshooting
Once you see those lovely roots forming and new growth appearing, it’s time for a little pampering.
- Acclimatization: Gradually introduce your rooted cuttings to the outside air. Start by opening the plastic bag or propagation dome for increasing periods over a week.
- Potting Up: Once they have a good root system, you can pot them into slightly larger containers with a good quality potting mix. Water them well and keep them in a bright spot, but out of direct, harsh sun for the first few weeks.
- Watch for Rot: The most common problem you’ll encounter is rot. This usually happens from overwatering or poor drainage. If you see your cutting turning black and mushy at the base, or the leaves wilting and looking translucent, it’s likely rot. Unfortunately, there’s usually no coming back from this. Prevention is key: use a well-draining mix, water only when the top inch of soil feels dry, and ensure good air circulation.
A Encouraging Closing
Remember, gardening is a journey, and propagation is a wonderful way to connect with the life cycle of plants. Don’t be discouraged if your first few attempts aren’t perfect. Each cutting, each season, is a learning experience. Be patient, enjoy the process of nurturing these new lives, and before you know it, you’ll have your own little Copal forest! Happy gardening!
Resource:
https://identify.plantnet.org/k-world-flora/species/Prioria%20copaifera%20Griseb./data