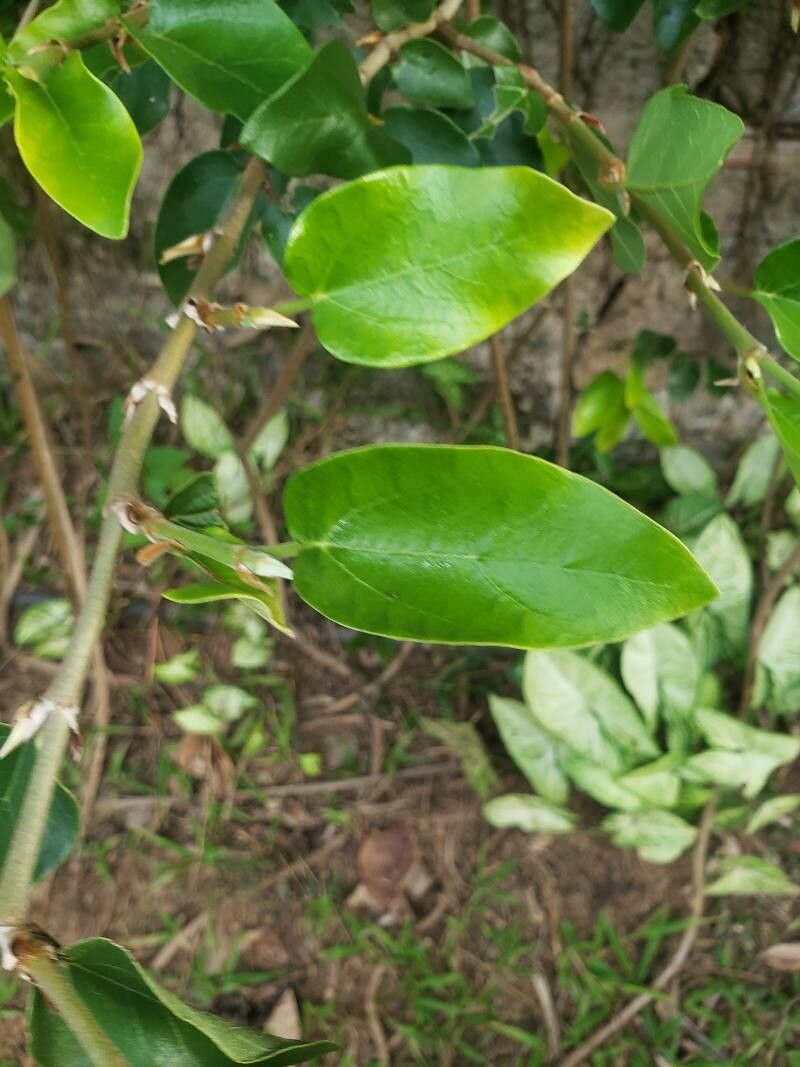
Oh, hello there! Come on in, grab a mug. You know, I’ve been thinking a lot about Premna trichostoma lately. It’s such a handsome plant, with that lovely glossy foliage and a knack for becoming a real statement piece in the garden or on a sunny windowsill. If you’ve ever admired one and thought, “Gosh, I wish I had more of those!” you’re in luck. Propagating this beauty is incredibly rewarding. Now, is it a walk in the park for absolute beginners? I’d say it’s moderately easy. With a little attention and a few tricks up your sleeve, you’ll be well on your way to success.
The Best Time to Start
Honestly, the sweet spot for propagating Premna trichostoma is when it’s really in its stride – that’s usually late spring through early summer, just as the plant enters its active growing season. You want to be working with healthy, vigorous stems that have had plenty of good light and energy to build up. This is when they’re most primed to put out roots.
Supplies You’ll Need
No need for anything too fancy, but having the right tools makes all the difference. Here’s what I usually gather:
- Sharp Pruning Shears or a Craft Knife: For clean cuts.
- Rooting Hormone (Optional but Recommended): A liquid or powder can give your cuttings a helpful boost.
- Well-Draining Potting Mix: I like a blend of equal parts peat moss, perlite, and good quality potting soil. This ensures good aeration and prevents waterlogging.
- Small Pots or Seed Trays: Anything that can hold your cuttings securely.
- Clear Plastic Bag or Propagator Lid: To create a humid environment.
- Watering Can or Spray Bottle: For gentle watering.
Propagation Methods
I find the most reliable way to get new Premna trichostoma going is through stem cuttings. It’s straightforward and often yields great results.
Here’s how I do it:
- Select Your Cuttings: Look for healthy, semi-hardwood stems – they should be firm but still have a little bit of flexibility. Avoid brand new, bright green growth or old, woody stems. Aim for cuttings that are about 4-6 inches long.
- Make the Cut: Using your sharp shears or knife, make a clean cut just below a leaf node (where a leaf joins the stem). This is a key spot for root development.
- Prepare the Cuttings: Gently remove the lower leaves from the cutting, leaving just a few at the very top. This prevents leaves from rotting when buried in the soil. If your cuttings are particularly long, you can even take a sharp knife and make a tiny slit on the bottom inch of the stem where you’ll apply the rooting hormone.
- Apply Rooting Hormone (If Using): Dip the cut end of the stem into your chosen rooting hormone, tapping off any excess. Make sure the hormone coats the area where you made the slit if you chose to do that.
- Plant Your Cuttings: Fill your small pots or trays with your well-draining potting mix. Create a hole with a pencil or skewer in the center of the soil. Gently insert the cut end of your Premna cutting into the hole, making sure at least one leaf node is buried. Firm the soil gently around the stem.
- Water and Cover: Give the soil a gentle watering with your watering can or spray bottle. You want the soil moist but not soggy. Then, pop a clear plastic bag over the pot, securing it with a rubber band, or place a propagator lid on top. This creates a mini-greenhouse effect, keeping humidity high, which is crucial for cuttings.
The “Secret Sauce” (Pro Tips)
Here are a couple of things I’ve learned over the years that really give my cuttings an edge:
- Don’t Let the Leaves Touch the Water (in Water Propagation): While Premna trichostoma can be rooted in water, I find it’s more prone to rot this way than in soil. If you do try water propagation, ensure that absolutely no leaves are submerged in the water. Only the stem should be in contact.
- Bottom Heat is Your Friend: If you have a seedling heat mat, placing your pots on it can dramatically speed up root formation. Premna loves a bit of warmth from below to encourage those roots to get going. It really makes a difference!
Aftercare & Troubleshooting
Once your cuttings are planted, place them in a bright spot, but out of direct, harsh sunlight. Think of an east-facing window or a lightly shaded area outdoors.
Check the moisture regularly. The soil should remain consistently moist but never waterlogged. If the top of the soil feels dry, give it a gentle water. You’ll know your cutting is taking root when you see new fuzzy growth appearing or feel a slight resistance when you gently tug on the stem. This can take anywhere from 4-8 weeks, sometimes longer.
The main issue you might encounter is rot. If you see the stem turning mushy and black, it’s a sign of too much moisture or not enough air circulation. If this happens, pull the affected cutting out, discard it, and ensure your remaining cuttings aren’t sitting in waterlogged soil. Sometimes, just removing the plastic bag for a few hours a day can help if things are a bit too steamy.
A Bit of Patience, A Lot of Joy
Watching a tiny cutting transform into a new, thriving plant is truly one of gardening’s greatest pleasures. Don’t get discouraged if not every cutting makes it – it’s all part of the learning process! Be patient, give them a little love and consistent care, and you’ll soon have a whole collection of your own beautiful Premna trichostoma. Happy propagating!
Resource:
https://identify.plantnet.org/k-world-flora/species/Premna%20trichostoma%20Miq./data