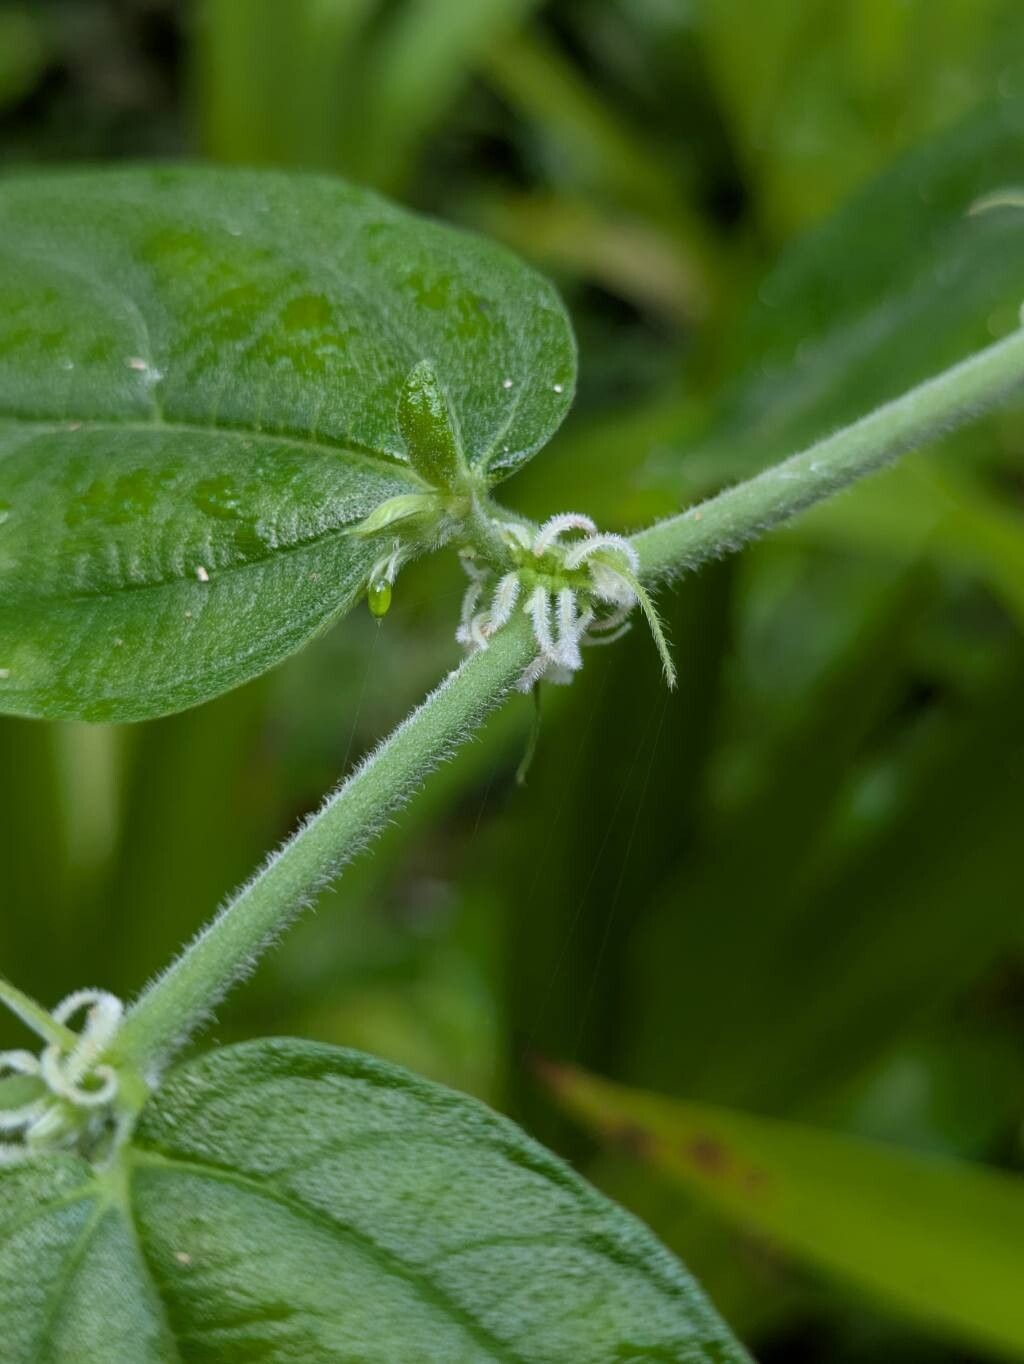
Oh, Pouzolzia obliqua! If you’re looking for a plant that brings a touch of the tropics with its beautifully textured leaves and graceful habit, you’ve found a winner. I’ve been growing these beauties for years, and honestly, sharing them with friends is one of the most rewarding parts of gardening. The good news? Propagating Pouzolzia obliqua is quite achievable, even for those just starting to dabble in plant multiplication. It’s not going to fight you every step of the way.
The Best Time to Start
For Pouzolzia obliqua, spring is really your golden ticket. When the plant is actively putting on new growth after a winter rest, it has all the energy reserves it needs to push out roots. Aim for late spring or early summer, just as things are really warming up and days are getting longer. You want to take cuttings from healthy, vigorous stems that aren’t flowering.
Supplies You’ll Need
Gathering your tools beforehand makes the whole process smoother. Here’s what I always have on hand:
- Sharp Pruning Shears or a Craft Knife: Clean cuts are crucial for preventing disease.
- A Well-Draining Potting Mix: I like a blend of equal parts peat moss, perlite, and coarse sand. You can also buy a good quality houseplant mix and amend it with extra perlite.
- Rooting Hormone (Optional but Recommended): A powder or gel formulation helps speed up root development.
- Small Pots or Seedling Trays: Clean ones, please!
- Clear Plastic Bags or a Propagation Dome: To create a humid environment.
- Watering Can with a Fine Rose: For gentle watering.
- Labels and a Marker: To keep track of what you’ve potted up.
Propagation Methods
My favorite way to propagate Pouzolzia obliqua is through stem cuttings. It’s reliable and usually yields a good success rate.
Step-by-Step Stem Cuttings:
- Select Your Stem: Look for a healthy, non-woody stem that’s about 4-6 inches long. You want to see at least two or three sets of leaves on the stem.
- Make the Cut: Using your clean shears or knife, make a clean cut just below a leaf node. This is where the new roots will emerge.
- Prepare the Cutting: Gently remove the leaves from the bottom half of the stem, leaving only the top couple of sets of leaves. If the remaining leaves are very large, you can cut them in half to reduce water loss.
- Apply Rooting Hormone (Optional): Dip the cut end into your rooting hormone powder or gel, tapping off any excess.
- Plant the Cutting: Fill your small pots with your prepared potting mix. Make a small hole in the center with a pencil or your finger. Insert the cutting into the hole, ensuring the leaf nodes are buried. Gently firm the soil around the stem.
- Water and Cover: Water the potting mix thoroughly but gently. Then, place a clear plastic bag over the pot, creating a mini-greenhouse effect, or use a propagation dome. Make sure the leaves aren’t touching the plastic if possible.
The “Secret Sauce” (Pro Tips)
Here are a couple of things I’ve learned over the years that really make a difference:
- Don’t Let the Leaves Touch the Water (if water propagating): While I primarily use soil, if you’re tempted to try water propagation, a common mistake is letting the leaves sit in the water. This leads to rot before roots can form. Only the stem should be submerged. I always prune off the lower leaves so they are well above the water line.
- Bottom Heat is Your Friend: A gentle warmth from below can significantly speed up root development. If you have a seedling heat mat, place your potted cuttings on it. It mimics the warmth of spring soil and gives those roots a real boost. Place it on a low setting; you don’t want to cook your cuttings!
Aftercare & Troubleshooting
Once your cuttings are planted and misted, the waiting game begins!
- Placement: Keep your potted cuttings in a bright, indirect light location. Avoid direct sun, which can scorch them.
- Humidity: Regularly check on the humidity. If the plastic bag looks dry or is collapsing, mist the inside of the bag or the soil surface lightly. You want the soil to be consistently moist, but not soggy.
- Rooting: You’ll know your cuttings have rooted when you see new leaf growth. This can take anywhere from 3-8 weeks, depending on conditions. You can also gently tug on the cutting; if there’s resistance, roots have likely formed.
- Troubleshooting: The biggest enemy here is rot. If a cutting turns mushy or black, it’s a sign of too much moisture or a fungal issue. Unfortunately, you’ll likely need to discard it and start again, ensuring better air circulation and less water next time. Yellowing leaves on an otherwise healthy cutting can sometimes indicate it’s not getting enough light, or it might be a sign it’s struggling to establish.
A Encouraging Closing
Learning to propagate is such a satisfying journey. Be patient with your Pouzolzia obliqua cuttings. Sometimes they take their sweet time, and that’s perfectly okay! Enjoy the process of watching a tiny cutting transform into a new, vibrant plant. Happy propagating!
Resource:
https://identify.plantnet.org/k-world-flora/species/Pouzolzia%20obliqua%20(Wedd.)%20Wedd./data