Oh, hello there! Come on in, pull up a chair. I’ve got a fresh pot of something warm brewing. Today, we’re going to talk about a little gem that’s been making its way into more gardens, and for good reason: Pouteria deliciosa, or as some lovingly call it, the Canistel.
My Love Affair with the Canistel
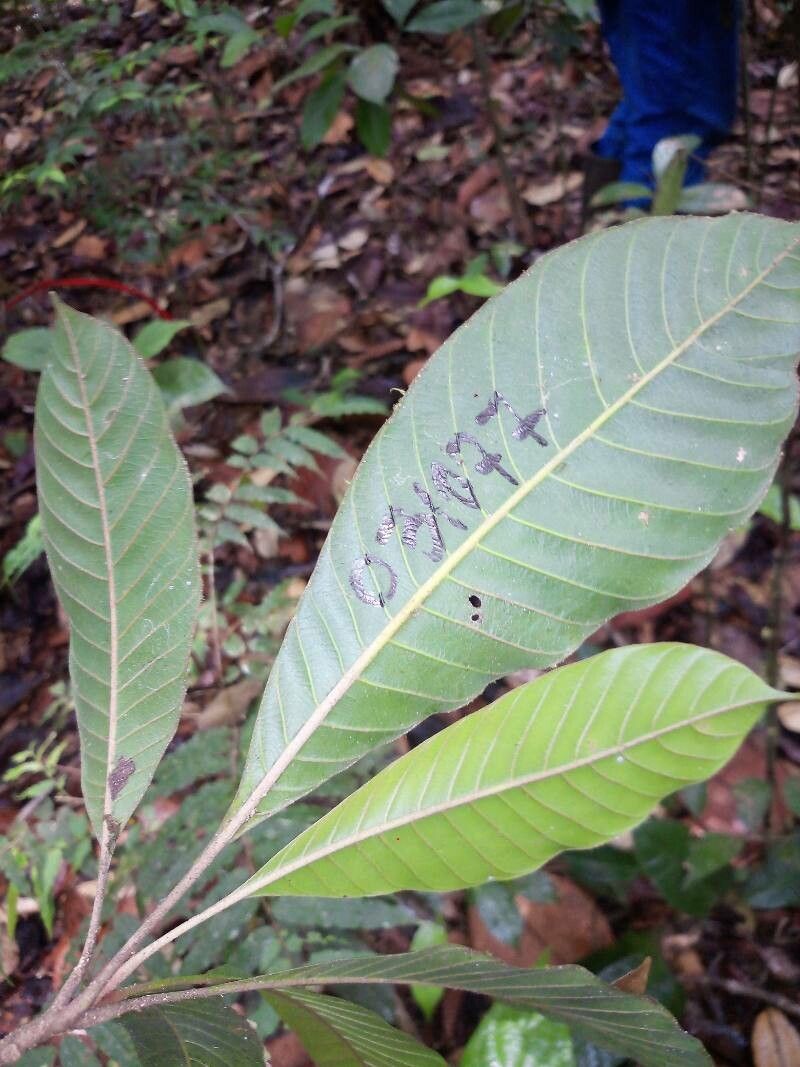
This tree is just delightful. It offers these gorgeous, egg-shaped fruits that have a creamy texture, sometimes described as tasting like a sweet potato or a custard. And the foliage! It’s a lovely, glossy green, making it a beautiful specimen even when it’s not laden with fruit. Propagating your own Canistel is incredibly rewarding. You get to extend that joy, share it with friends, or simply build your own little orchard of these sweet treats.
Now, about beginners… I’d say Pouteria deliciosa can be a moderate challenge. It’s not the easiest thing to root from a cutting, but with a little know-how and patience, you’ll absolutely see success. Don’t let that deter you!
When to Get Your Hands Dirty
The absolute best time to start propagating your Canistel is when the plant is in an active growth phase. This usually means late spring through summer. You’ll want to use semi-hardwood cuttings, meaning they should be somewhat firm but still a little flexible. Think of a pencil – not so soft it’ll snap easily, but not so woody that it’s stiff and brittle.
Your Propagation Toolkit
Here’s what you’ll want to have ready before you begin:
- Sharp Pruning Shears or a Knife: Cleanliness is key! Sterilize them with rubbing alcohol to prevent disease.
- Rooting Hormone: This is really important for Canistel. A good quality powder or gel containing auxin will significantly boost your success rate.
- Potting Mix: A well-draining mix is crucial. I like a blend of equal parts perlite, coco coir, and a little bit of compost. You want it to hold some moisture but not get waterlogged.
- Small Pots or Seed Trays: 4-6 inch pots with drainage holes are perfect.
- Plastic Bags or a Propagation Dome: To create a humid environment for your cuttings.
- Mist Bottle: For keeping the leaves hydrated without waterlogging the soil.
- Labels: So you don’t forget what you propagated and when!
Bringing New Life: Stem Cuttings
This is my go-to method for Canistel. It’s the most effective way to get multiple plants from one parent.
- Select Your Cuttings: On your healthy Canistel plant, find those semi-hardwood stems. Look for healthy, mature leaves.
- Make the Cut: Using your sterilized shears, take cuttings that are about 6-8 inches long. Make your cut just below a leaf node (where a leaf attaches to the stem). Remove the lower leaves, leaving just a couple at the top.
- Apply Rooting Hormone: Dip the cut end of your stem into water briefly, then thoroughly coat it in your chosen rooting hormone. Tap off any excess.
- Plant Your Cuttings: Fill your pots with your well-draining mix. Make a small hole in the center of the soil with your finger or a pencil. Gently insert the hormone-coated end of the cutting into the hole, pushing the soil gently around it to ensure good contact.
- Water Gently: Water the soil thoroughly but avoid overwatering. You want it to be moist, not soggy.
- Create Humidity: This is where your plastic bag or propagation dome comes in. Place the pot inside a clear plastic bag, tying it loosely at the top to create a mini-greenhouse effect. Or, simply cover the pot with a clear plastic dome. Make sure the leaves do not touch the plastic if possible; you can use stakes to hold it up if needed.
- Location, Location, Location: Place your pots in a warm location with bright, indirect light. Avoid direct sun, which can scorch the young cuttings.
My Little “Secret Sauce”
You know, gardening is often about the little things that make a big difference. Here are a couple of things I always do:
- Bottom Heat is Your Friend: Pouteria deliciosa loves warmth, and that extends to its roots. If you can, place your pots on a heat mat designed for seedlings. This consistently warm soil encourages root development much faster than ambient room temperature alone, even with good light.
- Don’t Over-Mist: While humidity is vital, spraying the leaves too much can actually encourage fungal issues. A good initial watering, followed by misting only when the surface of the soil starts to feel dry, is usually sufficient. The humidity trapped by the bag or dome will do most of the work.
Nurturing Your New Sprouts
Once you start to see sign of new growth – little leaves unfurling – that’s a fantastic indication that roots are forming!
- Acclimation: Once your cuttings have developed a decent root system (you can gently tug on a leaf, and feel slight resistance), it’s time to gradually acclimate them to normal conditions. Start by opening the plastic bag wider for a few hours each day, or lifting the dome for increasing periods.
- First Repotting: When they seem sturdy and are growing well, you can transplant them into their own individual pots. Use a good quality potting mix suitable for tropical plants.
- Troubleshooting: The most common issue you’ll encounter is rot. If your cutting turns black and mushy, it’s likely due to too much moisture and poor air circulation. If you see this, remove the affected cutting immediately. Another sign of failure is if the stem shrivels and dries out, often meaning it’s not getting enough humidity or is in too harsh light. Don’t be discouraged; it happens to all of us! Just try again with fresh cuttings and a slightly adjusted approach.
Keep Going, Green Thumb!
Propagating Pouteria deliciosa takes a touch of patience, yes, but the thrill of seeing those first roots emerge is absolutely worth it. Each little plant you nurture is a testament to your growing skills and your connection to nature. So, pick out a healthy branch, gather your supplies, and dive in. Happy propagating!
Resource:
https://identify.plantnet.org/k-world-flora/species/Pouteria%20deliciosa%20T.D.Penn./data