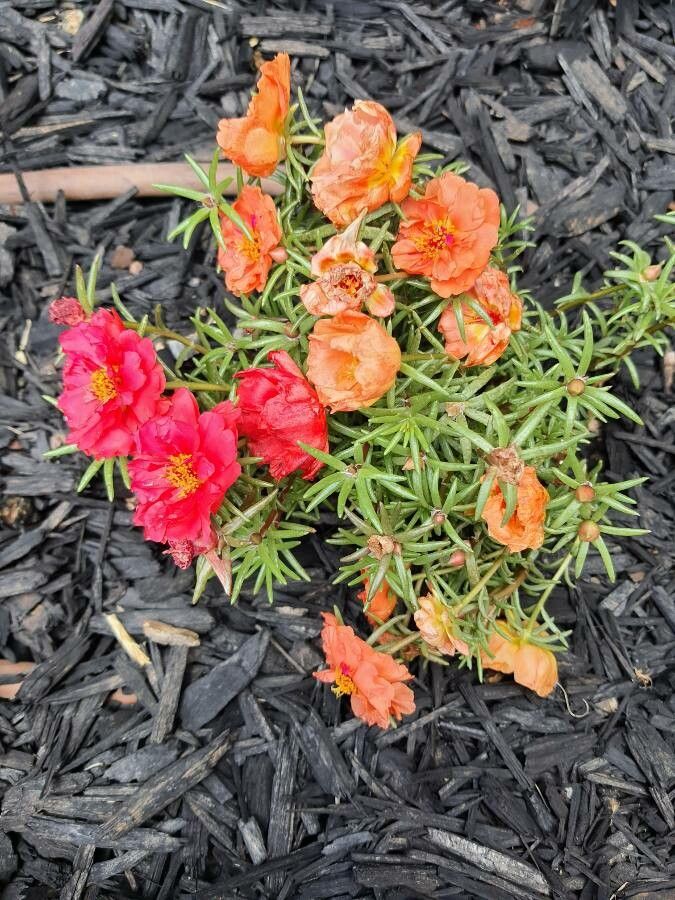
Oh, hello there! Come on in, let’s chat about one of my absolute favorite summer bloomers – Portulaca grandiflora, often called Moss Rose or Eleven O’Clock. If you love a splash of vibrant color that practically pops in the hottest, sunniest spots, then you’re going to adore this plant. And the best part? It’s incredibly easy to grow more of them! Honestly, if you’re looking to dip your toes into propagation, Portulaca is a fantastic starting point. You’ll be amazed at how much joy it brings to multiply these cheerful little plants.
The Best Time to Start
For the highest success rate with Portulaca, I find late spring to early summer is your golden window. This is when the plant is actively growing and has plenty of vigorous stems to work with. You want to catch it before the real heat of summer fully sets in, giving your new cuttings a chance to establish themselves.
Supplies You’ll Need
- Sharp pruning shears or scissors: Clean cuts are key to healthy new plants.
- Rooting hormone (optional but helpful): Especially for stem cuttings.
- A well-draining potting mix: A cactus and succulent mix works beautifully. Or, you can mix your own with equal parts potting soil and perlite or coarse sand.
- Small pots or trays: Clean containers with drainage holes are essential.
- A spray bottle: For gentle misting.
- A plastic bag or propagation dome: To create a humid environment.
Propagation Methods
Portulaca is so forgiving, you can really try a couple of methods and see what works best for you.
1. Stem Cuttings: My Go-To
This is my favorite way to propagate Portulaca because it’s so straightforward and usually very successful.
- Take your cuttings: Look for healthy, non-flowering stems. Using your clean shears, snip off pieces that are about 3-4 inches long. Try to get a few leaves on each cutting.
- Prepare the cuttings: Gently remove the lower leaves from the bottom inch of each stem. This exposes the nodes where roots will emerge.
- Apply rooting hormone (optional): Dip the cut end into your rooting hormone powder, tapping off any excess.
- Plant the cuttings: Insert the cut end of each stem about an inch deep into your prepared potting mix. You can plant several cuttings in the same pot, just make sure they aren’t touching each other too much.
- Water gently: Give them a light watering with your spray bottle, just enough to moisten the soil.
- Create humidity: Cover the pot with a plastic bag or a propagation dome. This traps moisture and helps the cuttings root faster. You can prop the bag up with a few skewers if it starts to wilt.
2. Water Propagation: For the Impatient
If you’re eager to see roots, this is a fun visual method!
- Take cuttings: Follow steps 1 and 2 above.
- Place in water: Put the prepared cuttings in a glass or jar of clean water. Make sure no leaves are submerged below the waterline. This is crucial to prevent rot.
- Find a bright spot: Place the jar in a bright location but out of direct, scorching sunlight.
- Change water regularly: Change the water every few days to keep it fresh.
- Wait for roots: You should start to see small roots appearing in a week or two. Once the roots are about an inch long, you can transplant them into pots with soil.
The “Secret Sauce” (Pro Tips)
Here are a couple of little tricks I’ve learned over the years that can really boost your success:
- Don’t overwater initially: While they need moisture, soggy soil is the enemy of cuttings. The humidity you create with the plastic bag is often enough to get them started. Let the top of the soil dry out slightly between waterings once they’re established.
- Bottom heat is your friend: If you happen to have a seedling heat mat, placing your pots on it can significantly speed up the rooting process. That gentle warmth encourages those roots to get going.
Aftercare & Troubleshooting
Once you see new growth – little leaves appearing or the cuttings looking a bit sturdier – you know roots have formed!
- Acclimate them: Gradually remove the plastic bag or dome over a few days to let them adjust to normal humidity.
- Watering: Water whenever the top inch of soil feels dry. They still appreciate good drainage, so don’t let them sit in soggy conditions.
- Light: Continue to provide plenty of bright light.
- Troubleshooting: The most common issue is rot. If your cuttings turn mushy, black, or have a foul smell, they’ve likely rotted. This is usually due to too much moisture or poor air circulation. If you catch it early, you might be able to salvage a healthy piece of the stem. Fungal gnats can sometimes appear in damp soil; they’re more annoying than harmful to established plants, but keeping the soil from being constantly wet helps.
A Little Patience Goes a Long Way
See? Not so tricky, is it? Propagating Portulaca grandiflora is a wonderfully rewarding way to fill your garden with even more of those delightful blooms. Don’t be discouraged if every single cutting doesn’t make it – that’s just part of learning, and it happens to all of us! Just keep trying, enjoy the process, and soon you’ll have a whole patch of sunshine to admire. Happy gardening!
Resource:
https://identify.plantnet.org/k-world-flora/species/Portulaca%20grandiflora%20Hook./data