Oh, hello there! I’m so glad you’re here. Today, we’re going to talk about a little gem of a plant that I’ve come to adore: Pomaderris wendlandiana. Or, as I affectionately call it, Wendy’s Pomaderris.
Introduction: A Little Bit of Sunshine
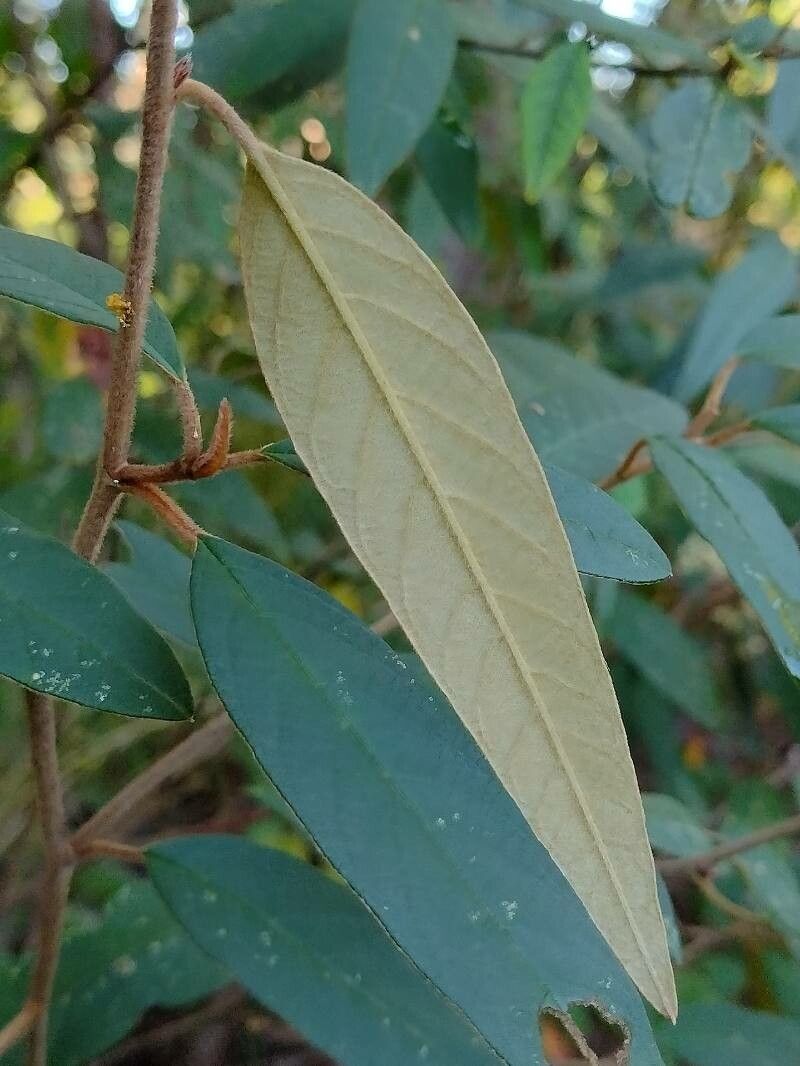
Wendy’s Pomaderris is just a delight. Its clusters of cheerful, white, star-shaped flowers bring a gentle brightness to the garden, and the foliage is lovely too, often with a soft, woolly underside. It’s a beautiful addition, especially for those seeking a native Australian touch. And the best part? Propagating it is incredibly rewarding. Getting new plants from cuttings is like watching magic unfold right before your eyes. Now, for beginners wondering if this is a tricky one – I’d say it’s moderately easy. With a little patience and the right approach, you’ll be well on your way!
The Best Time to Start
For Pomaderris wendlandiana, the sweet spot for taking cuttings is typically in late spring or early summer. This is when the plant is actively growing and has plenty of energy to put into developing new roots. Look for stems that are firm but still flexible – not the brand-new, soft, floppy tips, and definitely not the old, woody growth. Think of it as the “just right” stage, like a perfectly ripe peach.
Supplies You’ll Need
Gathering your supplies beforehand makes the whole process much smoother. Here’s what I usually have on hand:
- Sharp pruning shears or a clean, sharp knife: For making clean cuts.
- Rooting hormone: A powder or gel can really give your cuttings a boost.
- Potting mix: A well-draining mix is crucial. I love a blend of seed-raising mix and perlite or coarse sand (about a 50/50 ratio).
- Small pots or trays: Clean pots are essential to prevent disease.
- Plastic bags or propagation domes: To create a humid environment.
- Watering can or spray bottle: For gentle watering.
Propagation Methods: Stem Cuttings – My Go-To
This is my favorite and most successful method for Wendy’s Pomaderris.
-
Take Your Cuttings: Select healthy, semi-hardwood stems. Make a clean cut just below a leaf node (where a leaf joins the stem). Your cuttings should be about 10-15 cm long.
-
Prepare the Cuttings: Gently strip off the lower leaves, leaving just a few at the top. This prevents them from rotting in the soil and encourages the plant to send energy to root development. If the remaining leaves are quite large, I sometimes snip them in half.
-
Apply Rooting Hormone: Dip the cut end of each cutting into your rooting hormone, tapping off any excess.
-
Plant Your Cuttings: Fill your pots or trays with your prepared potting mix. Moisten it thoroughly. Make a small hole with your finger or a pencil, and insert the cutting, ensuring the leaf nodes that were buried are well covered. Gently firm the soil around the stem.
-
Create Humidity: Water the soil gently. Then, cover the pots with a clear plastic bag or a propagation dome. This traps moisture and creates the humid environment cuttings need to thrive. Ensure the leaves don’t touch the plastic if possible.
-
Provide Light and Warmth: Place your pots in a bright spot, but out of direct sunlight. A warm location, like a windowsill or a greenhouse, will speed things up.
The “Secret Sauce” (Pro Tips)
Here are a few little tricks I’ve learned over the years that make a difference:
- Bottom Heat is Your Friend: If you can, pop your pots on a gentle heat mat. This encourages root growth from the bottom up. It’s like giving your cuttings a cozy warm foot bath!
- Don’t Drown Them!: While humidity is key, overwatering is the enemy. The soil should be consistently moist but never soggy. I often give mine a gentle misting every few days if the humidity seems to be dropping. Check the soil; if it feels wet, wait to water.
- Patience, Young Grasshopper: Pomaderris can sometimes be a little slow to root. Don’t despair if you don’t see immediate action. I often leave mine for 6-8 weeks, sometimes even longer.
Aftercare & Troubleshooting
Once you start to see signs of new growth – like tiny new leaves or shoots emerging from the top – that’s a great indicator that roots are forming!
- Acclimatize Slowly: Gradually remove the plastic cover over a week or so to let the new plant get used to normal humidity. Keep watering them gently.
- Transplant When Ready: Once the roots have filled the pot and you can see them through the drainage holes, it’s time to pot them up into slightly larger containers with a good quality, well-draining potting mix.
- Watch for Rot: The most common issue is the cutting turning black and mushy, especially at the base. This is usually a sign of overwatering or a lack of good air circulation. If you see this, it’s often best to discard the affected cutting and try again, ensuring your mix is well-draining and you’re not watering too frequently. Wilting can also happen, but if you’ve managed the humidity well, it’s usually a sign that roots haven’t formed yet, and they might perk up once a good humid environment is restored.
A Little Encouraging Nod
So there you have it! Propagating Pomaderris wendlandiana is a truly satisfying journey. Don’t be discouraged if your first few attempts aren’t perfect. Gardening is all about learning and experimenting. Enjoy the process, celebrate every little success, and before you know it, you’ll have a whole little gang of these delightful plants to share or enjoy yourself. Happy gardening!
Resource: