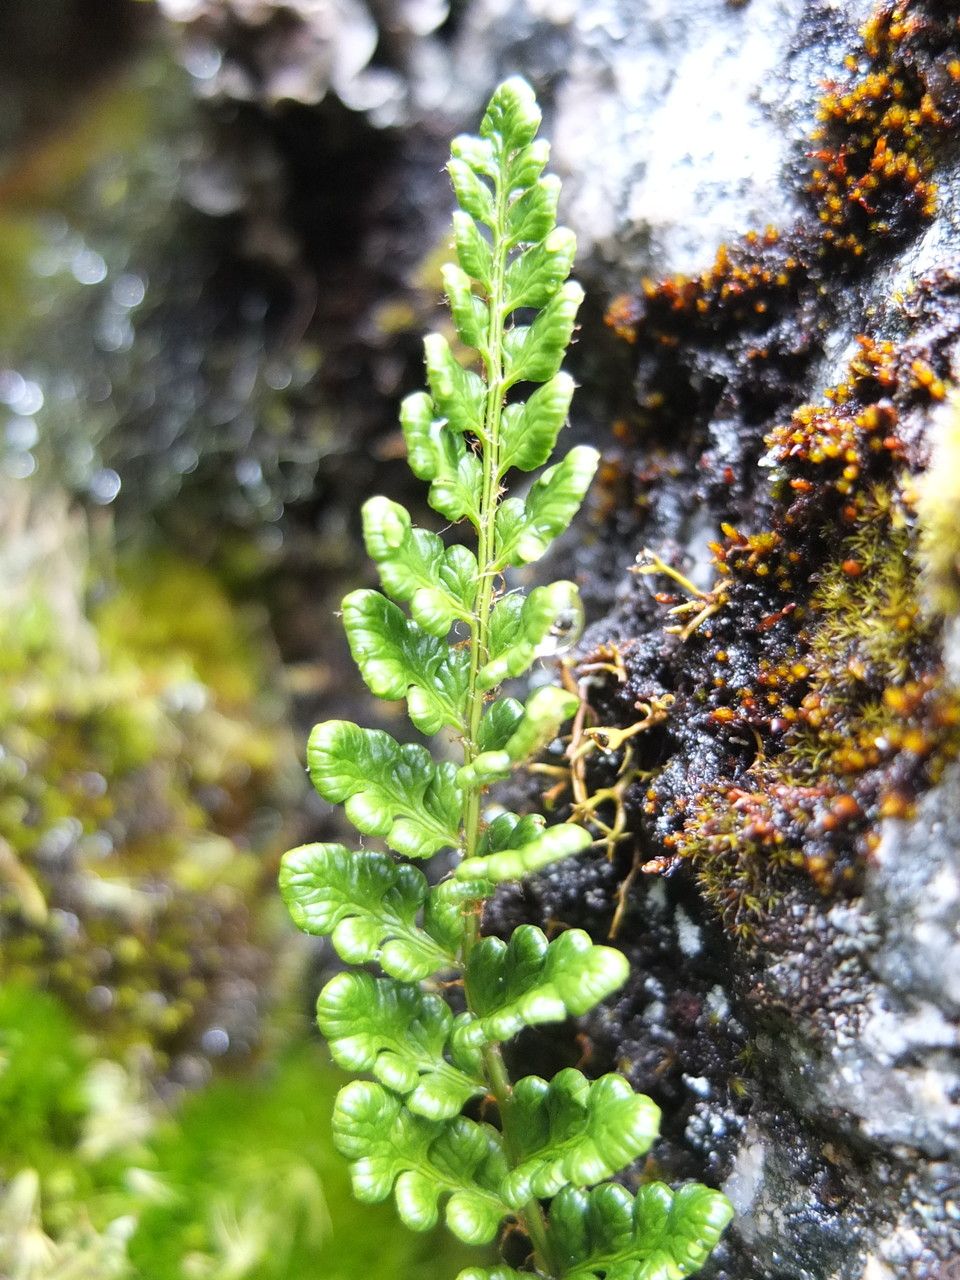
Oh, happy day! Today, we’re talking about a plant that truly captures my heart: Polystichum orbiculatum, or as I affectionately call it, the “Little Round Leaf Fern.” If you’ve ever been captivated by its charming, almost scalloped fronds and its compact, shuttlecock shape, you’re not alone. There’s something so grounding about a fern, and this one is particularly delightful. Propagating it is a wonderful way to fill your garden or bring a bit of that serene green indoors. Don’t worry if you haven’t propagated much before; while it has its little quirks, it’s certainly not a beast to tackle. With a little care, you’ll have tiny new ferns to share before you know it.
The Best Time to Start
For Polystichum orbiculatum, the absolute sweet spot for propagation is when the plant is actively growing, usually from late spring through mid-summer. You can often tell it’s a good time when you see new fronds unfurling, looking bright and vibrant. Waiting until the plant has settled into the warmer months means it has more energy to dedicate to putting out roots.
Supplies You’ll Need
Gathering your supplies beforehand makes the whole process so much smoother. Here’s what I like to have on hand:
- Sharp, clean pruning shears or a small knife: Essential for making precise cuts.
- A well-draining potting mix: I usually go with a blend of equal parts peat moss, perlite, and compost. You could also use a mix specifically formulated for ferns.
- Small pots or trays: Terracotta pots are great because they breathe, but plastic works well too. Just make sure they have drainage holes.
- Watering can with a fine rose attachment: To gently water your new propagations.
- Optional: Rooting hormone: For division, it’s often not strictly necessary, but it can give a little boost. Choose a powder or gel formula.
- A clear plastic bag or propagation dome: To maintain humidity.
Propagation Methods
There are a couple of tried-and-true ways to get more Polystichum orbiculatum plants. I find division to be the most straightforward for this fern.
Division: Splitting the Mother Plant
This is how I generally multiply my ferns. It’s best done when the plant itself is healthy and has a good number of fronds.
- Gently remove the fern from its pot. If it’s in the ground, carefully dig around the root ball.
- Examine the root ball. You’re looking for natural divisions within the plant. You’ll often see several smaller crowns (where the fronds emerge) developing from a central base.
- Using your hands or a clean, sharp knife, carefully separate the sections. Try to keep as much of the root system intact as possible with each new division. If you have to cut through a thick root, don’t fret too much, but aim for clean breaks.
- Pot up each division. Fill your prepared pots with the well-draining mix. Make a small hole in the center and place the division in, ensuring the base of the fronds is just at or slightly above the soil line.
- Water thoroughly. Use your fine rose watering can to saturate the soil.
The “Secret Sauce” (Pro Tips)
Here are a few things I’ve learned over the years that really make a difference:
- Don’t overwater new divisions. It’s tempting to keep them super moist, but that’s a fast track to rot. The goal is consistently damp, not soggy. The plastic bag or dome will help keep humidity high so the roots don’t dry out as quickly as they would in open air.
- Consider a little bottom heat. If you have a plant propagation mat or can place your pots on a warm windowsill (away from direct scorching sun), a gentle warmth can encourage root development. It mimics the feeling of spring soil coming to life.
- Watch for wilting, but don’t panic. New divisions can sometimes droop a bit as they adjust. As long as the soil is consistently damp (not wet!), and the fronds aren’t slimy or black, they’re likely just getting established. Give them a week or two.
Aftercare & Troubleshooting
Once your divisions are potted, the key is to keep them in a bright, indirect light spot. Direct sun will scorch those new fronds. The humidity is crucial for the first few weeks, so keep that plastic bag or dome on, but be sure to vent it daily for a few minutes to prevent fungal issues.
The most common problem you might encounter is rot. If you see fronds turning mushy, black, or developing a foul smell, it’s almost always due to overwatering and poor air circulation. If this happens, you might need to pull the affected division, clean off any rotten material, and repot in fresh, slightly drier mix, ensuring better airflow. It’s disheartening, but it happens! Just try again, adjusting your watering schedule.
Conversely, if the fronds stay stubbornly wilted and the soil is completely dry, your division might not be getting enough moisture. Check if your humidity cover is sealed properly or if you need to water a bit more frequently (but remember: damp, not drowned!).
A Rewarding Journey
Propagating Polystichum orbiculatum is such a satisfying endeavor. It’s a slow process, so be patient with your new charges. Watching those tiny roots develop and the first new frond unfurl on a division is a little victory that makes all the effort worthwhile. Now, go forth and fill your world with these charming little ferns! Happy growing!
Resource:
https://identify.plantnet.org/k-world-flora/species/Polystichum%20orbiculatum%20Gay/data