You know, there are some plants that just sing to you. For me, Polystichum braunii, often called Braun’s holly fern, is one of them. With its glossy, dark green fronds that unfurl with such elegance, it brings a touch of the woodland floor right into my garden. It’s a fairly tough fern once established, and there’s something incredibly satisfying about coaxing new life from an existing one. If you’re looking to expand your fern collection or share this beauty with friends, propagating Polystichum braunii is a wonderfully rewarding project.
The Best Time to Start
For this particular fern, the sweet spot for propagation is spring, as new growth is really starting to emerge. Think late March through May, depending on your local climate. This is when the plant is actively growing and has the energy to put into developing new roots. Waiting until the fronds are fully unfurled and have a bit of stiffness to them is also a good indicator that they’re ready for action. Trying to do this too early, when everything is still tender and delicate, can be a bit hit-or-miss.
Supplies You’ll Need
To set yourself up for success, gather these essentials:
- Sharp, clean pruning shears or a knife: For making precise cuts.
- Well-draining potting mix: A blend of peat moss, perlite, and compost is ideal. You can also find specific fern mixes.
- Small pots or trays: Clean containers with drainage holes are a must.
- Plastic bags or propagation domes: To create a humid environment.
- Watering can or spray bottle: For gentle watering.
- Rooting hormone (optional but recommended): Especially for cuttings.
- A warm location: To encourage root development.
Propagation Methods
Polystichum braunii is most successfully propagated through division and spore propagation. Cuttings, as you might think of with other plants, aren’t really the go-to for ferns like this.
Division: The Gardener’s Favorite
This is my preferred method for Polystichum braunii because it’s straightforward and generally has a high success rate.
- Gently remove the fern from its pot (or carefully dig it up from the ground if it’s planted out). Be as gentle as possible with the roots.
- Examine the root ball. You’re looking for natural divisions, where clumps of fronds are emerging from separate points on the root system.
- Use your hands or a clean knife to carefully tease apart these sections. Aim for divisions that have a good portion of roots and at least a couple of healthy fronds. If the roots are tangled, a bit of gentle pulling will often do the trick.
- Pot up each division into its own pot filled with your well-draining potting mix. Make sure the crown (where the fronds emerge) is at soil level.
- Water thoroughly to settle the soil around the roots.
- Place the newly potted divisions in a shady spot that stays consistently moist.
Spore Propagation: For the Patient Soul
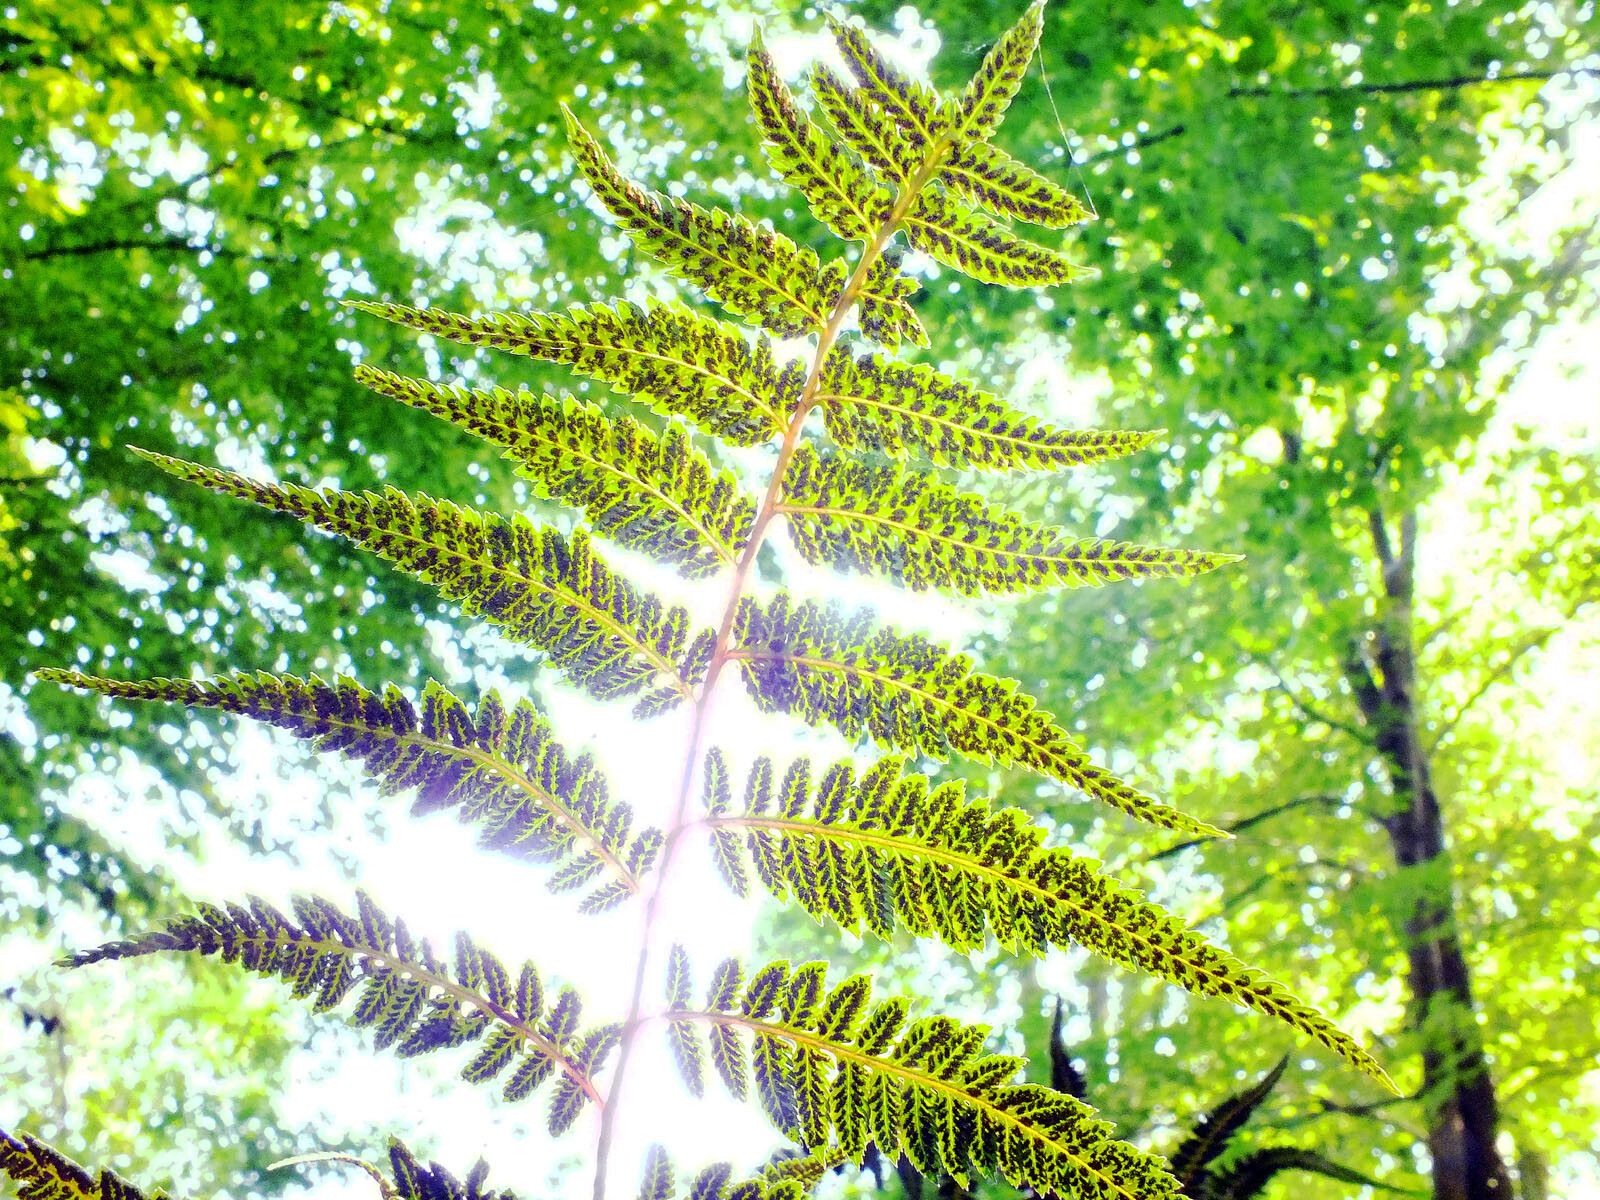
This method is more akin to starting from seed and takes considerably longer, but it’s fascinating to watch the whole process unfold. Polystichum braunii produces spores on the undersides of its fronds in structures called sori.
- Harvest spores: When the sori look mature (usually a brown color), carefully snip off the frond. Place it in a paper bag, spore-side down, for a few days. The mature spores will dry and fall into the bag.
- Prepare your medium: Sterilize a shallow tray or pot. Fill it with a fine, sterile potting mix (you can use a mixture of peat and sand, or even a specialized fern spore mix). Moisten the medium thoroughly but don’t make it soggy.
- Sow the spores: Gently tap the spores from the bag onto the surface of the moist medium. They are tiny, so you don’t need to cover them with soil.
- Create a humid environment: Cover the tray with a clear plastic lid or plastic wrap to retain moisture and humidity.
- Provide indirect light: Place the tray in a bright spot that receives indirect light. Avoid direct sun, which can scorch the delicate spores.
- Be patient: This is where the magic happens very, very slowly. It can take weeks or even months for the spores to germinate and form small prothalli (tiny, heart-shaped structures). From there, true fiddleheads will eventually appear. Once they are large enough to handle, you can carefully transplant them into individual pots.
The “Secret Sauce” (Pro Tips)
- Don’t let the fronds touch the water when dividing: If you’re propagating through division and the fronds of your new divisions are still a bit long, avoid letting them sit in water. This can encourage rot. If they seem a bit floppy, you can prune them back slightly.
- Bottom heat is your friend for spores: If you’re going the spore route, a gentle bottom heat source (like a seedling heat mat) can significantly speed up germination. Just a few degrees warmer than room temperature is perfect.
- Label EVERYTHING: It sounds simple, but trust me on this. When you’re dividing multiple plants or starting spores, make sure to label each pot with the plant name and the date. Future you will thank you for it!
Aftercare & Troubleshooting
Once your divisions are potted, keep them consistently moist but not waterlogged. They appreciate humidity, so the plastic bag or dome is your best friend for the first few weeks. Once roots have established, you can gradually acclimate them to normal room humidity and eventually move them to their permanent location.
The most common sign of trouble is rot. If you see fronds turning brown and mushy, or the base of the plant looking dark and slimy, it’s usually a sign of too much moisture and not enough air circulation. If this happens, gently pull the plant out, trim away any affected parts with clean shears, and repot it in fresh, drier soil. A lack of new growth after a reasonable amount of time might mean the roots haven’t taken yet, or that the conditions aren’t quite right. Just keep an eye on it and adjust watering and light as needed.
A Encouraging Closing
See? Not so daunting, is it? Propagating Polystichum braunii is a journey, and like all good gardening projects, it rewards patience and a bit of observation. Don’t be discouraged if your first attempt isn’t perfect. Each plant is an opportunity to learn and grow alongside it. So go ahead, get your hands dirty, and enjoy the satisfaction of creating new life from something beautiful! You’ve got this.
Resource:
https://identify.plantnet.org/k-world-flora/species/Polystichum%20braunii%20(Spenn.)%20Fée/data