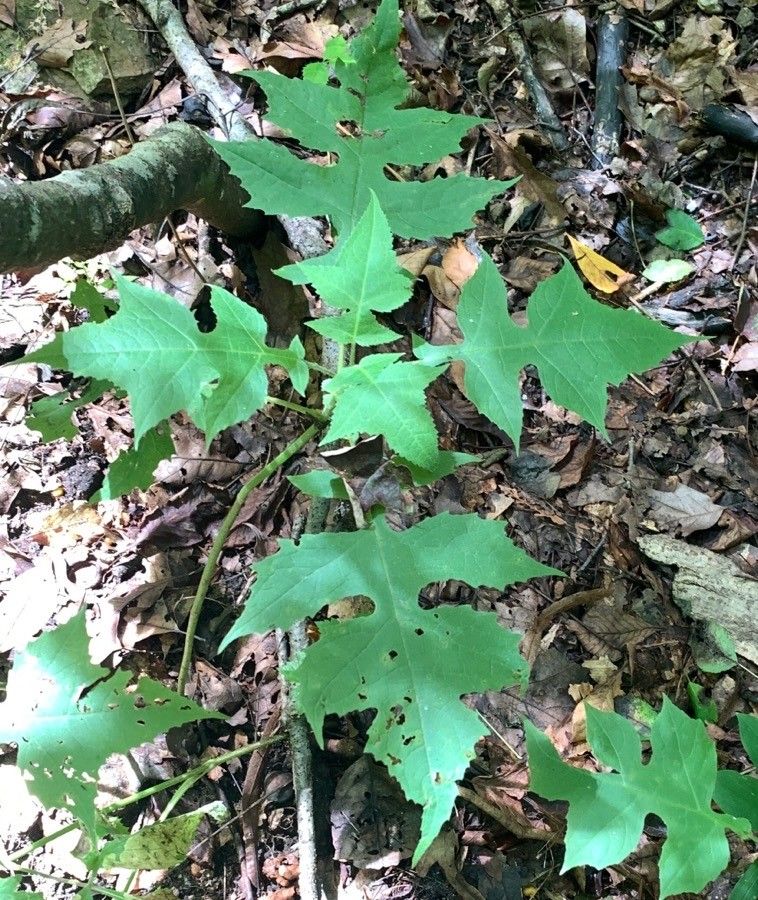
Hello fellow plant lovers! Today, we’re diving into the wonderful world of propagating Polymnia canadensis, also known as American Cup Plant. If you’re looking for a native perennial that brings a unique architectural element and beautiful yellow daisy-like flowers to your garden, you’re in for a treat. It’s a robust plant, and thankfully for us gardeners, it’s quite straightforward to multiply. Even if you’re new to the plant propagation game, I think you’ll find this one to be a rewarding and relatively easy success. Getting more of these beauties without having to buy them? Now that’s a gardener’s high five!
The Best Time to Start
For Polymnia canadensis, the sweet spot for propagation is late spring to early summer. This is when the plant is actively growing, and new shoots are readily available. Waiting until after the initial flush of growth allows the parent plant to establish itself a bit, and you’ll be taking cuttings from healthy, vigorous material. Aim for a time when you can give the new propagations consistent warmth and light without the harshness of the peak summer sun.
Supplies You’ll Need
Before we get our hands dirty, let’s gather our tools. Think of this as packing for a successful plant adventure!
- Sharp Pruning Shears or a Clean Knife: For making clean cuts.
- Potting Mix: A well-draining mix is key. I like a blend of peat moss, perlite, and a little sterile potting soil. You can also use a commercial seed-starting or propagation mix.
- Small Pots or Trays: Clean containers are a must to prevent disease.
- Watering Can with a Fine Rose: To water gently without disturbing new cuttings.
- Rooting Hormone (Optional but Recommended): A powder or gel can speed up root development.
- Clear Plastic Bags or a Propagation Dome: To create a humid environment.
- Labels: Don’t rely on memory!
Propagation Methods
Polymnia canadensis is a champion when it comes to propagation, with division being its most straightforward method.
Division: The Easiest Route
This method is perfect for giving your established plant a little makeover and getting new ones in the process.
- Dig Up the Plant: In early spring, before new growth gets too vigorous, gently dig up your established Polymnia canadensis. Try to disturb the roots as little as possible. A garden fork can be helpful here.
- Examine the Root Ball: Once it’s out of the ground, you’ll see clumps of stems arising from a central root system. You’re looking for sections that have both roots and at least one or two healthy shoots or buds.
- Separate the Divisions: You can often gently pull the clumps apart by hand. If they’re a bit stubborn, a clean, sharp knife or trowel can be used to slice through the root ball. Make sure each division has a good amount of roots attached.
- Replant or Pot Up: Immediately replant the divisions back into your garden, spacing them appropriately, or pot them up into your well-draining potting mix. Water them in well.
Stem Cuttings: A Little More Patience
While division is king, you can also try stem cuttings, especially if you want to root a few more plants or you don’t have an established specimen to divide yet.
- Take Cuttings: In late spring or early summer, select healthy, non-flowering shoots that are about 4-6 inches long. Using your sharp shears, make a clean cut just below a leaf node (where a leaf attaches to the stem). Remove the lower leaves, leaving just the top two or three.
- Apply Rooting Hormone (Optional): If you’re using rooting hormone, dip the cut end of the stem into the powder or gel. Tap off any excess.
- Plant the Cuttings: Fill your small pots with your prepared potting mix. Make a hole with a pencil or dowel and gently insert the cutting. Firm the soil around the stem to ensure good contact.
- Water and Cover: Water each pot gently. Then, cover the pots with a clear plastic bag (drape it over so it doesn’t touch the leaves) or place them inside a propagation dome. This will create a humid environment, which cuttings love.
- Provide Light and Warmth: Place the pots in a bright location that receives indirect sunlight. Avoid direct sun, which can scorch the delicate cuttings.
The “Secret Sauce” (Pro Tips)
Here are a few little tricks I’ve picked up over the years that can really boost your propagation success:
- Don’t Let the Leaves Touch the Water (for water propagation, if you experiment with that): While division and stem cuttings in soil are my go-to for Polymnia, if you ever try rooting stems in water, it’s crucial that no leaves sit below the waterline. Submerged leaves will rot quickly and can take down your whole cutting.
- Bottom Heat is Your Friend: For stem cuttings, I often find that placing them on a heating mat designed for plants can really speed up root formation. Itmimics the warmth of the soil that encourages roots to emerge. Just make sure it’s a gentle warmth, not scorching hot!
- A Touch of Algae Means Too Much Light (or Nutrients): If you notice a fine green layer of algae forming on your potting mix, it’s usually a sign that your cuttings are getting a bit too much light or there are too many nutrients in the mix too soon. Adjust their light and try to keep the soil from staying constantly soggy.
Aftercare & Troubleshooting
Once your divisions are planted or your stem cuttings have started to show signs of life, it’s time for the next phase of care.
- Watering: Keep the soil consistently moist but not waterlogged. This is particularly important for new cuttings. As they establish, you can gradually reduce watering frequency, letting the top inch of soil dry out slightly between waterings.
- Air Circulation: Once you see new growth on your stem cuttings, gradually acclimate them to normal room humidity by removing the plastic bag or propagation dome for increasingly longer periods each day.
- Transplanting: When your stem cuttings have developed a good root system (you’ll see roots emerging from the drainage holes or feel resistance when gently tugging), it’s time to transplant them into slightly larger pots with fresh potting soil.
Now, what if things don’t go as planned? The most common issue you’ll encounter is rot. This usually happens when the soil is too wet and there isn’t enough air circulation. If a cutting turns black and mushy, it’s usually a lost cause. Pull it out immediately to prevent it from spreading. Don’t get discouraged! Sometimes propagation is a bit of trial and error.
A Encouraging Closing
Propagating Polymnia canadensis is an incredibly satisfying way to expand your garden and share these wonderful plants with friends. Remember to be patient with your new green babies. Growth takes time, and nature works on its own unique schedule. Enjoy the process, celebrate each new root and leaf, and before you know it, you’ll have a whole patch of American Cup Plant gracing your garden! Happy propagating!
Resource:
https://identify.plantnet.org/k-world-flora/species/Polymnia%20canadensis%20L./data