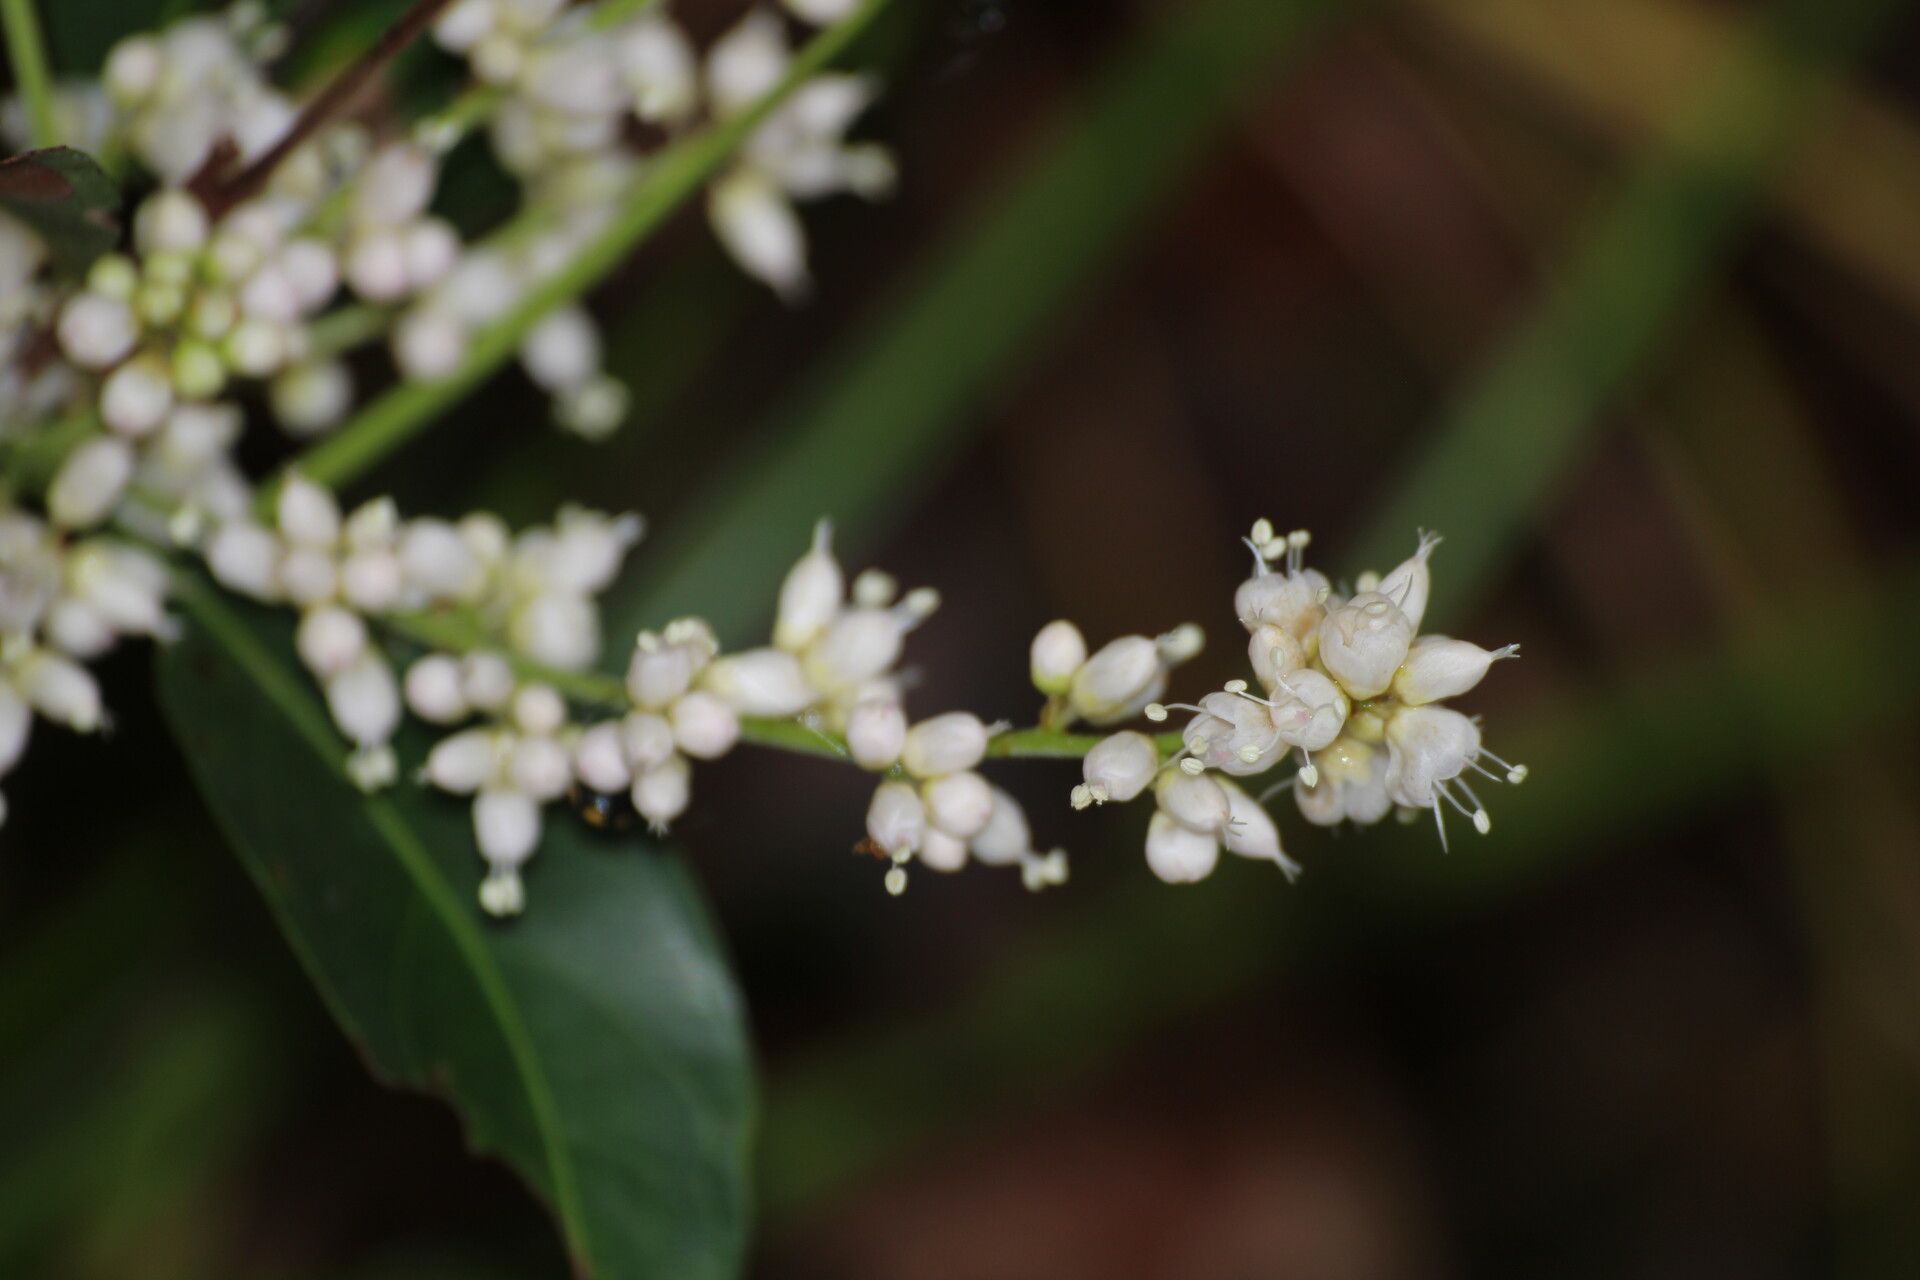
Hello there, fellow garden enthusiasts! Today, I want to chat about a truly delightful plant that’s been making waves in my garden – Polygonum tenerum. It’s such a graceful vine, with its delicate foliage and charming pinkish blooms that dance in the breeze. There’s something incredibly satisfying about multiplying these beauties, don’t you think? And the good news is, Polygonum tenerum is actually quite forgiving to propagate, making it a wonderful project for beginners and seasoned gardeners alike.
The Best Time to Start
For the highest success rate with Polygonum tenerum, I find that early spring, right as the plant is waking up from its winter slumber and showing signs of vigorous new growth, is your golden window. You can also have good luck in early summer, before the intense heat sets in. The key is to work with healthy, actively growing stems.
Supplies You’ll Need
- Sharp Pruning Shears or a Craft Knife: For clean cuts that heal well.
- Small Pots or Seedling Trays: Clean ones are essential to prevent disease.
- Well-Draining Potting Mix: A blend of peat moss, perlite, and a bit of compost works beautifully. I often use about 50% perlite to ensure excellent drainage.
- Rooting Hormone (Optional but Recommended): A powder or gel can significantly speed up root development.
- Plastic Bags or a Propagator Lid: To create a humid environment.
- Watering Can with a Fine Rose: For gentle watering.
- Labels: So you know what you’ve propagated!
Propagation Methods
Let’s dive into the two most reliable ways to get more Polygonum tenerum plants:
Stem Cuttings
This is my go-to method for Polygonum tenerum, and it’s incredibly effective.
- Take Your Cuttings: In early spring or early summer, select healthy, non-flowering stems from your parent plant. Using your sharp pruning shears, take cuttings that are about 4-6 inches long. Crucially, make your cut just below a leaf node – that’s the little bump on the stem where a leaf grows.
- Prepare the Cuttings: Gently remove the lower leaves from your cuttings, leaving just a few at the very top. This prevents them from rotting when they’re in the soil.
- Apply Rooting Hormone (Optional): Dip the cut end of the stem into your rooting hormone, tapping off any excess.
- Plant Your Cuttings: Fill your small pots with your well-draining potting mix. Make a small hole in the center with your finger or a pencil, and gently insert the cut end of the stem. Press the soil firmly around the stem to ensure good contact.
- Water and Cover: Water the soil gently until it’s moist but not waterlogged. Then, place a clear plastic bag over the pot, securing it with a rubber band, or pop on a propagator lid. This creates a mini-greenhouse, maintaining the humidity the cuttings need.
Water Propagation
Sometimes, simplicity is key!
- Prepare Your Cuttings: Similar to stem cuttings, take 4-6 inch cuttings from healthy, non-flowering stems, making your cut below a leaf node. Remove the lower leaves.
- Place in Water: Find a clear glass or jar and fill it with clean water. Place your cuttings into the water, ensuring that no leaves are submerged. Leaves in the water will quickly turn mushy and rot, which we definitely want to avoid.
- Find a Bright Spot: Place your jar in a bright location that receives indirect sunlight.
- Change the Water Regularly: Refresh the water every few days to keep it clean and oxygenated.
The “Secret Sauce” (Pro Tips)
- Bottom Heat is Your Friend: For stem cuttings, if you have them, a gentle bottom heat source (like a seedling heat mat on a low setting) can significantly speed up root formation. It mimics the warmth of natural spring soil.
- Don’t Rush the Transplant: When propagating in water, I like to wait until the roots are at least an inch long and showing little white branches before I even think about transplanting them into soil. Patience here pays off!
- Start with Cleanliness: I can’t stress this enough! Always use clean pots, clean tools, and even clean the leaves of your parent plant before taking cuttings. A little bit of vigilance upfront can prevent nasty fungal issues later.
Aftercare & Troubleshooting
Once you see signs of new growth peeking out from your cuttings (usually after 3-6 weeks), or if you’ve opted for water propagation and have good root development, it’s time for the next step.
For stem cuttings, gently tug on the cutting. If you feel resistance, you’ve got roots! Gradually acclimatize your new plants by opening the plastic bag or propagator lid for increasing periods over a week. Once they’re happy and settled, you can remove the cover entirely. Keep them in bright, indirect light and water consistently, allowing the top inch of soil to dry out between waterings.
For cuttings propagated in water, carefully transplant them into small pots filled with your well-draining potting mix. Water them thoroughly and keep the soil consistently moist for the first week or two, just until they establish themselves.
The most common sign of trouble is rot. If your cuttings are turning black and mushy, it’s usually a sign of too much moisture and not enough air circulation. You might need to increase drainage in your soil mix or ensure you’re not overwatering. If propagating in water, it’s a sure sign of contamination – get rid of the affected cuttings and start fresh with clean water and healthy stems.
A little bit of patience goes a long way in gardening, and propagating Polygonum tenerum is no exception. Don’t be discouraged if not every cutting takes. Just keep observing, learning, and enjoying the magical process of bringing new life into your garden. Happy propagating!
Resource:
https://identify.plantnet.org/k-world-flora/species/Polygonum%20tenerum%20Spreng./data