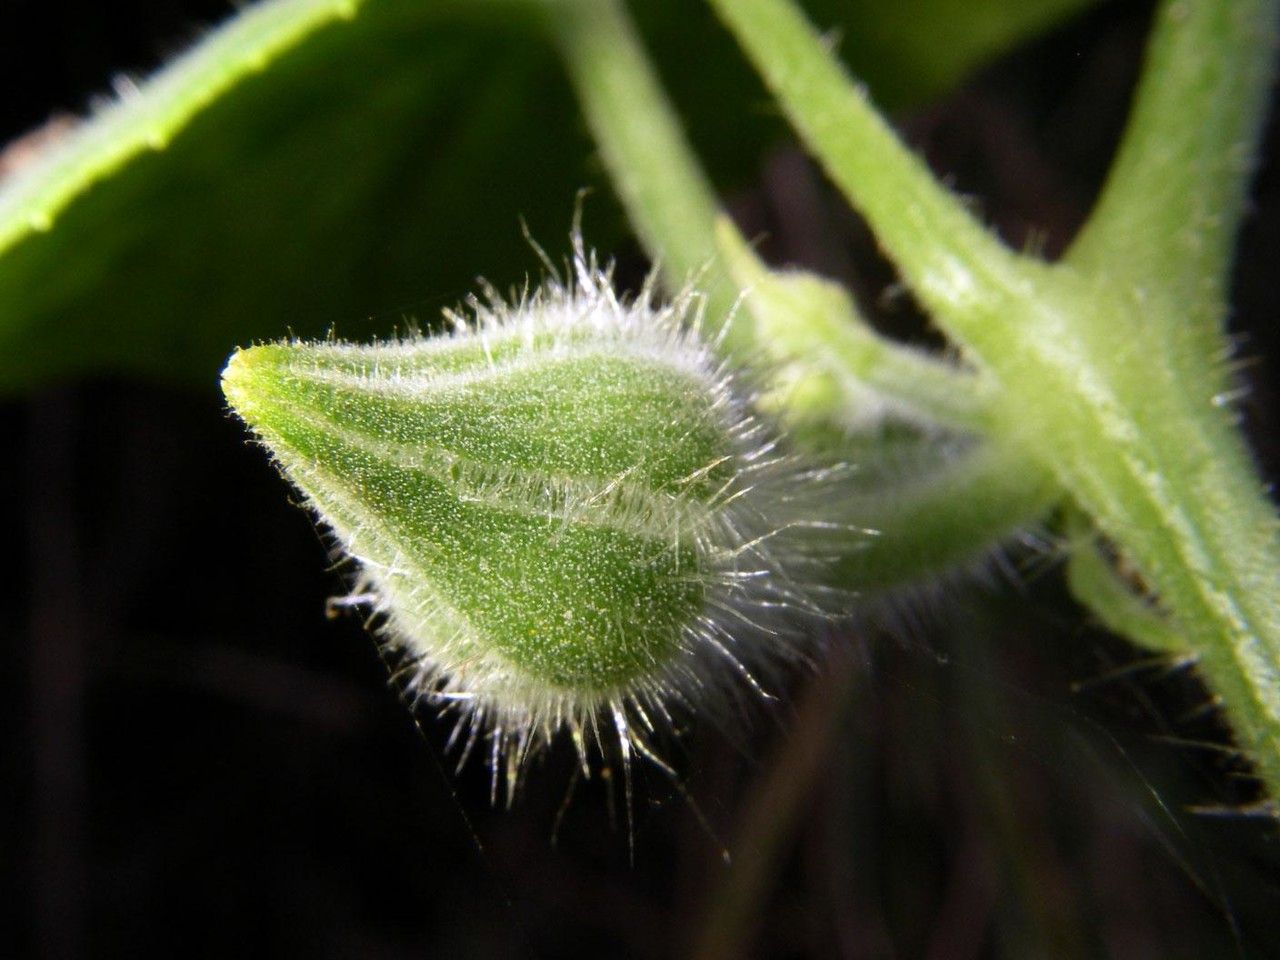
Alright, gather ‘round, my fellow plant enthusiasts! Today, we’re diving into the wonderful world of Polyclathra cucumerina, also known as the cucumber tube-plant. If you’re looking for a plant that’s a bit of an eye-catcher with its unique, almost alien-like blooms and intriguing seed pods, then this is it. Propagating them is a truly satisfying endeavor, like nurturing a tiny promise of future green beauty. Now, I won’t sugarcoat it – it’s not one of those “stick a twig in water and watch it flourish overnight” kinds of plants, but with a little patience and care, you’ll absolutely be successful.
The Best Time to Start
For the highest chance of success with your Polyclathra cucumerina propagation, aim for springtime. This is when the plant is naturally gearing up for active growth after its winter rest. You want to take cuttings when the plant is healthy and vigorous. If you miss spring, early summer can also work, as long as you can provide consistent warmth and light. Basically, anytime the plant is actively putting out new shoots is a good time to consider propagation.
Supplies You’ll Need
Here’s what you’ll want to have on hand to make this process smooth sailing:
- Sharp, clean pruning shears or a sharp knife: Essential for making clean cuts.
- Rooting hormone powder or gel: While not always strictly necessary, this can give your cuttings a significant boost.
- Well-draining potting mix: I like a blend of equal parts peat moss or coco coir, perlite, and coarse sand. This ensures no waterlogging.
- Small pots or propagation trays: Clean pots are a must to prevent disease.
- Clear plastic bags or a propagation dome: To create a humid environment for your cuttings.
- Watering can or spray bottle: For gentle watering.
- Optional: Heat mat: This can significantly speed up rooting, especially if your home is on the cooler side.
Propagation Methods
Let’s get our hands dirty! I find these two methods to be the most reliable for Polyclathra cucumerina.
Stem Cuttings
This is my go-to method. It’s straightforward and gives you a good chance of getting multiple new plants.
- Select a healthy stem: Look for a current season’s growth that’s firm but not woody. It should have at least a few sets of leaves.
- Make the cut: Using your clean shears, cut a section of stem about 4-6 inches long, making your cut just below a leaf node (where a leaf emerges from the stem).
- Prepare the cutting: Gently remove the lower leaves, leaving just a couple of leaves at the top. This prevents rotting when placed in the soil and directs the plant’s energy towards rooting.
- Apply rooting hormone: If you’re using rooting hormone, dip the cut end of the stem into the powder or gel. Tap off any excess.
- Plant your cutting: Fill your pots with the well-draining mix. Make a small hole with your finger or a pencil, and insert the prepared cutting about 1-2 inches deep. Firm the soil gently around it.
- Water gently: Water thoroughly but avoid creating a swamp. The soil should be moist, not soggy.
- Create humidity: Cover the pot with a clear plastic bag (making sure the leaves don’t touch the plastic if possible) or place it under a propagation dome. This traps moisture and creates the humid environment cuttings need.
Water Propagation (with a Caveat)
While many plants are happy to root in water, Polyclathra cucumerina can be a bit finicky about prolonged immersion. I prefer to use this method as a temporary step before moving to soil.
- Follow steps 1-3 for stem cuttings.
- Place the cutting in a clean glass or jar of water: Ensure that only the leaf nodes are submerged. Do not let the leaves sit in the water.
- Place in bright, indirect light.
- Change the water every 2-3 days to keep it fresh and oxygenated.
- Watch for roots: You should start to see small white roots forming from the leaf nodes within a few weeks.
- When the roots are about an inch long, it’s time to plant! Carefully transfer the cutting into your prepared, well-draining potting mix, following steps 5-7 from the stem cuttings method. This transition is crucial; the longer they stay in water, the harder it can be for them to adapt to soil.
The “Secret Sauce” (Pro Tips)
Here are a couple of little tricks I’ve learned over the years that can make a big difference:
- Don’t let the leaves touch the water: I can’t stress this enough for water propagation! If leaves sit in water, they’ll turn mushy and rot, taking your cutting down with them. A little air gap is a good thing.
- Bottom heat is your friend: If you’re serious about speeding up the rooting process, invest in a small heat mat. Placed under your pots, it provides consistent, gentle warmth that mimics ideal soil temperatures for root development. It’s like giving your cuttings a cozy, warm bed to sprout from.
- Wiggle test: Don’t pull on your cutting to see if it’s rooted! The best way to check is to gently tug on it. If it resists and feels like it’s anchored in the soil, you’ve got roots! A little resistance is the tell-tale sign.
Aftercare & Troubleshooting
Once you see those beautiful new roots emerging (you might see them peeking out the drainage holes or feel that resistance during the “wiggle test”), or if you’ve transitioned from water to soil, it’s time for gentle care.
- Gradually acclimate: If your cuttings were under a plastic bag or dome, slowly start to introduce them to normal room humidity over a week. Open the bag a little each day, or remove the dome for increasing periods.
- Watering: Continue to water when the top inch of soil feels dry. Avoid overwatering, as this is the quickest way to invite root rot.
- Light: Keep them in bright, indirect light. Avoid direct sun, which can scorch delicate new growth.
Common signs of failure:
- Yellowing leaves and wilting: This can indicate too much water (root rot) or not enough. Feel the soil to be sure.
- Mushy, black stems: This is almost always a sign of root rot, usually due to overwatering or a poorly draining mix. Unfortunately, cuttings with rot are usually a goner.
- No growth: Don’t panic! Some plants are slow to root. If the stem is still firm and green, give it more time. Ensure it has adequate light and humidity.
A Encouraging Closing
Propagating plants is a journey, and every gardener needs to embrace a little patience. Don’t get discouraged if your first attempt isn’t perfect. Observe your cuttings, learn from what you see, and be gentle with your new green babies. The reward of watching a tiny piece of your beloved Polyclathra cucumerina grow into a full, flourishing plant is absolutely worth it. Happy propagating!
Resource:
https://identify.plantnet.org/k-world-flora/species/Polyclathra%20cucumerina%20Bertol./data