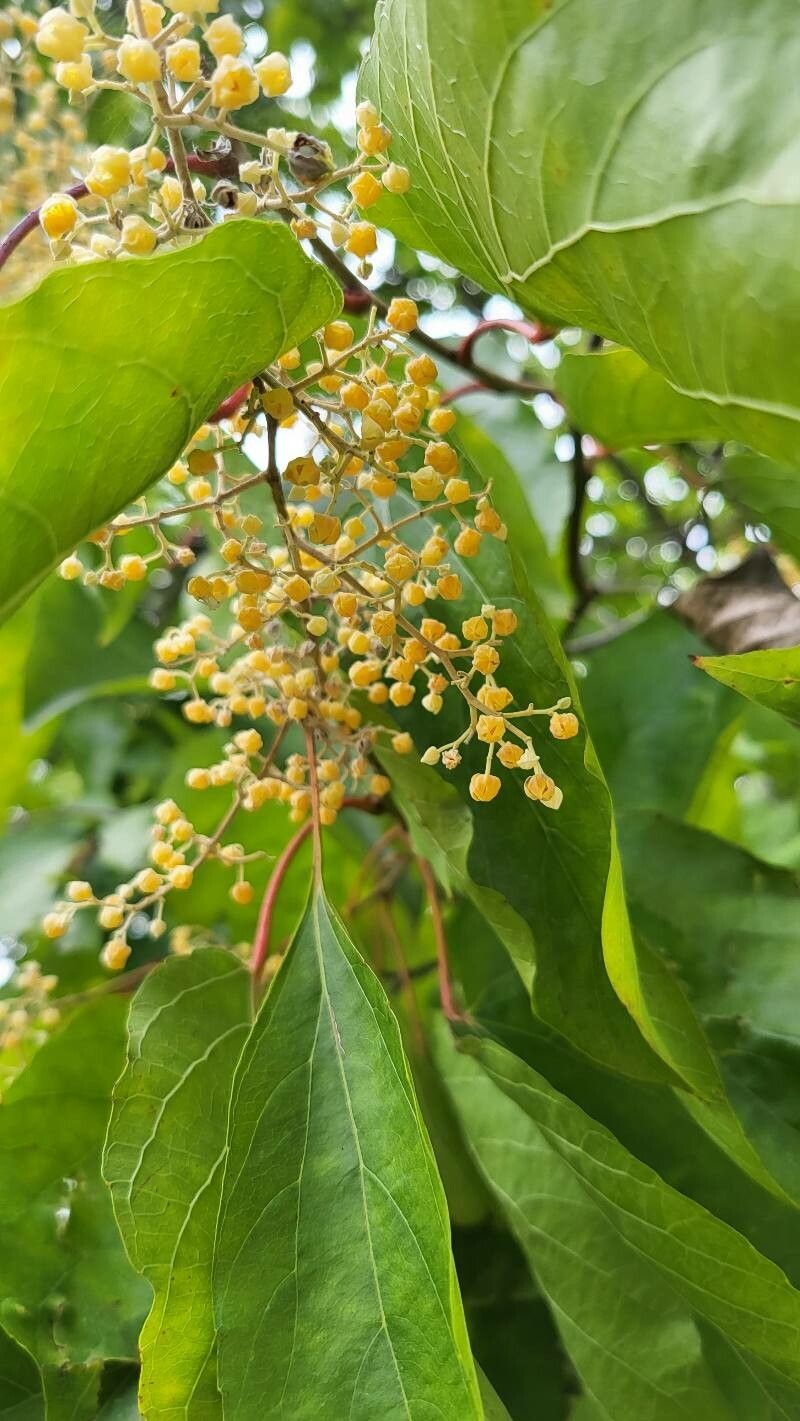
Hey there, fellow plant enthusiasts! It’s so nice to have you join me for a little chat about a plant that truly captures my heart: Poliothyrsis sinensis. You might know it better by its common name, perhaps the Chinese Polytrias, or simply as a stunning, elegant perennial that brings a whisper of the wild to any garden. Those delicate, feathery blooms and graceful foliage are just lovely.
Now, if you’ve fallen for its charm and are itching to bring more of this beauty into your life, you’ve come to the right place. Propagating this gem can be incredibly rewarding. You get to multiply your joy, share it with friends, or simply fill every empty corner of your garden. But is it a walk in the park for a newbie? Honestly, Poliothyrsis sinensis can be a little bit finicky, but with the right approach and a dash of patience, you absolutely can succeed. Don’t let that deter you!
The Best Time to Start
When it comes to getting Poliothyrsis sinensis to put down roots, timing is everything. I find the late spring to early summer is your golden window. This is when the plant is actively growing after its spring burst. You’ll want to take cuttings from healthy, vigorous stems that aren’t flowering. Think of it as grabbing a strong, youthful branch. You’re aiming for that juicy, green growth, not woody, mature stems.
Supplies You’ll Need
Before we dive in, let’s gather our tools. Having everything ready makes the process so much smoother.
- Sharp Pruning Shears or a Clean Knife: For taking precise, clean cuts. This is crucial to avoid crushing stems.
- Rooting Hormone (Optional but Recommended): A good quality rooting powder or gel can significantly boost your success rate.
- Potting Mix: I like a blend of good quality potting soil mixed with perlite or coarse sand. This ensures excellent drainage, which is vital. About a 50/50 mix works wonders.
- Small Pots or Trays: Clean pots with drainage holes are a must. Terracotta pots are lovely because they breathe.
- Plastic Bags or a Propagator Lid: To create a humid environment for your cuttings.
- Watering Can with a Fine Rose or a Spray Bottle: For gentle watering.
Propagation Methods: Let’s Get Our Hands Dirty!
Poliothyrsis sinensis tends to do best with stem cuttings. It’s the most reliable method I’ve found for this particular plant.
- Take Your Cuttings: Select a healthy, non-flowering stem that’s about 4-6 inches long. Using your clean shears, make a clean cut just below a leaf node (that’s where the leaf attaches to the stem). Remove the lower leaves, leaving just a couple at the very top. This prevents them from rotting in the soil.
- Apply Rooting Hormone (If Using): Dip the cut end of the stem into your rooting hormone powder or gel. Tap off any excess.
- Prepare Your Pots: Fill your clean pots with your well-draining potting mix. Make a small hole in the center of the soil with your finger or a pencil.
- Plant Your Cuttings: Gently insert the cut end of the stem into the hole you made. Firm the soil around it gently to provide support. Don’t pack it too tightly!
- Water Gently: Water the pot thoroughly but gently. You want the soil to be evenly moist, not waterlogged.
- Create Humidity: Place the potted cuttings into a clear plastic bag, creating a mini-greenhouse. You can also use a propagator lid. Ensure the leaves do not touch the sides or top of the bag if possible, as this can encourage rot. If they do, prop up the bag with stakes.
The “Secret Sauce” (Pro Tips)
Here are a few things I’ve learned over the years that can make a real difference:
- Bottom Heat is Your Friend: Poliothyrsis sinensis cuttings absolutely love a bit of warmth from below. A gentle heat mat placed under your pots can significantly speed up root formation. It encourages the plant to send energy downwards.
- Patience is Key with New Growth: Don’t be tempted to pull and check for roots too early! I usually wait at least 4-6 weeks. You’ll know roots are forming when you see new leaf growth appearing. Resist the urge to disturb them.
- Freshly Pulled Leaves are a No-Go: If you’re taking cuttings, make sure your tools are sterilized and your hands are clean. Any old soil or sap from previous plants can introduce diseases that will quickly harm your new cuttings.
Aftercare & Troubleshooting
Once you see that lovely new growth, it’s time to start acclimating your baby plant.
- Gradual Acclimation: Slowly start opening the plastic bag or propagator lid for increasing periods each day over a week or so. This helps the new plant adjust to normal humidity levels.
- Continued Moisture: Keep the soil consistently moist, but again, never soggy. You should be able to feel the weight of the pot – it should feel heavier when moist.
- Light: Place your new plants in bright, indirect light. Avoid direct, hot sun, which can scorch delicate new growth.
What if things go wrong? The most common culprit is rot. Signs of rot include wilting, slimy stems, or blackening at the soil line. This usually means the soil is too wet and there isn’t enough air circulation. If you see this, act fast. You might be able to salvage the cutting by taking a fresh one from the upper, healthy part of the stem and starting again, making sure to improve your drainage and humidity control.
A Little Encouragement to Finish
Propagating plants is a journey of learning and a wonderful way to connect with nature. Don’t get discouraged if your first attempt isn’t perfect. Every gardener has had their share of wilting leaves and stubborn cuttings! Keep experimenting, keep observing, and most importantly, enjoy the process of coaxing new life into existence. Happy propagating!
Resource:
https://identify.plantnet.org/k-world-flora/species/Poliothyrsis%20sinensis%20Hook.f./data