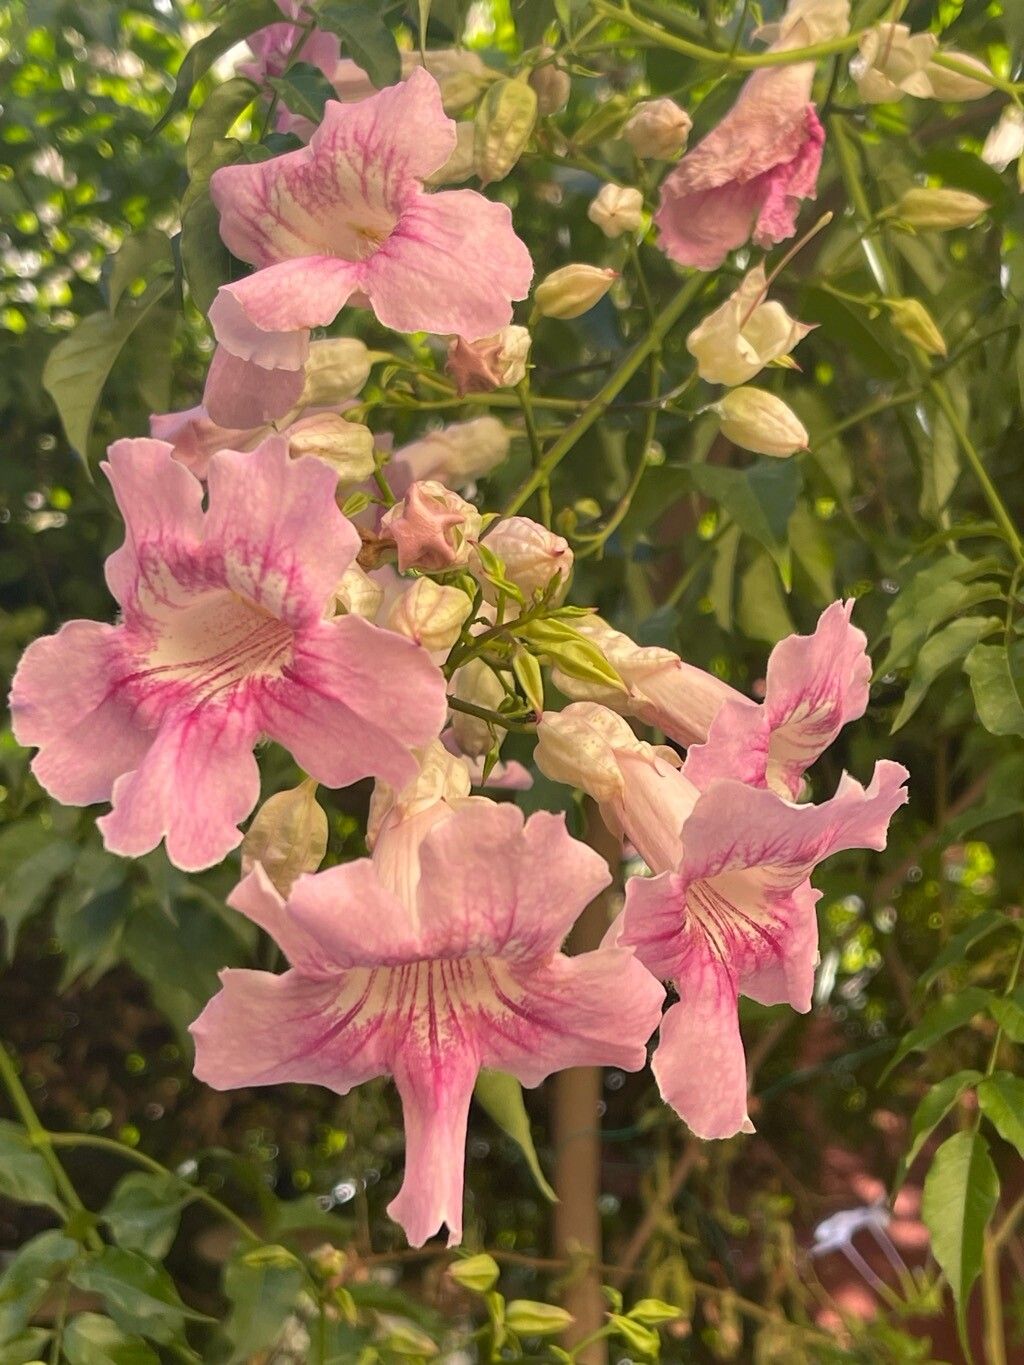
Ah, the Pink Trumpet Vine! Podranea ricasoliana, isn’t she a beauty? Those cascades of fragrant, pink trumpet-shaped flowers are just breathtaking, especially when they burst forth in that glorious show. If you’ve been captivated by this South African native, you’re in for a treat. Propagating it yourself is one of the most rewarding gardening adventures, and honestly, it’s not as daunting as you might think, even for a beginner. Think of it as giving a piece of your garden’s magic to a friend, or just making sure your own beloved vine gets to live on for years to come.
The Best Time to Start
For the highest success rate, I find that late spring or early summer is your golden window. This is when the plant is actively growing and has plenty of youthful energy. You want to take cuttings from stems that are semi-hardwood – they’re not brand new and flimsy, but they haven’t become woody and tough yet. Think of it as a stem that’s just starting to firm up, maybe bending slightly without snapping.
Supplies You’ll Need
Gathering your supplies beforehand makes the whole process smoother. Here’s what I always have on hand:
- Sharp Pruning Shears or a Knife: Cleanliness is key to prevent disease.
- Rooting Hormone: Not strictly essential for every plant, but it gives your cuttings a significant boost. I prefer a powder form.
- Small Pots or Trays: With drainage holes, of course!
- A Well-Draining Potting Mix: A good option is a 50/50 mix of perlite and peat moss or a specialized seed-starting mix.
- Plastic Bags or a Propagator: To create a humid environment.
- Watering Can or Mister: For gentle watering.
- Labels: So you don’t forget what you’ve planted!
Propagation Methods
My favorite and most successful method by far is stem cuttings. It’s reliable and gives you a good chance of success.
- Take Your Cuttings: Choose healthy, vigorous stems from your established plant. Look for those semi-hardwood ones I mentioned. Cut sections that are about 4-6 inches long. At the bottom of each cutting, make a clean cut just below a leaf node (that little bump where a leaf attaches to the stem). This is where the magic happens, where roots are most likely to emerge.
- Prepare the Cuttings: Gently remove the lower leaves, leaving just a few at the very top. This prevents the leaves from rotting when buried. If the remaining leaves are very large, you can even cut them in half horizontally to reduce water loss through transpiration.
- Dip in Rooting Hormone: Lightly moisten the cut end of the stem and then dip it into your rooting hormone powder. Tap off any excess. The hormone helps stimulate root development.
- Plant Your Cuttings: Fill your small pots with your prepared potting mix. Make a hole in the center with your finger or a pencil. Gently insert the prepared cutting into the hole, making sure the node where you removed the leaves is buried beneath the soil line. Firm the soil gently around the cutting. You want it to stand up on its own.
- Create Humidity: Water the pot gently to settle the soil. Then, cover the pot with a clear plastic bag, making sure the sides of the bag don’t touch the leaves. You can also use a propagator lid. This creates a mini-greenhouse effect, keeping the cuttings moist and happy.
The “Secret Sauce” (Pro Tips)
Here are a couple of little tricks I’ve learned over the years that can really make a difference:
- The “Air Layering” Trick: If you’re nervous about cuttings, why not try air layering on a healthy stem while it’s still attached to the mother plant? Select a healthy stem, make a small slit just below a node, and then pack some moist sphagnum moss around that slit. Wrap the whole thing tightly with plastic wrap. Once you see roots forming within the moss, you can carefully cut the stem below the roots and plant it. It’s a foolproof way to get a head start.
- Bottom Heat is Your Friend: If you have a little seedling heat mat, placing your pots on it can dramatically speed up root formation. It mimics the warmth of the soil that encourages roots to grow. Just a gentle warmth is all they need. You can find affordable ones online or at garden centers.
Aftercare & Troubleshooting
Once your cuttings are planted, find a bright spot out of direct sunlight. Keep the soil consistently moist but not soggy. It’s a fine line! Check the soil regularly. If the plastic bag is fogging up heavily, you might need to slightly ventilate by loosening the bag for a bit.
You’ll know your cuttings are rooting when you see new growth appearing at the top of the stem, and if you gently tug on the cutting, you’ll feel resistance. This can take anywhere from 4-8 weeks, sometimes longer. Be patient!
The most common issue you’ll encounter is rot. If a cutting turns black and mushy, it’s usually a sign of too much moisture and not enough air circulation. In this case, it’s best to discard the rotten cutting to prevent it from spreading. Starting with clean tools and a well-draining mix are your best defenses against rot.
A Little Bit of Patience Goes A Long Way
Watching a tiny stem transform into a new, flourishing plant is one of gardening’s greatest joys. Don’t be discouraged if not every cutting makes it. Gardening is about learning and growing, both us and our plants! So, gather your supplies, find that healthy stem, and enjoy the process of coaxing new life into being. Happy propagating!
Resource: