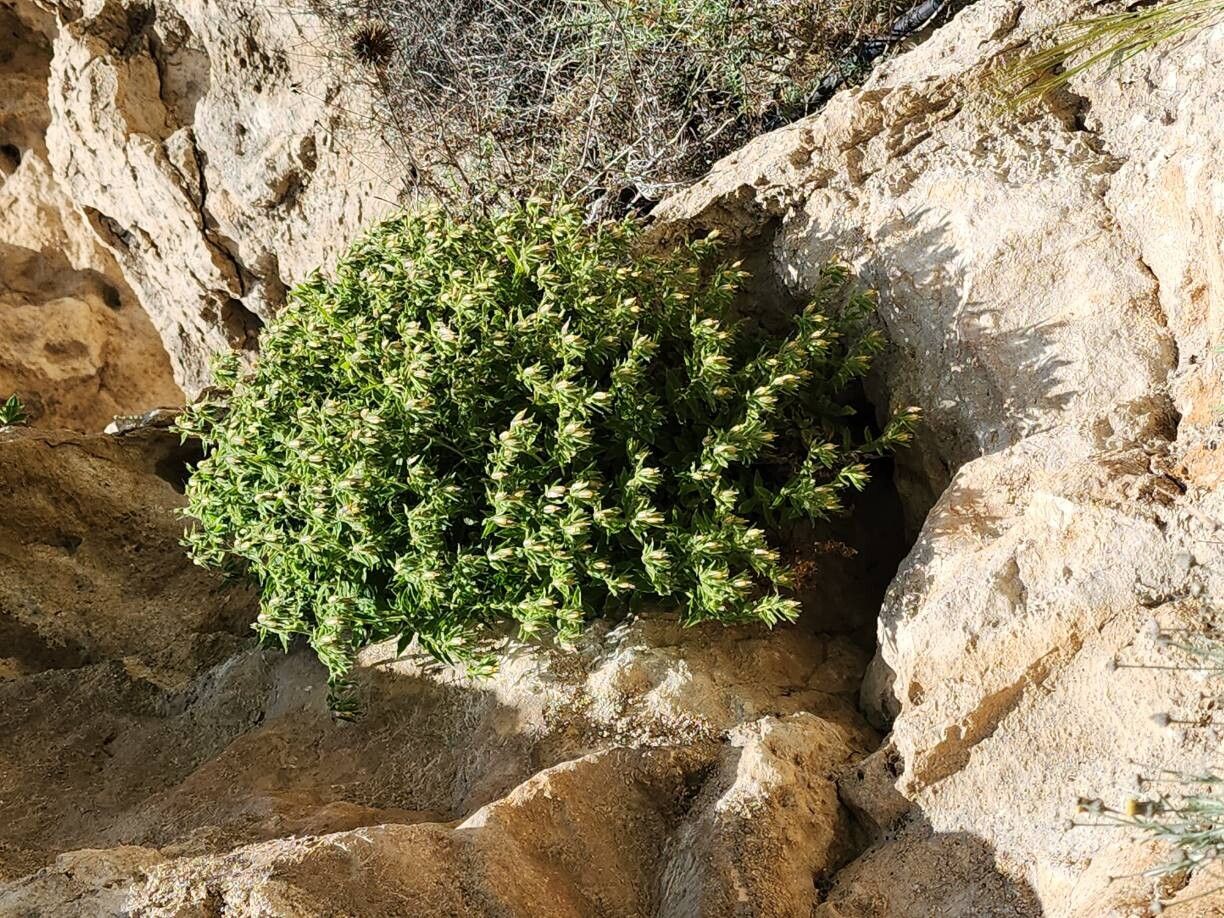
Hello fellow plant lovers! Today, we’re diving into the wonderful world of Podonosma orientalis, also known as Oriental Sweetgum. If you’re drawn to its graceful, star-shaped leaves and those delightful, spiky seed balls, you’re in good company. This tree brings such lovely texture and autumn color to a garden, and the real magic? You can create more of them yourself! Propagating this beauty isn’t a feat reserved for seasoned pros; it’s actually quite accessible, even if you’re just starting your plant parent journey.
The Best Time to Start
Timing is everything when it comes to giving your new plant babies the best shot at life. For Podonosma orientalis, softwood cuttings are your best bet. You’ll want to take these in late spring to early summer, when the new growth is flexible and still pliable, but not yet woody. Think of it as capturing the plant at its most vigorous and ready to spring into new life.
Supplies You’ll Need
Gathering your tools beforehand makes the whole process smoother. Here’s what I usually have on hand:
- Sharp pruning shears or a clean, sharp knife: For making clean cuts.
- Rooting hormone: Not strictly essential for Podonosma orientalis, but it can definitely give your cuttings a boost. I prefer a powder or gel.
- Potting mix: A well-draining mix is crucial. I often use a blend of equal parts peat moss or coco coir and perlite or coarse sand.
- Small pots or propagation trays: Clean ones are key to preventing disease.
- Plastic bags or a clear plastic dome: To create a humid environment.
- Spray bottle: For gentle misting.
- Labels: So you don’t forget what’s what!
Propagation Methods: Stem Cuttings
This is my go-to method for Podonosma orientalis. It’s straightforward and highly effective.
- Select a healthy branch: Look for a piece of new growth that’s about 4-6 inches long. You want to see that it’s green and flexible, not stiff and woody.
- Make the cut: Using your clean shears or knife, make a cut just below a leaf node. A leaf node is where a leaf attaches to the stem; it’s where roots are most likely to form.
- Prepare the cutting: Gently remove the leaves from the lower half of the cutting. If there are any leaves at the very top that are quite large, you can trim them in half to reduce water loss through transpiration.
- Apply rooting hormone: Dip the cut end of the stem into your rooting hormone, tapping off any excess.
- Plant your cuttings: Fill your pots or trays with your well-draining potting mix. Make a small hole in the center with your finger or a pencil. Insert the cutting into the hole, ensuring the leaf nodes are below the surface of the soil. Gently firm the soil around the base.
- Create humidity: Water the soil lightly until it’s moist but not waterlogged. Then, cover the pot with a clear plastic bag or a propagation dome, making sure the bag doesn’t touch the leaves. If you’re using a bag, you can secure it with a rubber band around the pot.
- Find a good spot: Place the pot in a location that receives bright, indirect light. Avoid direct sunlight, which can scorch the cuttings.
The “Secret Sauce” (Pro Tips)
Over the years, I’ve learned a few little tricks that really make a difference.
- Bottom heat is your friend: If you have a heat mat designed for seedlings, use it! Placing your pots on a gentle heat source can significantly speed up root development. It mimics the warmth of spring soil and gives those little root cells a real kickstart.
- Don’t be afraid to mist: While you don’t want soggy soil, keeping the humidity high around your cuttings is paramount. A gentle misting of the leaves every day or two (especially if you don’t have a dome) helps prevent them from drying out before they can establish roots.
- The “snap test”: Once you think your cuttings might be rooted (usually after 4-6 weeks), give a very gentle tug. If there’s resistance, it’s a good sign roots have formed. You can also look for new leaf growth, which is a strong indicator of success.
Aftercare & Troubleshooting
Once you see roots forming – hooray! This is when the real nurturing begins.
- Acclimatise slowly: Gradually remove the plastic covering over a week or so to help the new plants adjust to the ambient humidity.
- Water gently: Continue to water when the top inch of soil feels dry. Avoid overwatering, as this is the quickest way to invite trouble.
- Light feeding: Once you notice new, healthy leaf growth, you can start to introduce a very diluted liquid fertilizer every few weeks.
- Watch for rot: The most common sign of failure is rot, where the stem turns mushy and black. This is almost always due to too much moisture and poor air circulation. If you see this, unfortunately, the cutting is likely lost, but don’t be discouraged! Just try again. Yellowing leaves can sometimes indicate too much or too little water.
Propagating Podonosma orientalis is such a rewarding experience. Watching a tiny cutting transform into a new plant is pure gardening joy. Be patient with yourself and the process. Every attempt is a learning opportunity, and soon you’ll be sharing your own beautiful sweetgums with friends and family. Happy propagating!
Resource:
https://identify.plantnet.org/k-world-flora/species/Podonosma%20orientalis%20(L.)%20Feinbrun/data