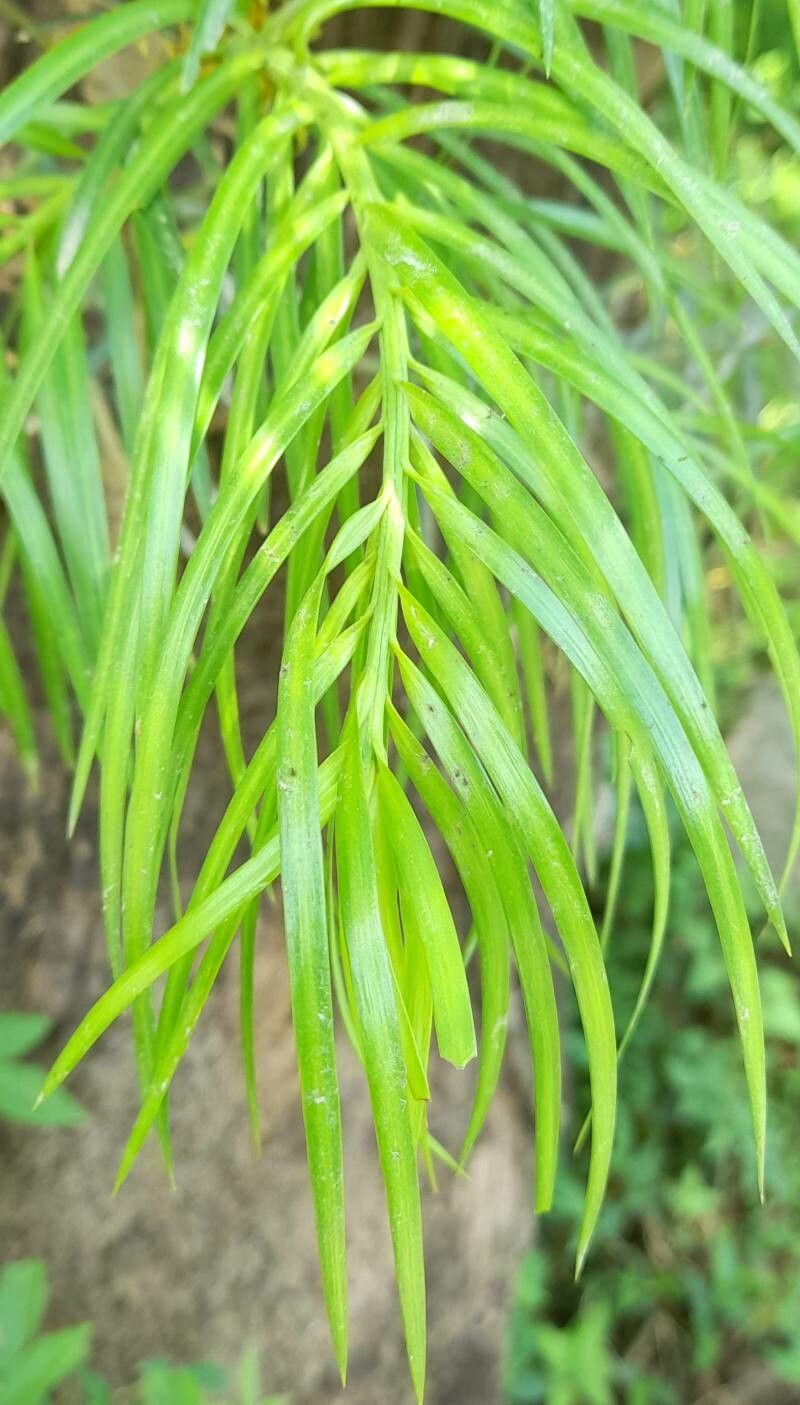
Ah, hello there! It’s so good to have you join me. Today, we’re diving into the wonderful world of Podocarpus parlatorei, often called the “Yew Pine” or “Monterey Pine” (though it’s not a true pine!). I’ve always admired its graceful, evergreen foliage and its ability to add a touch of refined elegance to any garden. If you’re looking for a plant that’s both beautiful and rewarding to propagate, this is a fantastic choice. Now, for beginners, I’d say Podocarpus parlatorei falls somewhere in the middle. It’s not a push-button kind of plant, but with a little care and attention, you’ll be well on your way to success.
The Best Time to Start
For the highest success rate with Podocarpus parlatorei, I find that late spring to early summer is absolutely ideal. This is when the plant is actively growing, and the new shoots are still somewhat soft and pliable. You’ll be looking for stems that have developed a bit but aren’t yet woody. Think “semi-hardwood” cuttings. Starting at this time gives your cuttings plenty of the growing season to establish roots.
Supplies You’ll Need
Before we get our hands dirty, let’s gather our tools. Having everything ready makes the process so much smoother.
- Sharp Pruning Shears or a Knife: Clean cuts are crucial for preventing disease.
- Rooting Hormone: This isn’t strictly mandatory, but it can give your cuttings a significant boost. I prefer a powder form.
- Well-Draining Potting Mix: A good blend is key. I often use a mix of peat moss, perlite, and a little bit of coarse sand. You can also find pre-made succulent or cactus mixes that work well.
- Small Pots or Trays: Clean pots are essential! I like using 4-inch pots for individual cuttings.
- Clear Plastic Bag or Dome: This creates a humid microclimate, which is vital for cuttings that haven’t developed roots yet.
- Optional: Bottom Heat Mat: This can really speed up root development, especially if your space is a bit cooler.
Propagation Methods: Stem Cuttings
This is my go-to method for Podocarpus parlatorei, and I’ve had great success with it.
- Take Your Cuttings: Using your clean pruners or knife, select healthy, vigorous stems from your parent plant. Look for pieces that are about 4 to 6 inches long. You want a section with several sets of leaves.
- Prepare the Cuttings: At the bottom of each cutting, remove the leaves from the lower 1-2 inches. This is where the roots will emerge. If the leaves are very large, you can even cut them in half horizontally to reduce water loss through transpiration.
- Apply Rooting Hormone: Dip the cut end of each stem into rooting hormone, tapping off any excess. Make sure the lower, leafless part is well-coated.
- Pot Up Your Cuttings: Fill your clean pots with your well-draining potting mix. Gently insert the prepared cuttings into the soil, about 1-2 inches deep. You can use a pencil or skewer to make a pilot hole to avoid rubbing off the rooting hormone.
- Water Thoroughly: Give the soil a good watering to settle it around the cuttings. You want the soil to be moist, not waterlogged.
- Create a Humid Environment: This is where the plastic bag or dome comes in. Cover the pots loosely with a clear plastic bag, propping it up with stakes so it doesn’t touch the leaves. Alternatively, use a clear plastic dome. This traps moisture, keeping the cuttings from drying out. Place the pots in a bright location, but out of direct sunlight.
The “Secret Sauce” (Pro Tips)
Now for a couple of things I’ve learned over the years that can really make a difference:
- Don’t Let Leaves Touch Water: If you opt for water propagation (which can work for some Podocarpus, but I find cuttings more reliable), ensure no leaves are submerged. Any submerged leaves will quickly rot and can infect the whole cutting. I usually trim off lower leaves before placing them in water.
- Bottom Heat is Your Friend: Honestly, if you can spare a bit of space, placing your pots on a bottom heat mat has been a game-changer for me. It provides consistent warmth to the base of the cuttings, encouraging root development much faster and with greater vigor. It’s like giving them a cozy foot warmer!
Aftercare & Troubleshooting
Once your cuttings have been in their humid haven for a few weeks, you’ll want to start checking for roots. You can gently tug on a cutting; if there’s resistance, it’s a good sign. Another way is to look for new leaf growth, which indicates root development.
Once you see signs of roots, you can gradually acclimate them to normal conditions. Start by peeking the plastic bag open a little bit each day, then remove it for longer periods. You can also begin watering them from the top as you would a regular potted plant. Continue to keep them in bright, indirect light.
The most common issue you might encounter is rot. If you see your cuttings turning mushy or black at the base, it’s usually a sign of too much moisture and not enough air circulation. If this happens, you might need to start again with fresh cuttings and ensure your potting mix is even better draining.
A Little Patience Goes a Long Way
Propagating plants is a journey, and Podocarpus parlatorei is no exception. There will be moments of anticipation, and sometimes, a few setbacks. But the joy of nurturing a new plant from a tiny cutting is truly something special. Be patient, observe your little ones, and don’t be afraid to try again if things don’t go as planned the first time. Happy growing!
Resource:
https://identify.plantnet.org/k-world-flora/species/Podocarpus%20parlatorei%20Pilg./data