Hello fellow garden enthusiasts! Today, we’re diving into the wonderful world of propagating Podocarpus milanjianus, also known as the East African yellowwood or African pine. I’ve spent years nurturing these beautiful trees, and trust me, there’s immense satisfaction in watching a little cutting blossom into a future specimen.
Why Propagate Podocarpus milanjianus?
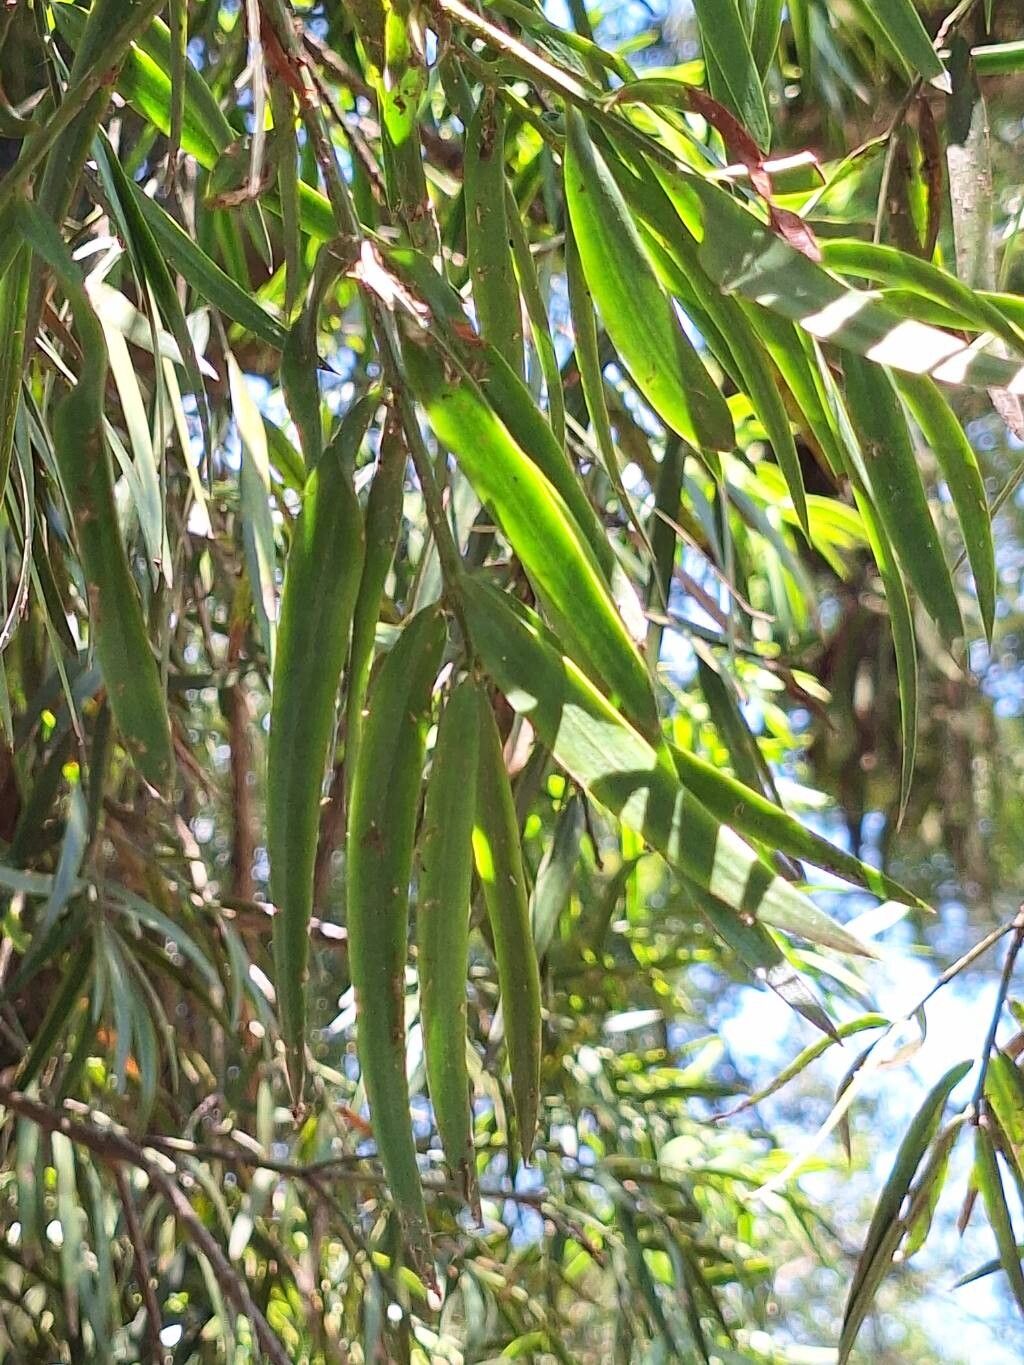
These trees are just stunning, aren’t they? Their graceful, evergreen foliage brings a touch of the exotic to any garden. Plus, propagating them yourself is incredibly rewarding. It’s a fantastic way to save money, share these beauties with friends, and really connect with nature’s cycle. For beginners, Podocarpus milanjianus can be a bit of a rewarding challenge – it’s not the absolute easiest, but with a little care and patience, you’ll find success.
The Best Time to Start
Spring is usually your golden ticket here. As the plant starts its active growth cycle after winter, cuttings are more vigorous and eager to root. Look for semi-hardwood cuttings taken from the current season’s growth that has started to firm up but still has a bit of flexibility.
Supplies You’ll Need
- Sharp, clean pruning shears or a sharp knife
- Rooting hormone (a powder or gel)
- A well-draining potting mix: I like a blend of equal parts perlite, peat moss, and good quality potting soil. Some growers also add a bit of coarse sand.
- Small pots or seed trays with drainage holes
- A clear plastic bag or a propagation dome
- A watering can with a fine rose
- Optional: A heat mat for bottom warmth
Propagation Methods
Stem cuttings are your go-to for Podocarpus milanjianus.
- Take Cuttings: In the spring, select healthy, current-year shoots. Make your cuts just below a leaf node (where a leaf attaches to the stem). Aim for cuttings that are about 4-6 inches long. Remove the lower leaves, leaving just a few at the top.
- Apply Rooting Hormone: Dip the cut end of each stem into rooting hormone. Gently tap off any excess. This step really helps to kickstart root development.
- Plant the Cuttings: Fill your pots or trays with the prepared potting mix. Make a hole with a pencil or your finger and insert the cuttings about an inch deep. Gently firm the soil around them.
- Water Gently: Water thoroughly until you see water drain from the bottom of the pot.
- Create a Humid Environment: Cover the pots with a clear plastic bag or a propagation dome. This is crucial for keeping the humidity high, which prevents the cuttings from drying out before they can form roots. You can loosely secure the bag with a rubber band.
The “Secret Sauce” (Pro Tips)
- Don’t overcrowd: Give your cuttings a little breathing room in their pots. Overcrowding can lead to fungal issues, and we want healthy roots, not mushy ones!
- Bottom heat is your friend: For a serious boost, place your pots on a gentle heat mat set to around 70-75°F (21-24°C). This encourages root formation from the bottom up, dramatically increasing your success rate.
- “Wipe test” for callous formation: If you’re a bit unsure about the rooting hormone, you can try this: after dipping in hormone, let the cut end sit exposed to air for about 30 minutes. You’ll see a slightly dry, “callused” area form. This can sometimes help prevent rot and promote rooting.
Aftercare & Troubleshooting
Once your cuttings have roots (this can take several weeks to a few months – be patient!), you’ll notice a bit of resistance when you gently tug on a leaf. You can also peek at the drainage holes to see if roots are emerging.
Gradually acclimate your new plants to lower humidity by opening the plastic bag or dome a little each day over a week. Once they are fully acclimated, you can remove the cover completely. Continue to water them when the top inch of soil feels dry.
The biggest pitfall you’ll encounter is rot. If a cutting turns black and mushy, it’s usually a sign of too much moisture and not enough air circulation. Make sure your soil drains exceptionally well, and don’t waterlog it. If you see wilting or yellowing leaves that aren’t related to drying out, it might be a sign of stress or insufficient light. Again, good drainage is key!
Keep Growing!
Watching those tiny roots form and eventually grow into a new plant is a truly magical experience. Don’t get discouraged if your first few attempts aren’t perfect – gardening is always a learning process. Enjoy the journey, celebrate every success, and soon you’ll have a beloved Podocarpus milanjianus proudly growing thanks to your own hands! Happy propagating!
Resource:
https://identify.plantnet.org/k-world-flora/species/Podocarpus%20milanjianus%20Rendle/data