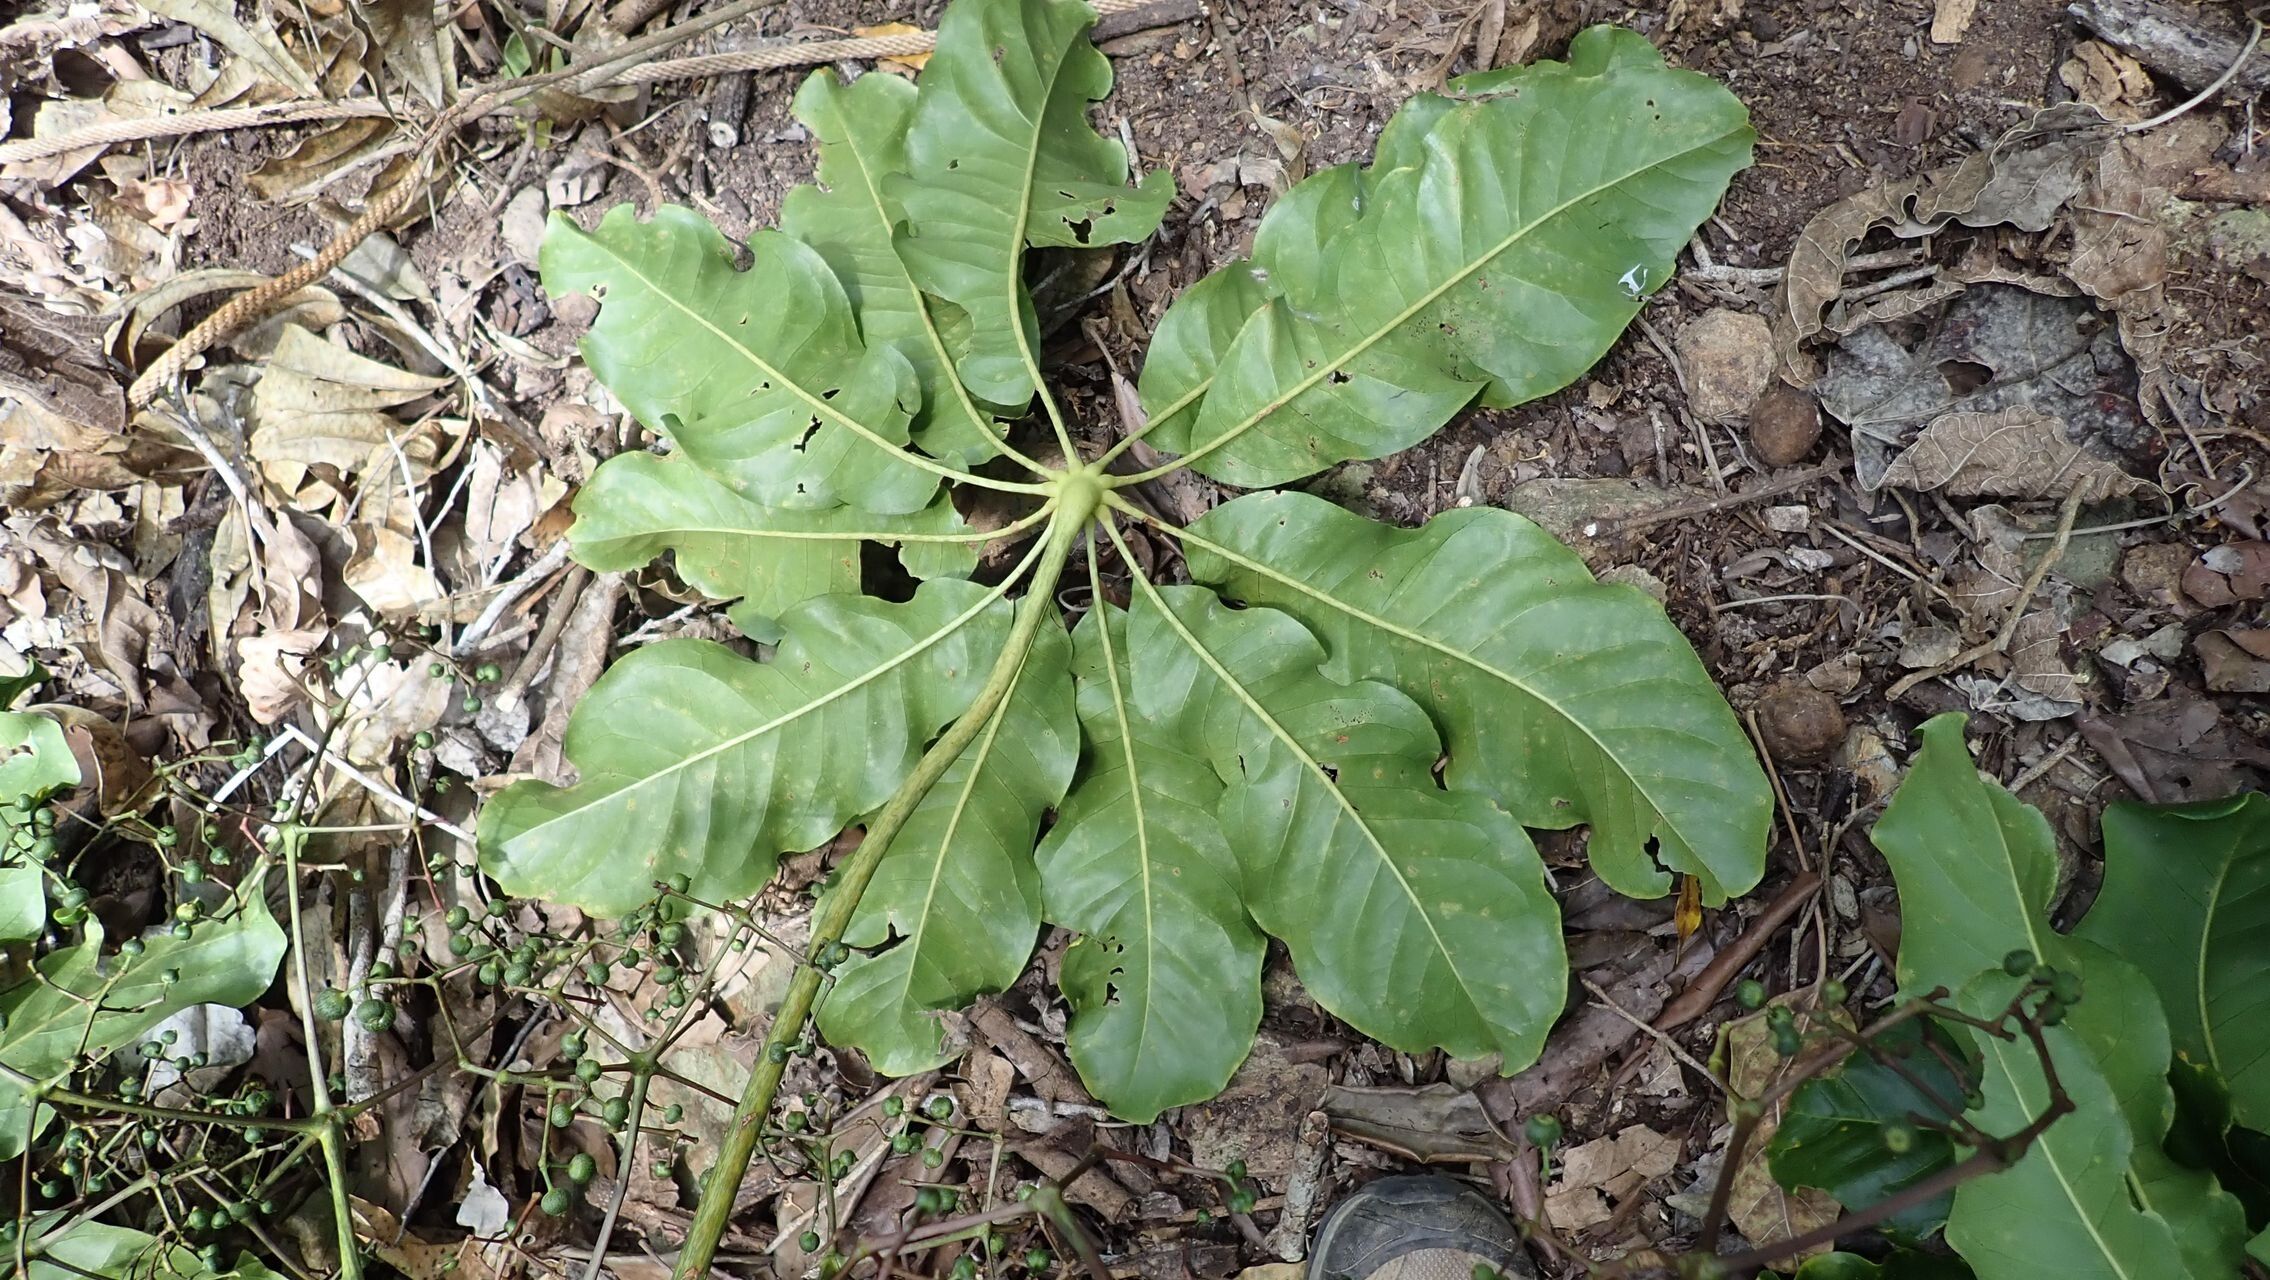
Oh, hello there! Come on in, grab a cuppa. I’m so glad you’re interested in Plerandra leptophylla. It’s one of those plants that just makes you smile, isn’t it? With its delicate, fern-like leaves, it brings a touch of the tropics into our homes, even if you’re like me and battling a less-than-tropical climate outside.
There’s a special kind of magic in coaxing new life from a beloved plant. Watching a tiny cutting unfurl its first true leaf is incredibly satisfying. Now, to be honest, Plerandra leptophylla isn’t the absolute easiest plant to propagate, but with a little care and these tips, I think you’ll find it a very rewarding endeavor. It’s more of a ‘let’s give this a go’ plant for beginners, rather than a ‘throw it in a bucket of water’ kind of plant.
The Best Time to Start
My favorite time to take cuttings is during the active growing season. Think late spring through summer, when the plant is putting on new growth and has plenty of energy. You want to look for stems that are semi-hardwood. This means they’re not brand new and floppy, but they’re also not old and woody. They should snap cleanly when bent, rather than just bending.
Supplies You’ll Need
Gathering your tools beforehand makes the whole process much smoother. Here’s what I always have on hand:
- Sharp Pruning Shears or a Clean Knife: For taking clean cuts to prevent disease.
- Rooting Hormone Powder: This really gives your cuttings a helpful boost.
- Well-Draining Potting Mix: A good blend of perlite, coco coir, and a bit of peat moss works wonders. Or, a dedicated seed-starting or succulent mix is often suitable.
- Small Pots or Propagation Trays: Terracotta or plastic pots with drainage holes are fine.
- Plastic Bag or Clear Dome: To create a humid environment for your cuttings.
- Watering Can or Spray Bottle: For gentle watering.
- Labels and a Permanent Marker: To keep track of what you’ve planted and when.
Propagation Methods: Stem Cuttings
This is my go-to method for Plerandra leptophylla. It’s reliable and gives you a good chance of success.
- Select Your Cuttings: As mentioned, look for those semi-hardwood stems during the growing season. Aim for cuttings that are about 4-6 inches long.
- Make the Cut: Using your clean shears or knife, take a cutting from a healthy-looking stem. Cut just below a leaf node (that little bump where a leaf joins the stem).
- Prepare the Cutting: Gently remove the lower leaves, leaving just a few at the very top. This prevents them from rotting in the soil. If the remaining leaves are very large, you can even cut them in half to reduce water loss.
- Apply Rooting Hormone: Dip the cut end of the stem into your rooting hormone powder, tapping off any excess.
- Plant Your Cuttings: Fill your chosen pots with your damp potting mix. Make a small hole with your finger or a pencil, and insert the cut end of the stem. Firm the soil gently around it.
- Create a Humid Environment: Water the soil lightly. Then, cover the pot with a clear plastic bag, propping it up so it doesn’t touch the leaves, or place it under a clear dome. This traps moisture, which is crucial for root development.
- Place in Bright, Indirect Light: Find a warm spot that receives bright, filtered light. Avoid direct sunlight, as it can scorch the delicate cuttings.
The “Secret Sauce” (Pro Tips)
Here are a couple of things I’ve learned over the years that can really make a difference:
- Don’t Let the Leaves Touch the Water (or Soil): If you’re doing water propagation (which is a bit trickier for Plerandra, but possible), never let the leaves sit in the water. They’ll rot. Even in soil, ensure no leaves are buried. They should be safely above the soil line.
- Bottom Heat is Your Friend: If you have a seedling heat mat, placing your pots on it can significantly speed up root formation. It mimics the warmth of the soil in their natural habitat and gives those roots a real kickstart.
- Mist Regularly: Even with a humidity dome, a light misting of the leaves every few days helps keep them turgid and encourages them to callus over and start rooting.
Aftercare & Troubleshooting
Once you see signs of new growth—shoots or the appearance of leaves where there were none—it’s a good sign! This usually takes anywhere from 4 to 8 weeks, sometimes longer.
- Acclimate Gradually: Once roots have formed (you can gently tug on a cutting, and if there’s resistance, you likely have roots), gradually remove the humidity dome. Start by taking it off for an hour or two a day, then increase the time. This helps the new plant adjust to normal room humidity.
- Watering: Water when the top inch of soil feels dry. Be careful not to overwater, as this is the most common cause of failure.
- Trouble Signs: The biggest culprit is rot. If your cutting turns mushy, black, or starts to drop all its leaves suddenly, rot has likely set in. This is usually due to too much moisture and not enough air circulation. Sometimes, a cutting can just fail to root; it will shrivel and dry out. Don’t be discouraged if you lose a few – that’s part of gardening!
A Encouraging Closing
Propagating Plerandra leptophylla is a journey, not a race. Be patient with your little cuttings. Observe them, enjoy the process, and don’t be afraid to experiment a little. Every gardener has their successes and their learning moments. Happy propagating – I have a feeling you’ll do wonderfully!
Resource: