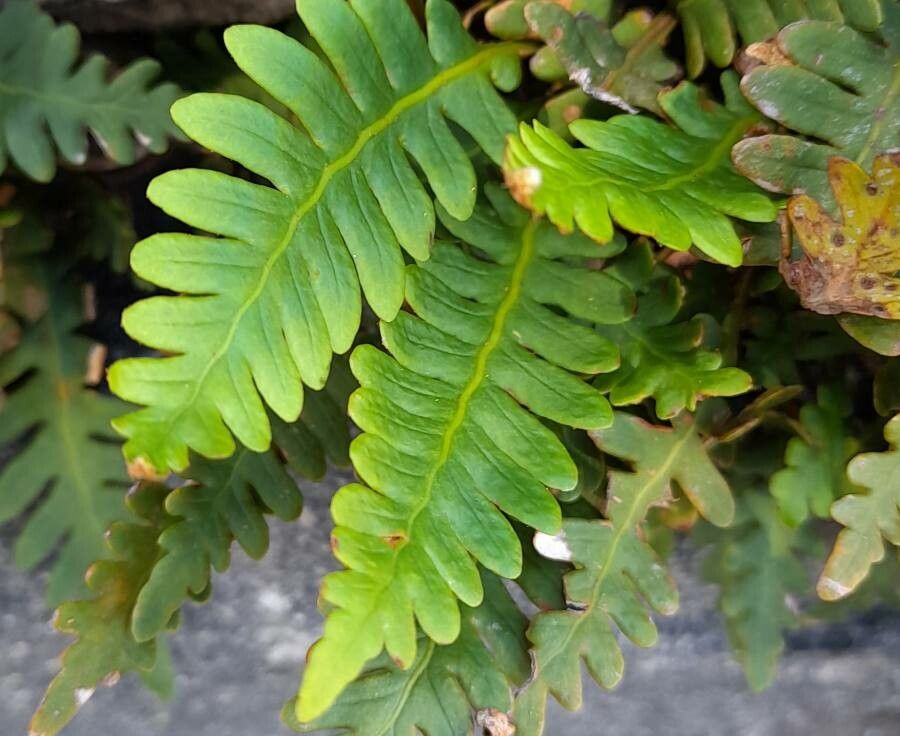
Hello fellow plant lovers! There’s something truly magical about taking a single plant and coaxing new life from it. It’s a rewarding process that expands your collection and deepens your understanding of how these green wonders grow. Today, we’re diving into the world of Pleopeltis pinnatifida, a darling of the fern world with its charming, frilly fronds. If you’re looking to add more of this beauty to your space, or simply enjoy the satisfaction of creating a clone, you’re in the right place. Propagating Pleopeltis pinnatifida is a wonderful project, and I’ve found it to be quite forgiving, even for those just dipping their toes into plant propagation.
The Best Time to Start
When it comes to giving your new plant babies the best shot at life, timing is everything. The absolute sweet spot for propagating Pleopeltis pinnatifida is during its active growing season. Think late spring through summer. During these warmer, brighter months, the plant has plenty of energy to dedicate to rooting and establishing itself. You’ll find that cuttings taken now are much more vigorous and much less likely to succumb to rot.
Supplies You’ll Need
Before we get our hands dirty, let’s gather our tools. It’s always best to be prepared!
- Sharp Pruning Shears or a Clean Knife: For making clean cuts.
- Potting Mix: A good quality, well-draining potting mix is crucial. I like a blend of equal parts peat moss or coco coir, perlite, and a bit of orchid bark for extra aeration.
- Small Pots or Trays: Clean pots with drainage holes are essential.
- Rooting Hormone (Optional but Recommended): A hormone powder or gel can give your cuttings a little boost.
- Clear Plastic Bag or Dome: To create a humid environment.
- Spray Bottle: For misting.
- Water: For watering and for water propagation.
Propagation Methods
There are a couple of ways to go about this, and both are quite effective. I’ll walk you through my favorites.
Division
This is often the easiest and most successful method for Pleopeltis pinnatifida, especially if your plant is already mature and producing offsets.
- Gently Remove from Pot: Carefully take the parent plant out of its container. You might need to gently loosen it from the sides.
- Examine the Roots: Look for natural divisions where the rhizomes (the creeping stems that grow along the soil surface or just beneath it) have separated. You should see areas where there are clearly distinct crowns with their own roots.
- Separate the Divisions: Using your hands or a clean knife, gently pull or cut the plant into smaller sections. Make sure each division has at least one healthy leaf or frond and a good amount of roots.
- Pot Up Your New Plants: Pot each division into its own container filled with your prepared potting mix. Water thoroughly.
Stem Cuttings (Rhizome Cuttings)
This method is fantastic if your Pleopeltis pinnatifida has long, creeping rhizomes.
- Identify a Healthy Rhizome: Look for a section of the rhizome that has at least one node (a small bump or joint) and ideally a young frond emerging.
- Take Your Cutting: Using your sharp shears or knife, cut a piece of the rhizome about 2-3 inches long. Ensure the cutting has at least one node.
- Prepare the Cutting: If you’re using rooting hormone, dip the cut end into it. Gently brush off any excess.
- Plant the Cutting: Place the cutting onto the surface of your potting mix, with the node just barely covered by the soil. The frond should be sticking up.
- Create a Humid Environment: Water the soil lightly and then cover the pot with a clear plastic bag or a propagation dome. The leaves should not be touching the plastic. You can use stakes to lift the bag if needed. Place in bright, indirect light.
The “Secret Sauce” (Pro Tips)
After years of coaxing plants to grow, I’ve picked up a few little tricks that often make all the difference for Pleopeltis pinnatifida.
- Don’t Drown Them: While these ferns love humidity, soggy soil is their enemy when propagating. I always err on the side of slightly too dry rather than too wet, especially with rhizome cuttings. Let the top inch of soil dry out a bit between waterings.
- Bottom Heat is Your Friend: If you have a seedling heat mat, I highly, highly recommend using it for rhizome cuttings. Warm soil temperatures encourage root development much faster. Just place your pots on the mat.
- Patience with Fronds: Some fronds on your cuttings might brown or droop slightly. Don’t panic! As long as the rhizome itself looks healthy and you see new growth emerging (even tiny bits), give it time. I’ve had cuttings that took weeks, even a couple of months, to show significant rooting.
Aftercare & Troubleshooting
Once your Pleopeltis pinnatifida cuttings have developed roots (you can check by gently tugging – there will be resistance, or you might see roots peeking out of the drainage holes), it’s time to adjust their care.
Carefully remove the plastic bag or dome. Continue to keep the soil consistently moist but not waterlogged. Bright, indirect light is still best. As the plant grows and becomes more established, you can gradually introduce it to a slightly more open environment.
The most common issue you’ll encounter is rot. This usually happens when the soil stays too wet for too long, or if the humidity is too high without enough air circulation. If you see a cutting turn black and mushy, or if a division’s fronds start to yellow and wilt excessively with no sign of rooting, it might be a sign of rot. In this case, unfortunately, it’s best to discard the failed cutting and try again, perhaps with a less damp medium or more airflow.
A Little Encouragement
Propagating plants is a journey, and like any good journey, it’s not always a straight line. There will be triumphs, and there might be a few little setbacks. But the joy of watching a new little fern unfurl its first tiny frond is absolutely worth it. Be patient with your cuttings, trust your instincts, and most importantly, enjoy the process of nurturing new life. Happy growing!
Resource: