Oh, hello there! Come on in, pull up a chair. Let’s chat about one of my favorite gardening joys: bringing new life into the world, plant-style. Today, we’re going to dive into the wonderful world of propagating Plantago bismarckii.
Why Propagate Plantago bismarckii?
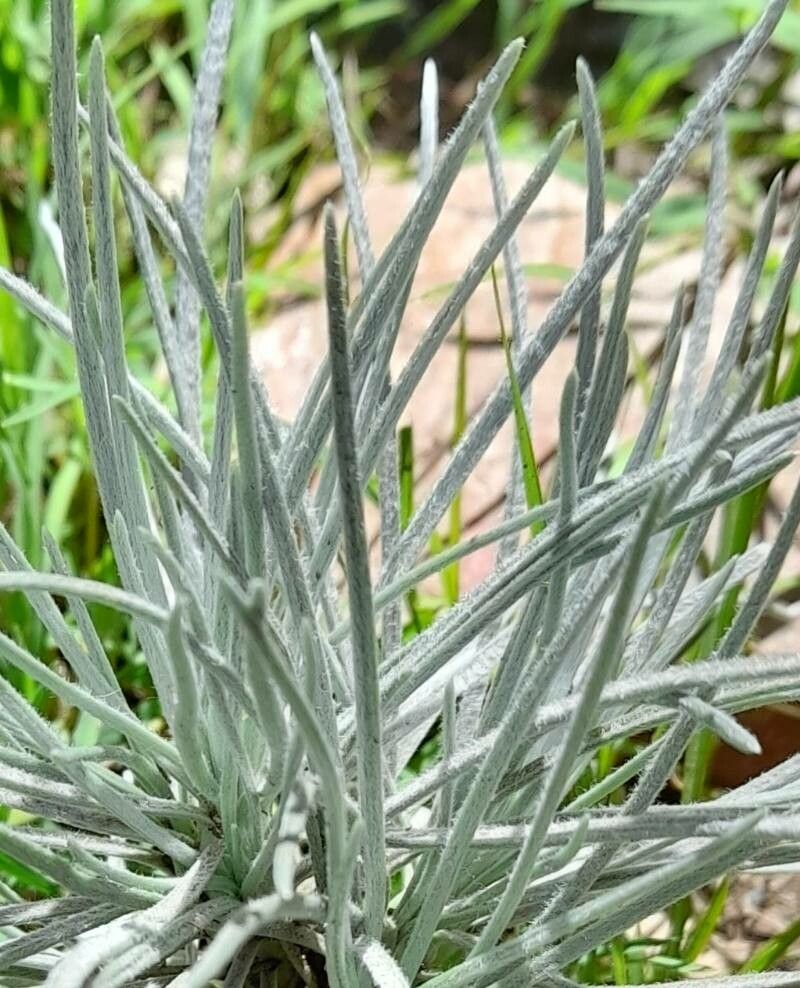
This little gem, with its fuzzy, silver-blue leaves, is just a delight. It brings such a unique texture and color to any pot or garden bed. And honestly, there’s nothing quite like the satisfaction of watching a tiny piece of a plant you already love grow into a whole new, magnificent specimen. It’s like magic, but with dirt! For beginners, I’d say Plantago bismarckii is moderately easy to propagate. It’s not as foolproof as, say, a spider plant, but with a little attention, you’ll be rewarded.
The Best Time to Start
The sweet spot for trying your hand at propagating Plantago bismarckii is during its active growing season. Think late spring to early summer. The plant is full of energy then, and your cuttings or divisions will have the best chance of rooting. If you live somewhere with mild winters, you might even get away with a fall attempt, but spring is usually your safest bet for success.
Supplies You’ll Need
Gathering your tools beforehand makes the whole process much smoother. Here’s a little list to get you started:
- Sharp pruning shears or a clean knife: For taking clean cuts.
- A well-draining potting mix: I like a blend of perlite, coco coir, and a little compost. You can buy cactus/succulent mix in a pinch, but I find my own blend works wonders.
- Small pots or propagation trays: With drainage holes, naturally!
- Rooting hormone (optional but helpful): A powder or gel that encourages root development.
- A spray bottle: For gentle misting.
- Labels: So you don’t forget what’s what!
- A small trowel or dibber: For making planting holes.
Propagation Methods for Plantago bismarckii
There are a couple of tried-and-true ways to get more of these lovely plants. Let’s explore them.
1. Stem Cuttings: This is my go-to method for many plants, and Plantago bismarckii responds well.
- Select a healthy, non-flowering stem. You want growth that looks vigorous.
- Using your clean shears, take a cutting that is about 3-4 inches long. Try to get it just below a leaf node (where a leaf meets the stem).
- Gently remove the lower leaves from the cutting. You want to expose a bit of the stem for rooting.
- If you’re using rooting hormone, dip the cut end into it.
- Make a hole in your prepared potting mix with your trowel or finger.
- Insert the cutting into the hole, making sure at least one leaf node is buried.
- Gently firm the soil around the cutting.
- Mist the surface of the soil lightly with your spray bottle.
2. Division: If your plant has grown into a nice clump, it’s a perfect candidate for division.
- Gently remove the entire plant from its pot.
- Carefully tease apart the root ball with your fingers. If it’s really dense, you might need to use your knife to separate sections, but try to preserve as many roots on each division as possible.
- Each division should have a chunk of roots and some healthy shoots.
- Pot up each division into its own container with fresh, well-draining soil.
- Water lightly to settle the soil.
The “Secret Sauce” (Pro Tips)
Now, for a little insider advice that’ll help you along the way. These are things I’ve learned from years of getting my hands dirty!
- Let it Callus: For stem cuttings, after you’ve removed the lower leaves and before dipping in rooting hormone, let the cut end air dry for a few hours (or even overnight). This helps it form a slight callus, which can reduce the risk of rot and encourage rooting.
- Don’t Drown It: After planting your cuttings or divisions, it’s crucial to avoid overwatering. The soil should be kept consistently moist but not waterlogged. Think of it like a wrung-out sponge. Too much wetness is the quickest way to invite rot.
- Warmth is Key: Plantago bismarckii loves a little warmth to kickstart root growth. If you can, place your pots on a heat mat designed for propagating plants. This gentle, consistent bottom heat really makes a difference in speeding up rooting.
Aftercare & Troubleshooting
Once your cuttings have taken root (you’ll know when you see new growth or feel gentle resistance when you tug lightly on the cutting), it’s time to shift your care.
Continue to water when the top inch of soil feels dry. Gradually introduce your new plants to more light, but avoid direct, harsh sun for the first few weeks. Ease them into it!
The most common issue you’ll encounter is rot. If you see your cutting turning mushy, blackening, or wilting dramatically, it’s likely succumbing to rot. This is usually a sign of too much moisture and not enough airflow. Don’t be discouraged if a few don’t make it. It’s part of the learning process! Another sign of failure is if the cutting simply shrivels up and shows no signs of rooting or new growth after several weeks.
A Little Encouragement
Propagating plants is a journey, not a race. There will be successes, and there will be moments where you question your green thumb. But with Plantago bismarckii, the rewards are so worth the effort. Be patient, observe your little cuttings, and celebrate every tiny victory. Happy propagating!
Resource:
https://identify.plantnet.org/k-world-flora/species/Plantago%20bismarckii%20Niederl./data