Hello there, fellow plant enthusiasts! As a gardener who’s gotten dirt under my fingernails for two decades now, I’m always thrilled to share the joy of coaxing new life from our beloved plants. Today, we’re diving into the wonderful world of Planchonella crenata.
Why Propagate Planchonella crenata?
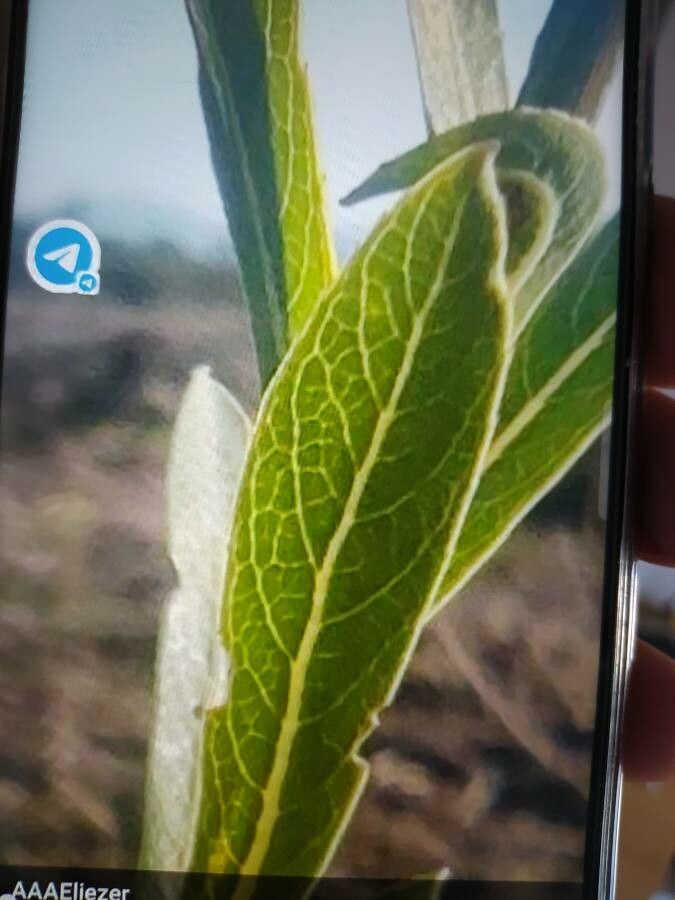
This Australasian native is a stunner, isn’t it? With its glossy, toothed leaves and lovely form, it brings a touch of the tropics right into our gardens or homes. Propagating it yourself? It’s incredibly rewarding. It’s a fantastic way to fill your space, share with friends, or even start a little nursery of your own. Now, is it a walk in the park for absolute beginners? I’d say it’s moderately easy. A little attention to detail goes a long way, and with these tips, you’ll be well on your way.
The Best Time to Start
For Planchonella crenata, the sweet spot for propagation is during its active growing season. Think late spring through summer. This is when the plant is brimming with energy, making it more likely to produce healthy roots. You’ll have the best success if you select stems that are neither brand new and fleshy nor old and woody. A stem that’s firm but still has a bit of give is perfect.
Supplies You’ll Need
Gathering your tools before you begin makes the whole process much smoother. Here’s what I like to have on hand:
- Sharp, clean pruning shears or a craft knife: Cleanliness is crucial to prevent disease.
- Rooting hormone powder or gel: This really gives your cuttings a boost.
- Well-draining potting mix: A good blend of peat moss, perlite, and a bit of coarse sand works wonders. You can also buy specific cuttings mixes.
- Small pots or seed trays with drainage holes: About 4-6 inch pots are ideal for cuttings.
- Plastic bags or a clear plastic dome: To create a humid environment.
- Watering can with a fine rose: For gentle watering.
- Optional: A heated propagator mat: This can significantly speed up rooting.
Propagation Methods: Stem Cuttings
This is my go-to method for Planchonella crenata. It’s reliable and produces genetically identical plants.
- Select your parent plant: Choose a healthy, vigorous Planchonella crenata.
- Take your cuttings: Using your clean shears or knife, take 4-6 inch cuttings from the tips of healthy stems. Make your cut just below a leaf node (where a leaf attaches to the stem).
- Prepare the cuttings: Gently remove the lower leaves from the bottom half of each cutting. This prevents them from rotting in the soil. You can leave the top 2-3 leaves intact, or even cut them in half horizontally if they are very large. This reduces water loss.
- Apply rooting hormone: Dip the cut end of each stem into rooting hormone powder or gel, tapping off any excess.
- Potting up: Fill your small pots with your well-draining potting mix. Make a hole in the center of the soil with a pencil or your finger.
- Insert the cuttings: Place a cutting into each hole, ensuring the nodes where you removed leaves are covered by the soil. Gently firm the soil around the base of the cutting.
- Water gently: Water the soil thoroughly until water drains from the bottom of the pot.
The “Secret Sauce” (Pro Tips)
After years of trial and error, I’ve learned a few tricks that make a real difference.
- The humidity dome is your friend: Once your cuttings are potted, cover the entire pot with a clear plastic bag, securing it at the rim with a rubber band or twist tie. Alternatively, use a clear plastic dome. This creates a mini-greenhouse effect, keeping the leaves hydrated while the roots develop. Make sure the leaves aren’t touching the sides of the bag as this can encourage rot.
- Bottom heat works wonders: If you have access to a heated propagator mat, place your pots on it. This gentle warmth from below encourages root development much faster than ambient room temperature. It mimics the conditions a cutting would find naturally, with warm soil and cooler air.
- Don’t overwater and be patient! This is a common mistake. Cuttings want to be consistently moist, not waterlogged. Soggy soil is a fast track to rot. You’ll know things are progressing when you see new leaf growth or feel a gentle resistance when you carefully tug on a cutting.
Aftercare & Troubleshooting
Once your Planchonella crenata cuttings have developed a good root system – typically after 4-8 weeks, though it can take longer – it’s time for a little more attention.
- Acclimatize slowly: Gradually remove the plastic bag or dome over a few days to allow the new plant to adjust to the drier air.
- Move to a slightly larger pot: Once they have a decent root ball, you can transplant them into slightly larger pots with a good quality potting mix.
- Keep watering consistently: Continue to water when the top inch of soil feels dry.
- Watch for rot: The most common issue is rot. If you see cuttings turning black and mushy, it’s usually a sign of overwatering and poor drainage. Unfortunately, rotten cuttings are usually beyond saving, so remove them promptly to prevent it spreading. Yellowing leaves that don’t fall off might just be the plant adjusting, but if they fall off easily, it could indicate insufficient moisture or root problems.
Happy Growing!
Propagating Planchonella crenata is a wonderful way to connect with your plants and expand your collection. Be patient with the process; nature takes its time. The joy of seeing those tiny roots emerge and the first new leaves unfurl is truly special. Happy gardening, everyone!
Resource: