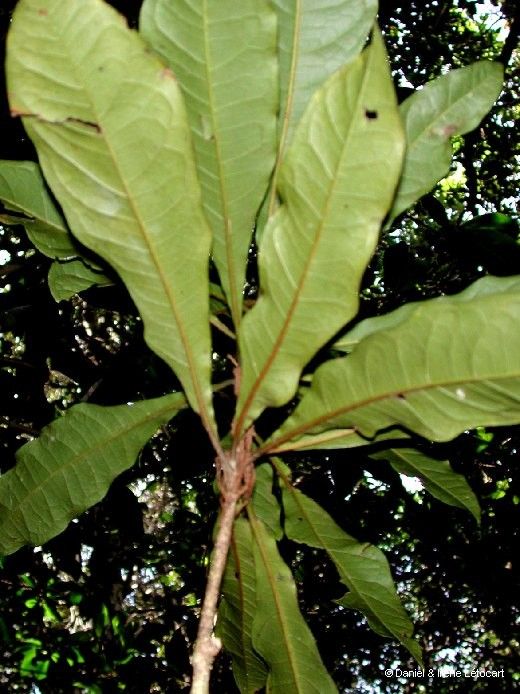
Oh, Pittosporum muricatum! Isn’t it just a charmer? With its glossy, dark green leaves and that subtle, sweet fragrance that drifts through the garden on warm evenings, it’s a plant that brings a real sense of quiet elegance. And the best part? You can easily bring more of that beauty into your own space by propagating it! It’s a wonderfully rewarding process, and I find Pittosporum muricatum to be quite amenable to propagation, which makes it a great option for those just dipping their toes into the world of plant multiplication.
The Best Time to Start
My go-to time for taking cuttings of Pittosporum muricatum is late spring or early summer. This is when the plant is actively growing, and the new shoots are just starting to firm up a bit – we call these “softwood cuttings.” They have that perfect balance of flexibility and strength to root readily. Waiting until the new growth has developed some resilience, but before it has become woody and hard, is key.
Supplies You’ll Need
Here’s what I like to have on hand before I start:
- Sharp Pruning Shears or a Clean Knife: Essential for making clean cuts to avoid damaging the plant.
- Rooting Hormone (Optional but Recommended): A little boost can significantly increase your success rate. Look for one formulated for softwood cuttings.
- Small Pots or Seed Trays: Clean containers are a must to prevent disease.
- Well-Draining Potting Mix: I often use a 50/50 blend of perlite and a good quality seed-starting mix. You could also use coarse sand mixed with peat moss.
- Clear Plastic Bags or Domes: To create a humid environment for your cuttings.
- A Spray Bottle: For misting.
Propagation Methods: Softwood Cuttings
This is my favorite and most effective method for Pittosporum muricatum.
- Select and Take Cuttings: Look for healthy, non-flowering stems on your mature plant. You want to take cuttings that are about 4-6 inches long. Make a clean cut just below a leaf node (where leaves attach to the stem).
- Prepare the Cuttings: Gently remove the lower leaves from the bottom half of the cutting. This prevents them from rotting in the soil and encourages rooting from the exposed nodes. You can leave the top few leaves on, but if they are very large, you might want to trim them in half to reduce water loss through transpiration.
- Apply Rooting Hormone (Optional): Dip the cut end of each stem into your rooting hormone powder or gel. Tap off any excess.
- Plant the Cuttings: Fill your clean pots with your prepared potting mix. Make a small hole in the center of each pot with a pencil or your finger. Insert the cut end of the cutting into the hole, ensuring the lower nodes are buried. Gently firm the soil around the stem.
- Create a Humid Environment: Water the soil thoroughly until it drains from the bottom. Now, either cover the pot with a clear plastic bag, making sure it doesn’t touch the leaves of the cuttings, or place a clear plastic dome over your tray.
- Provide Light and Warmth: Place the pots in a bright spot, but out of direct sunlight. A bit of warmth from below can also be very beneficial – think a heated propagator or placing them on top of a refrigerator.
The “Secret Sauce” (Pro Tips)
There are a few little tricks I’ve learned over the years that really make a difference:
- Don’t Rush the “Wipe Test”: When you think your cuttings might be rooted, give a very gentle tug. If there’s a distinct resistance, they’re rooting! If they pull out easily, they aren’t ready yet. Patience here is your best friend.
- Bottom Heat is a Game Changer: Especially in cooler conditions or if you’re propagating a bit earlier or later than ideal, a gentle bottom heat of around 70-75°F (21-24°C) can dramatically speed up root development. It mimics that lovely warm soil feel the plant craves for new beginnings.
- Air Circulation is Crucial: While humidity is vital, stagnant, damp air can lead to fungal issues. If you’re using a plastic bag, open it for a few minutes each day to allow for some air exchange. It’s a delicate balance!
Aftercare & Troubleshooting
Once you see new growth appearing on your cuttings, it’s a good sign that roots are forming! You can gently test for resistance by giving a slight tug. If you feel that resistance, it’s time to start acclimating them to lower humidity. Gradually remove the plastic bag or dome for longer periods over a week or so.
Keep the soil consistently moist but not waterlogged. Overwatering is the quickest way to sabotage your efforts, leading to root rot, which you’ll recognize by stems turning mushy and dark at the soil line, or a general wilting and yellowing of the leaves. If you see this, it’s usually too late to save that particular cutting. Other signs of failure include cuttings simply shriveling up and drying out. This could mean the humidity wasn’t high enough or they were placed in too much direct sun.
A Final Encouragement
Propagating plants is a dance with nature, a hopeful offering to the plant gods, if you will! Don’t be discouraged if not every cutting takes. Each attempt is a learning experience. Celebrate the successes, learn from the setbacks, and most importantly, enjoy the magical process of coaxing new life from a beloved plant. Happy propagating!
Resource: