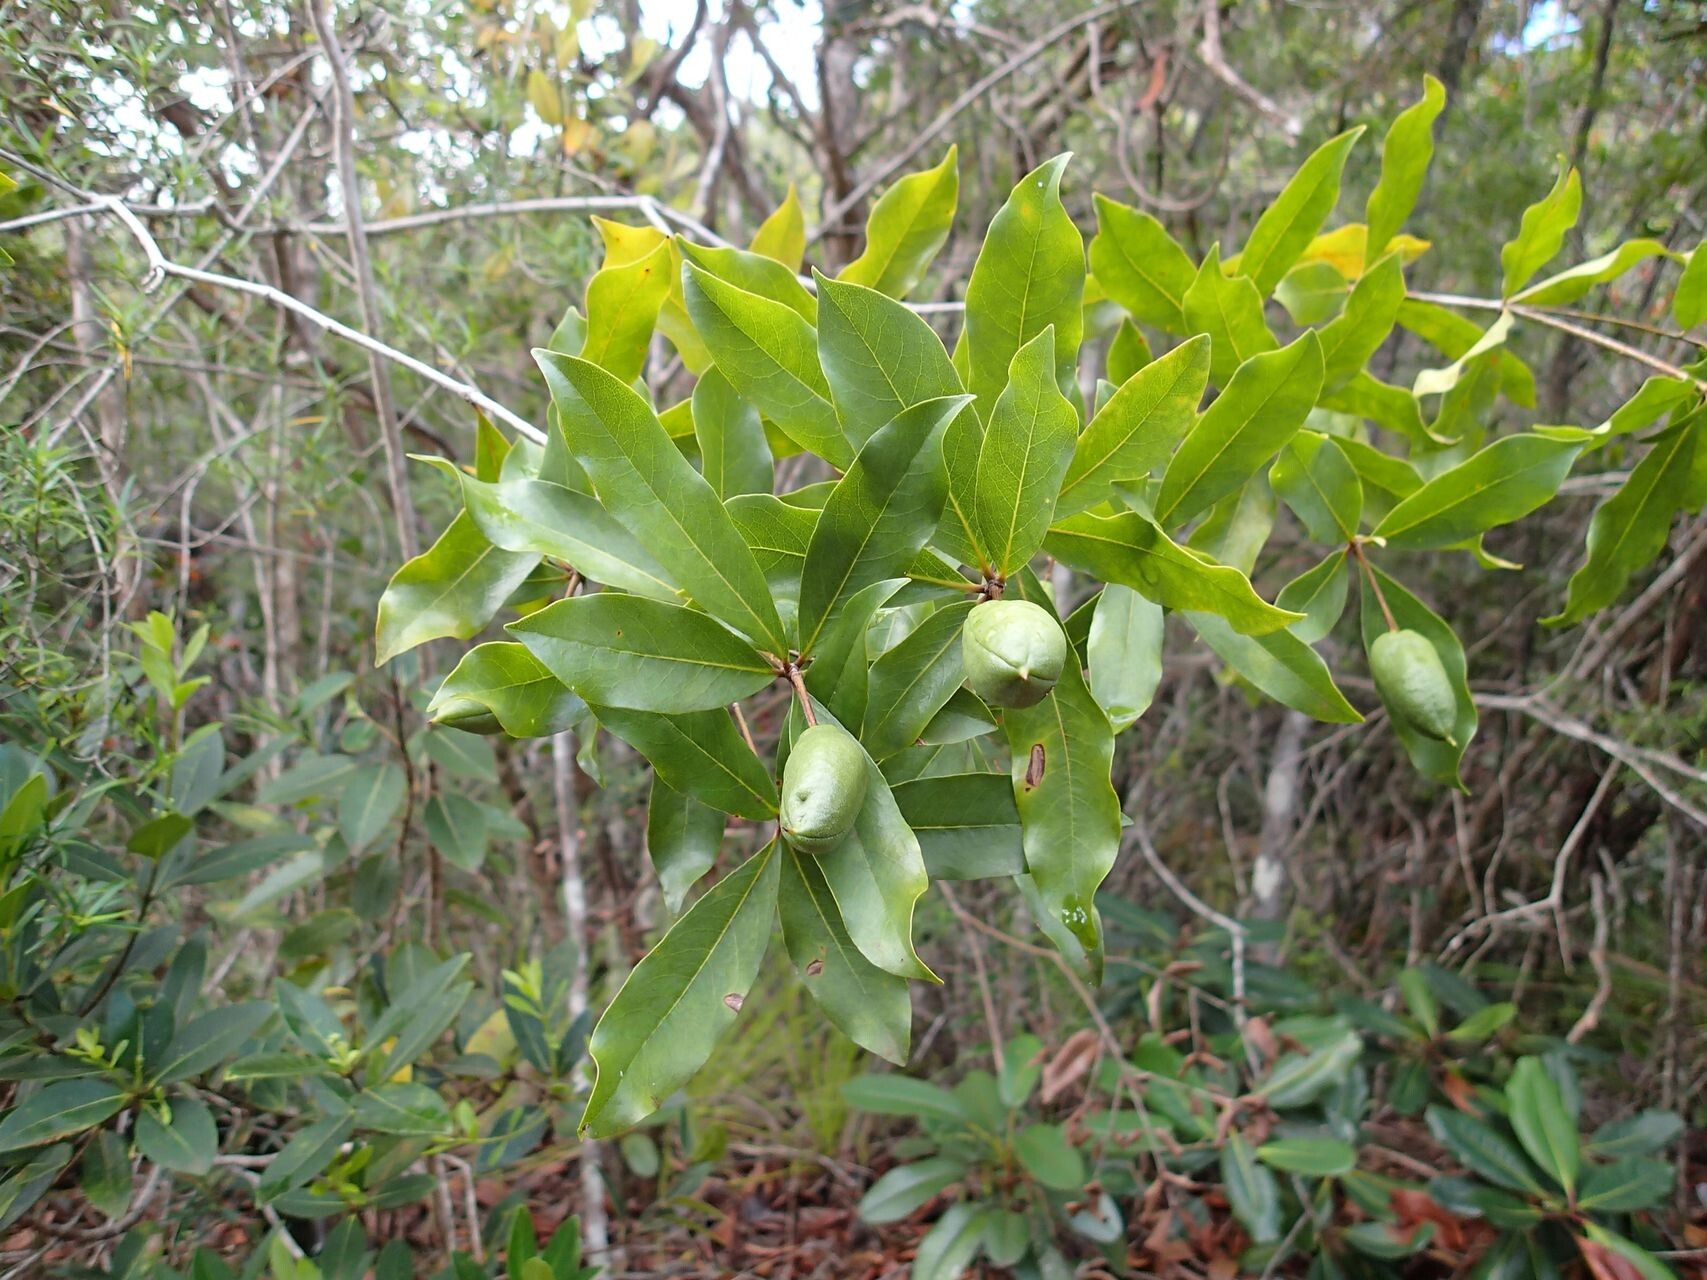
Oh, hello there! It’s so good to sit down with you for a bit and chat about one of my absolute favorites: Pittosporum gracile. If you’ve ever admired those neat, glossy leaves and delicate, often fragrant flowers, you’re not alone. This plant brings such lovely structure and scent to any garden, and the best part? You can easily multiply it yourself!
Why Propagate Pittosporum Gracile? It’s Rewarding!
There’s a special kind of magic in taking a tiny cutting and watching it transform into a whole new plant. For me, propagating Pittosporum gracile is a wonderfully satisfying process. It’s a great way to fill out your own garden, share these beauties with friends, or even start a little nursery of your own. And for those of you just dipping your toes into plant propagation, I’m happy to tell you that Pittosporum gracile is generally quite forgiving, making it a fantastic choice even for beginners.
The Best Time to Start
When it comes to getting the highest success rate, I always recommend propagating from semi-hardwood cuttings. The absolute best time for this is usually late spring to early summer, after the plant has finished its main flush of new growth but before it gets too woody. You want to catch it at that sweet spot where the stems are still a bit flexible but have started to firm up.
Supplies You’ll Need
Gathering your tools beforehand makes the whole process smoother. Here’s what I usually have on hand:
- Sharp, clean pruning shears or a sharp knife: Essential for making clean cuts.
- Rooting hormone (optional but helpful): A powder or gel to encourage root development.
- Small pots or seed trays: Whatever you have that’s clean and has drainage holes.
- A good potting mix: I like a well-draining, airy mix. A combination of peat moss or coco coir with perlite or coarse sand works wonders. You can also buy specialized seed starting mixes.
- Plastic bags or a propagator: To create a humid environment for your cuttings.
- Water: For misting and watering.
- Labels and a pen: Don’t forget to label your cuttings!
Propagation Methods: My Go-To Techniques
I find two methods work exceptionally well for Pittosporum gracile:
Stem Cuttings (My Favorite!)
This is my most reliable method for this plant. It’s straightforward and gives fantastic results.
- Take Your Cuttings: Using your sharp shears, select healthy stems from your established Pittosporum gracile. Aim for pieces that are about 4-6 inches long. Make your cut just below a leaf node, which is that little bump where a leaf attaches to the stem. This is where most of the rooting action happens.
- Prepare the Cuttings: Gently remove the lower leaves from your cuttings, leaving just two or three at the very top. This prevents them from rotting in the soil. If the remaining leaves are quite large, you can even cut them in half horizontally to reduce water loss.
- Apply Rooting Hormone (Optional): Dip the cut end of each stem into your rooting hormone, tapping off any excess. This step isn’t always strictly necessary, but it can give your cuttings a nice boost.
- Potting Up: Fill your small pots with your prepared potting mix. Make a small hole in the center of each pot with your finger or a pencil. Insert the cut end of your Pittosporum gracile cutting into the hole, ensuring the leaf nodes are buried. Gently firm the soil around the stem.
- Water Gently: Water the soil thoroughly but gently so you don’t dislodge the cuttings.
Water Propagation (For the Impatient!)
While I lean towards soil propagation, water can work for Pittosporum gracile, especially as an initial step.
- Prepare Cuttings: Follow steps 1 and 2 from the stem cutting method – taking 4-6 inch cuttings below a node and removing lower leaves.
- Place in Water: Fill a clean jar or glass with fresh water. Place the cuttings in the water, making sure that no leaves are submerged. This is crucial to prevent rot.
- Location: Keep the jar in a bright spot, but out of direct sunlight. Change the water every few days to keep it fresh.
- Rooting: You should start to see tiny white roots forming within a few weeks. Once the roots are about an inch long, you can transplant them into pots with soil, following step 4 from the stem cutting method.
The “Secret Sauce” (Pro Tips)
Here are a couple of little tricks I’ve learned over the years that make a big difference:
- Bottom Heat is Your Friend: If you have a heating mat designed for propagation, use it! Applying gentle bottom heat (around 70-75°F or 21-24°C) can significantly speed up root formation. It mimics the warmth of spring soil. Just place your pots on top of the mat.
- Don’t Let Those Leaves Touch Water: I cannot stress this enough for water propagation, but it’s also a good rule of thumb for soil too. Any part of the stem or leaves that are submerged in stagnant water or overly wet soil is a prime spot for fungal diseases and rot. Keep them elevated and in airy conditions.
Aftercare & Troubleshooting
Once your Pittosporum gracile cuttings show signs of life – new leaf growth or visible roots – it’s time for a little extra TLC.
- Introduce to Air Gradually: If you’ve used a plastic bag or propagator for humidity, start opening it up a bit more each day over a week to acclimate your new plants to drier air.
- Watering: Keep the soil consistently moist but not soggy. Allow the top inch of soil to dry out slightly between waterings.
- Light: Continue to keep them in bright, indirect light. As they get stronger, you can gradually introduce them to more direct sunlight.
- Signs of Trouble: The most common issue you’ll face is rot. If your cuttings turn black and mushy, it’s usually a sign of too much moisture and not enough air circulation. Unfortunately, these are usually a lost cause, but don’t despair! Go back to your sterile supplies and try again. Another sign of failure is if the cuttings simply wilt and dry out, which can mean they aren’t getting enough moisture or the rooting hormone wasn’t effective.
A Bit of Patience Goes a Long Way
Propagating plants is a journey, and sometimes they have a mind of their own. Don’t be discouraged if your first few attempts aren’t perfect. Every gardener, myself included, has had their share of cuttings that didn’t make it. The key is to be patient, observe your plants, and keep trying. The reward of seeing your own little Pittosporum gracile babies thriving is absolutely worth it. Happy propagating!
Resource: