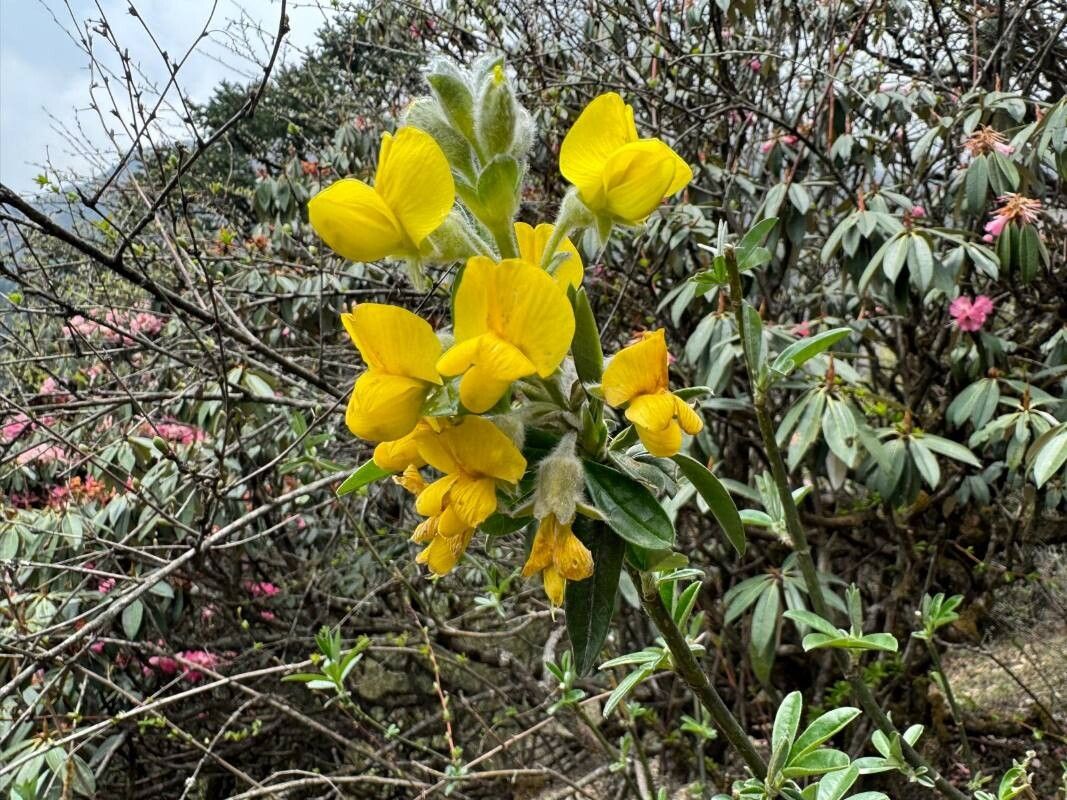
Hello, fellow garden enthusiasts! It’s so lovely to have you here for a chat about one of my favorite legumes, Piptanthus nepalensis, also known as the Himalayan Laburnum. If you’re looking for a touch of the exotic that brings forth lovely yellow, pea-like flowers in spring, this shrub might just steal your heart. And the best part? You can easily expand your collection by propagating it yourself!
Now, is Piptanthus nepalensis a breeze to propagate? I’d say it’s moderately easy, leaning towards approachable for those with a bit of gardening under their belt. It’s not usually a plant that throws a tantrum if you try to take a cutting, which is always a good sign! The reward of nurturing a new plant from a tiny piece of its parent is just immense, watching it unfurl those first few leaves and knowing you helped bring it to life.
The Best Time to Start
For Piptanthus nepalensis, your best bet is to take stem cuttings in late spring to early summer. This is when the plant is actively growing, and the new shoots are still somewhat soft and pliable, but not too young and flimsy. You’re looking for stems that have started to harden up a bit – they’ll snap rather than bend.
Supplies You’ll Need
Here’s what I always have on hand when I’m ready to get propagating:
- Sharp pruning shears or a clean, sharp knife: For making clean cuts.
- Rooting hormone powder or gel: This is a game-changer for encouraging root development.
- Small pots or seedling trays: Clean ones are a must to prevent disease.
- A good quality potting mix: I like a blend of peat moss, perlite, and a little bit of compost. It needs to drain well!
- A plastic bag or propagator lid: To create a humid environment.
- Watering can with a fine rose: For gentle watering.
- Labels and a permanent marker: Don’t forget to label your cuttings! Trust me on this one.
Propagation Methods
The most reliable way to propagate Piptanthus nepalensis is through stem cuttings. It’s straightforward, and you can get a good number of new plants from a mature specimen.
- Select Your Cuttings: Choose healthy, vigorous stems that are about 4-6 inches long. Look for stems that have flowered or are just starting to mature and feel slightly firm. Avoid soft, sappy new growth and old, woody stems.
- Make the Cut: Using your sharp pruning shears or knife, make a clean cut just below a leaf node (where a leaf attaches to the stem). This is where the plant has a higher concentration of rooting hormones.
- Prepare the Cuttings: Gently remove the lower leaves from the bottom half of the cutting. You want to expose a few nodes where roots will form. If a cutting has any flower buds, pinch those off as well – the plant needs to focus its energy on rooting, not flowering.
- Apply Rooting Hormone: Dip the cut end of the stem into your rooting hormone powder or gel. Tap off any excess. This helps to stimulate root growth and reduces the risk of fungal infections.
- Potting Up: Fill your clean pots or trays with your well-draining potting mix. Make a small hole in the center of the mix with your finger or a pencil.
- Plant the Cuttings: Insert the prepared end of the cutting into the hole, ensuring that at least two leaf nodes are buried in the soil. Gently firm the soil around the base of the cutting.
- Water Gently: Water the soil thoroughly with your fine-rose watering can until it’s moist but not waterlogged.
- Create Humidity: Cover the pots with a plastic bag or a propagator lid. This will create a mini-greenhouse effect, trapping moisture around the cuttings. Make sure the leaves aren’t touching the plastic if possible. You can prop the bag up with a few skewers if needed. Place the pots in a bright spot out of direct sunlight. A warm windowsill that doesn’t get scorching heat is ideal.
The “Secret Sauce” (Pro Tips)
Here are a few things I’ve learned over the years that can really boost your success rate:
- Bottom Heat is Your Friend: If you have access to a heated propagator base or can place your pots on a warm surface (like near a radiator, but not directly on it!), this can significantly speed up the rooting process. Warm soil encourages roots to form faster.
- Mist Regularly, But Don’t Drench: While you want to maintain humidity, avoid letting the soil become waterlogged. A light misting of the leaves every few days (especially if not using a sealed propagator) can help keep them turgid until roots develop.
- Take More Than You Think You Need: Not every cutting will take. It’s just a fact of life in the gardening world. If you’re aiming for, say, five new plants, take at least ten cuttings. This significantly increases your chances of success without much extra effort.
Aftercare & Troubleshooting
Once your cuttings have rooted – you’ll know this when you see new leaf growth and can feel a gentle resistance when you tug on the stem – it’s time for them to get a bit more independence. Start by gradually acclimatizing them to normal air by taking off the plastic bag for increasingly longer periods each day.
Keep the soil consistently moist but not soggy. As they grow larger, you can transplant them into slightly bigger pots.
What if things go wrong? The most common issue is rot. If your cuttings turn black and mushy, that’s usually a sign of too much moisture and not enough air circulation. This is why a well-draining mix and not drowning them are so crucial. If you see fuzzy mold on the soil surface, it might also indicate overwatering. Try to increase air circulation and let the soil dry out a little more between waterings.
A Gentle Encouragement
Propagating plants is such a rewarding journey. Be patient with your Piptanthus nepalensis cuttings. They have their own timeline, and sometimes it takes a few weeks for those roots to establish. Enjoy the quiet observation, the gentle watering, and the thrill of seeing new life emerge. Happy propagating!
Resource:
https://identify.plantnet.org/k-world-flora/species/Piptanthus%20nepalensis%20(Hook.)%20Sweet/data